Can you tell we had a lot of rain recently? Yup, more food.
So, I made another pizza rustica/pane farcito so I could show you the steps this time. I had all my ingredients grilled and ready for a sunny day to cook and take photos for you by the window, and that day just wasn’t coming. I finally gave in and had to make it on one of the darkest days in a long time. This means flashbulbs and no natural light for the food shots. I almost didn’t post it, but figured you just might forgive me…AGAIN.
Let’s go….
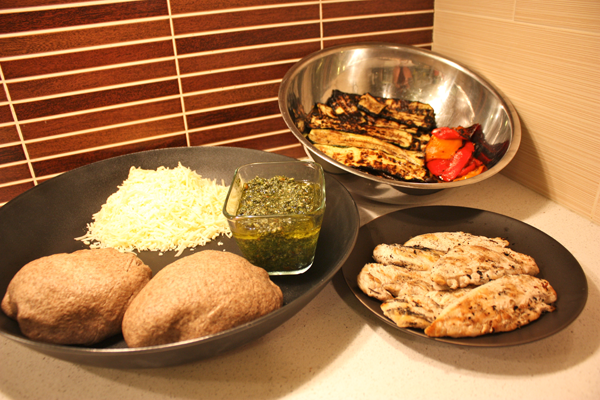
We grilled these….as well as 3 chicken breasts.
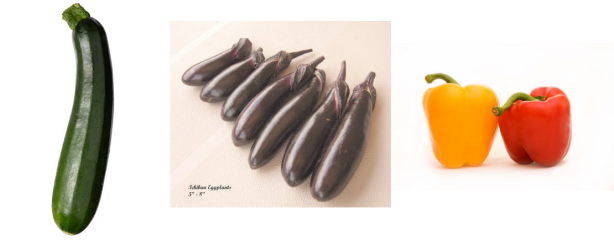 Photos via Bon Appetit, highdesertgarden.com and agewell.org
I personally prefer to use ichiban eggplant for these, but that’s just me. I’ve made it with the globe variety as well.
I was lazy and used Trader Joe’s Quattro Formaggio (Paremsan, Asiago, Fontina and Mozzarella) but by all means, source some locally made fresh goodness in your area and elevate this baby. They key is to include some hard cheeses with a lower moisture content so as not to make your creation soggy.
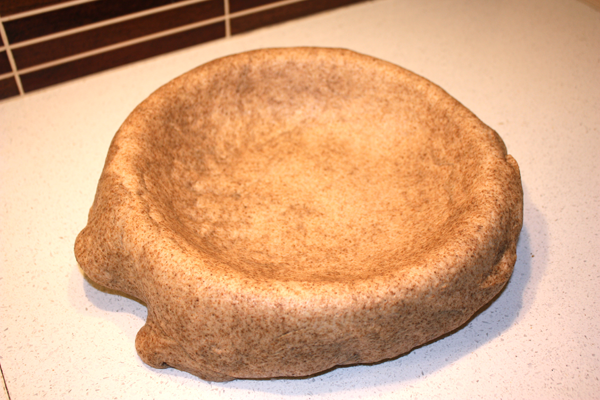
Roll out your pizza dough to stretch across an oiled, nine inch round baking pan. I used 2 packages of TJ’s whole wheat pizza dough. Again, go homemade on the dough and make it even better! These days, if I have to take the extra hour to make my own dough and grate that much cheese, I just won’t make it, whereas right now, I can knock this out in less than 2 hours total: 30 minutes to chop and grill, and 20 minutes to assemble. Bake for one hour. That’s doable for me…maybe when the Things are grown I’ll go back to those recipes that take all day to make…or not…
I digress.
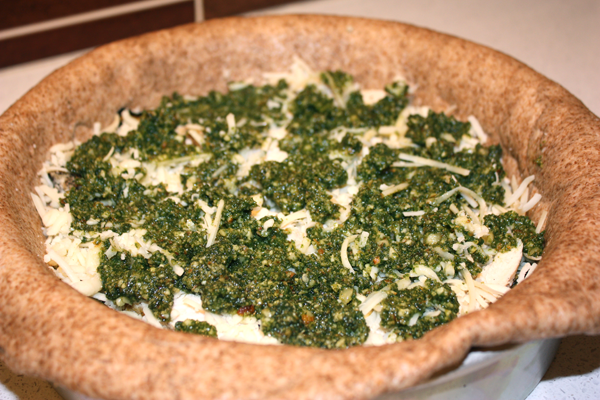
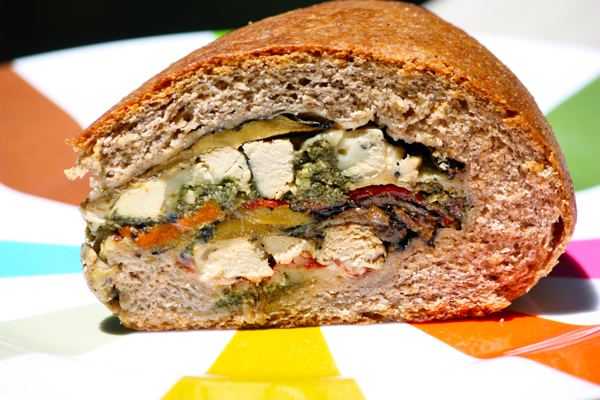
Start layering! I actually prefer to do a layer of the zucchini/eggplant before the cheese first, and I don’t really know why I put the cheese down first, but once it was there, I decided to roll with it. My sequence was cheese, zucchini/eggplant, chicken, cheese, pesto, peppers, zucchini/eggplant, chicken, cheese, and pesto.
I chop the chicken into thin strips that can be scattered into a layer like so….
Oh, I almost forgot…I had some tomatoes from the farmers market that I oven dried a few days before for this top layer…if you use jarred sundried tomatoes, make sure you drain the oil off well before putting them in.
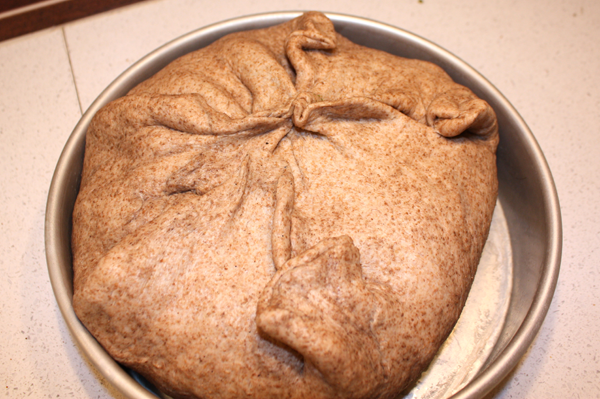
Now comes the fun part. The ole pinch and flip. Thing One was using my tabletop tripod so I couldn’t photograph this (I tried) but I’ll talk you through…it’s not as hard as it looks, but you need two hands.
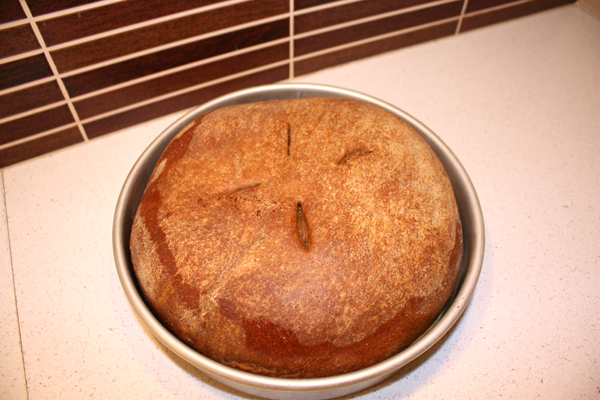
The good news about this little maneuver is that it doesn’t have to look good, it just needs to seal everything in. Since pizza dough is stretchy, it’s not too hard to gently pull at the sides to bring it up to the top and pinch together with the other ends. Now you take the pan in one hand and very gently flip the whole thing into the palm of your other hand, and set back into the pan pinched side down. See? I told you the pinching didn’t have to be pretty! Then score the top for ventilation and call yourself fancypants.
Pop this puppy into a 350° oven for an hour, YES an hour! Remember last time I said I thought 40 minutes would do it? It didn’t for me. I checked by pulling the whole thing out of the pan to make SURE the dough was done at the bottom, and it still needed a bit more time.
Then you get this. It’s best to let it cool in the pan so that it keeps its shape. At this point, you can serve right away while it’s still a bit warm, or let it cool completely and wrap up and put into the fridge. Either way, you’ve got a meal that is easily transportable for picnics and poolside.
The sun finally came out again today so I could get at least one decent shot of a slice. This one is a little doughy for me, but we’d eaten the rest of the slices over the week of the rains!
I’m ready to make the Cuban version next. We grilled some pork tenderloin this week and the leftovers are crying out for a higher purpose.
