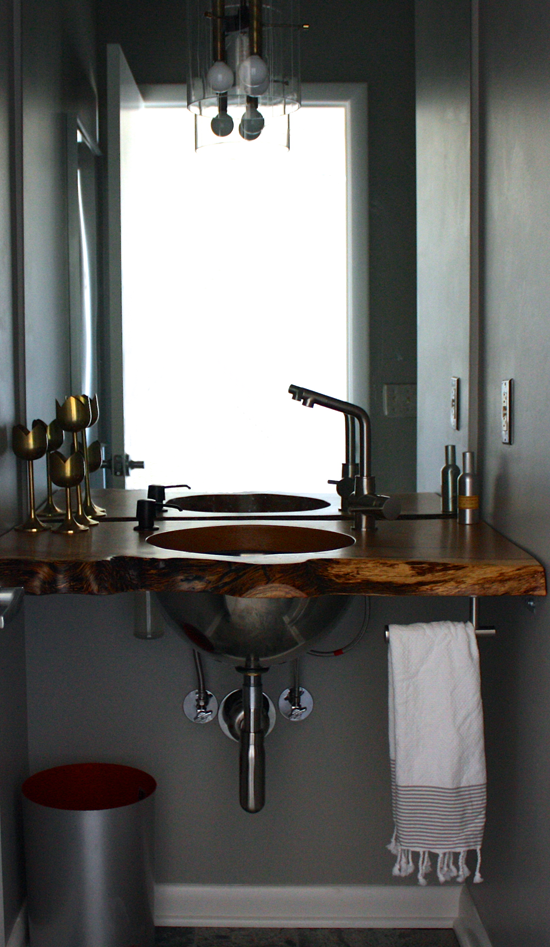
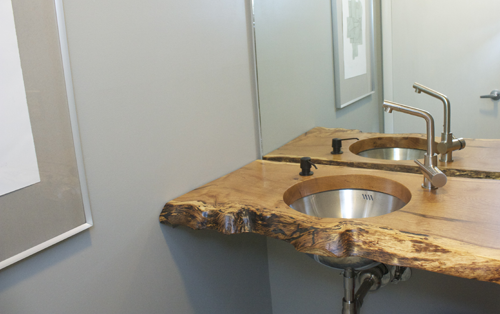
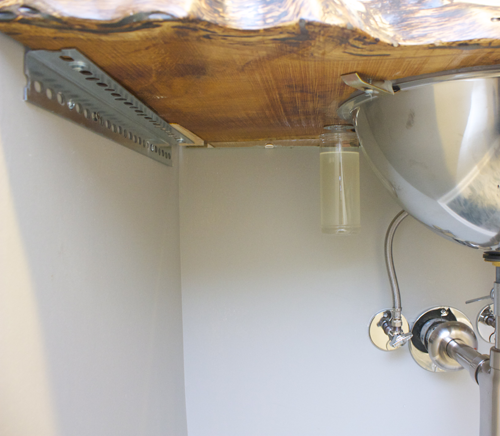
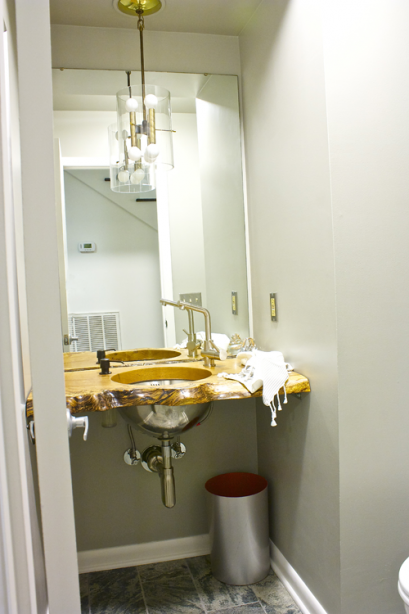
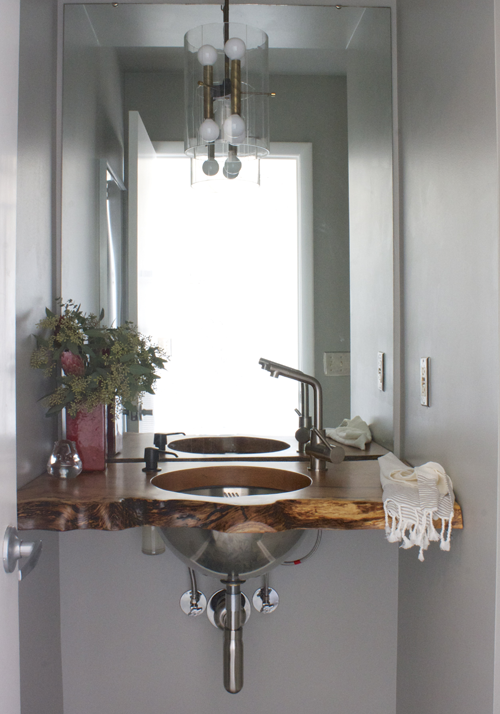
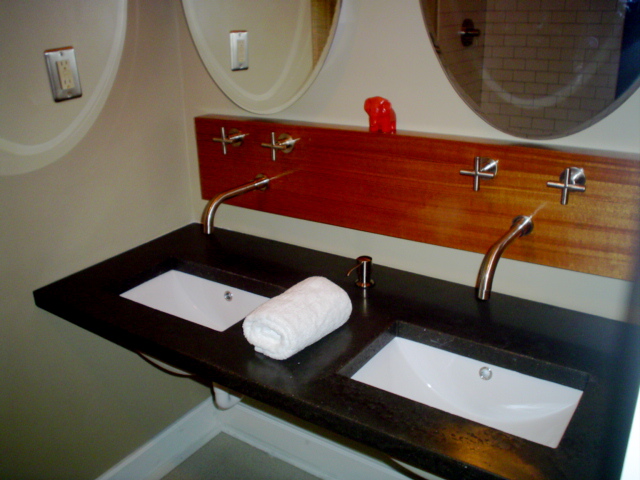
I looked at tons of too big/too small hooks and bars of all shapes and sizes for a hand towel in here. It finally occurred to me that maybe all I needed was another toilet roll bar under mounted, and out of the way visually. I hate it when obvious stuff seems to come so slowly. $19 price tag helped too.
Category: Half Bath
Bathroom Update
Above photo added 11.15.12
So we got it done, just under the wire with a few days to spare. Granted, we didn’t go out much at all last weekend to make sure we didn’t fall short of this goal. Progress posts on the bathroom are here.
To refresh your memory on how we started out, here’s a snap of our previous half bath.
 
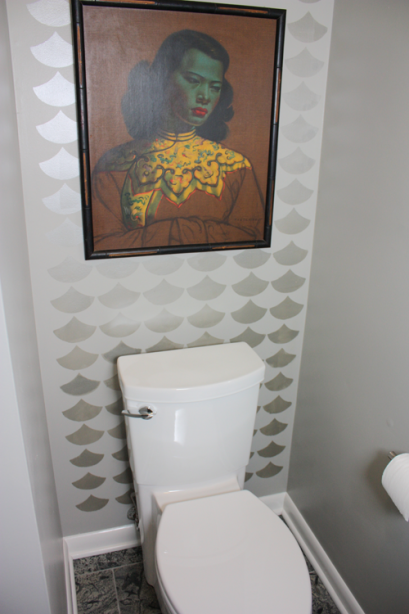
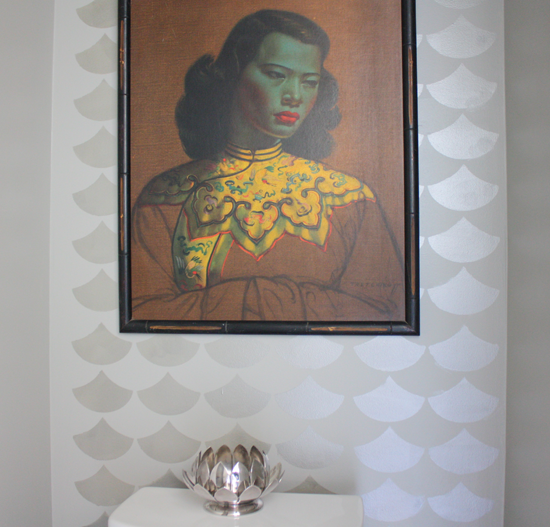
I moved my beloved Tretchikoff in here so she can judge all who come to do their bidness.
No pressure.
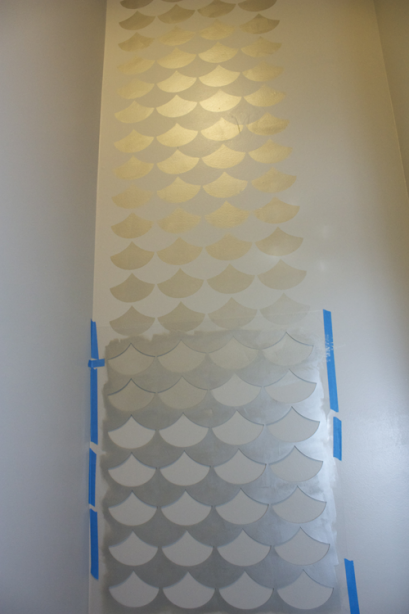
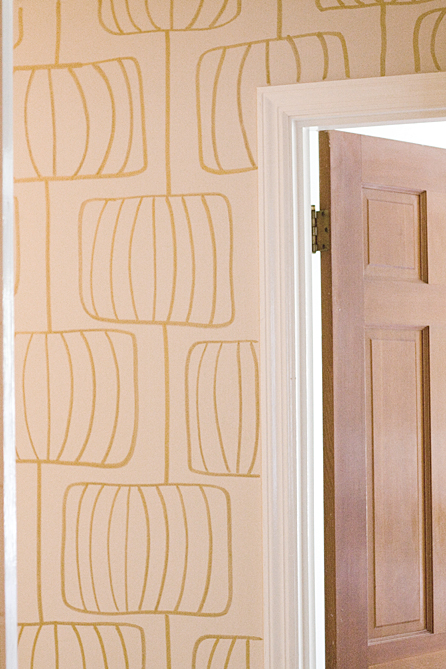
Those following on Instagram know that I had to do this wall twice. I’m still not thrilled with it, but I’m going to live with it awhile.
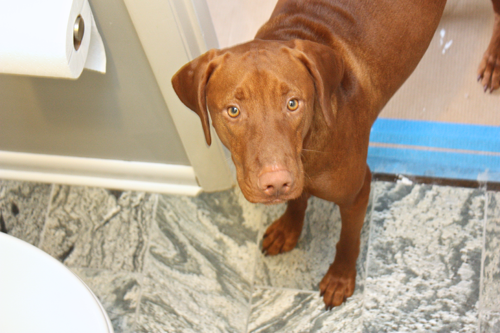
What job or photo shoot would be complete without an Otto photobomb? OTTOBOMB.
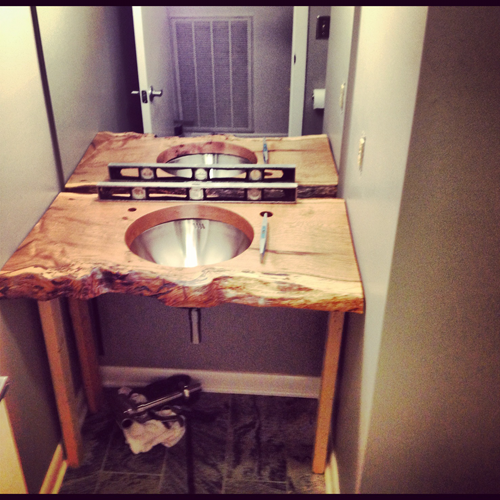
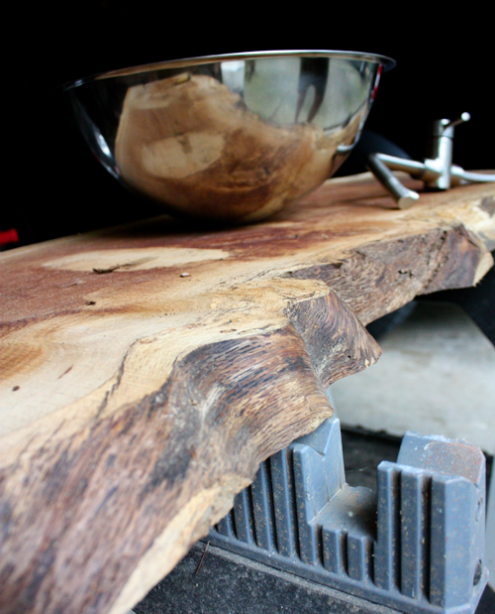
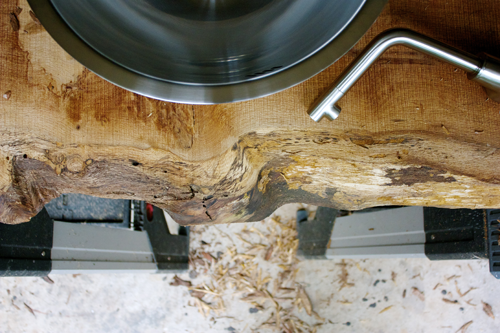
Here, we were trying to mark where to mount it propped up on scrap lumber.
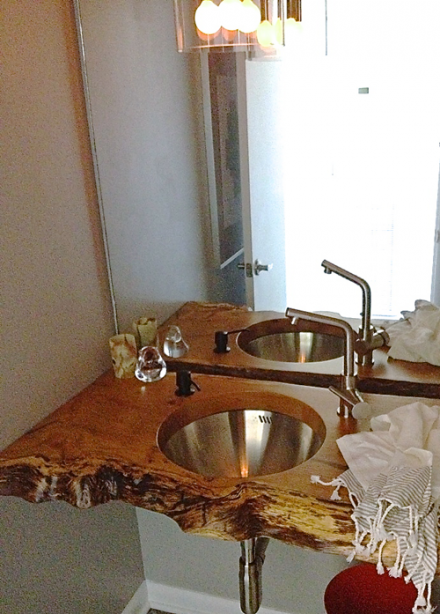
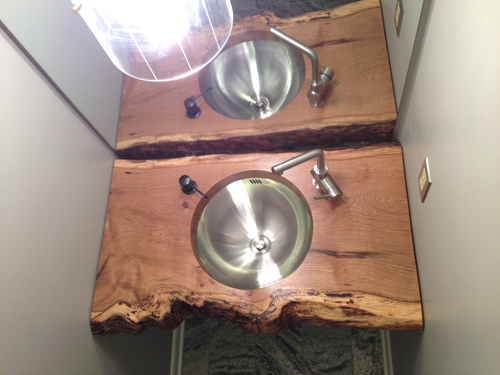
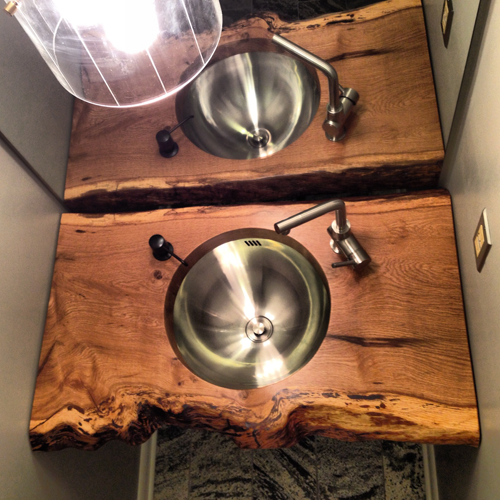
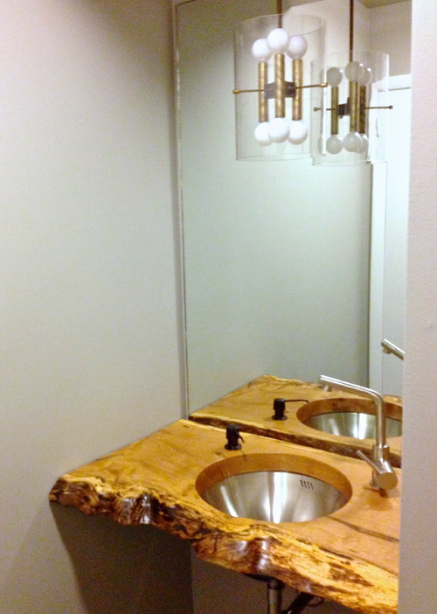
The reason the soap dispenser and faucet are different finishes is simple – we had a hard time matching the Grundtal, so we decided to stop trying and go for contrast.
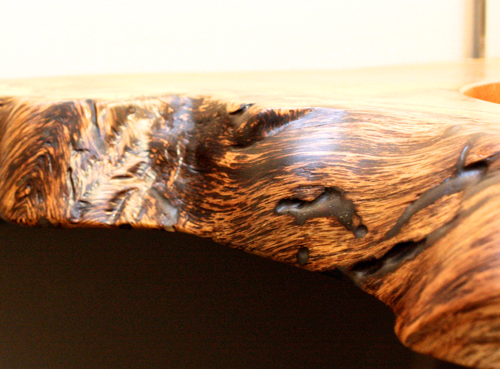
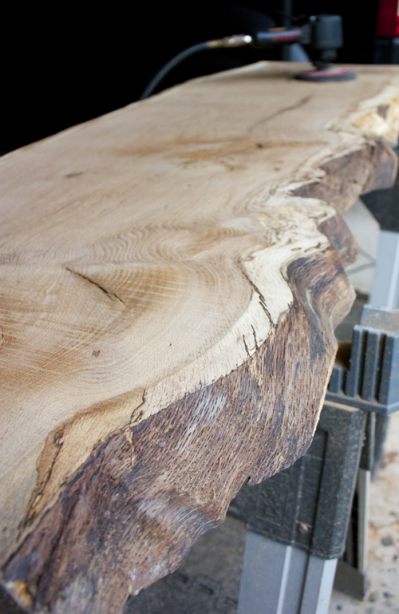
After multiple sandings, the CC finished the slab with Arm-R-Seal, which is a combination of oil and varnish that gets sanded in over successive coats to fill in any slight imperfections. The oil brings out the natural wood sheen and the varnish protects. After the sanding coats, the last few passes were just a wiped on finish. The recesses in the live edge had to be sealed against water, so multiple applications of epoxy sanded smooth with the wood allow them to show for character.
Those wondering how it is supported underneath can have a look-see.
We recycled the old mirror and mounted it lower so that it could act as a backsplash, and the other live edge could be seen.
I got the vintage Lightolier (we think Sciolari but are not positive) from the flea market. New bulbs and a little cleaning, and we were good to go.
And added a dimmer….
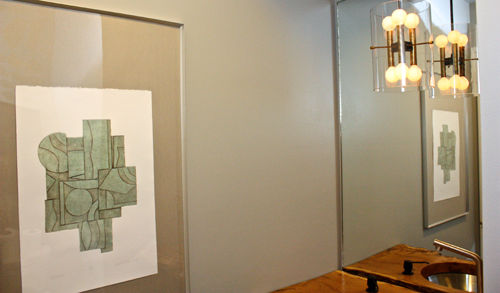 The monoprint is by our dear friend David Mah.
I think I want to get a tiny hook to hang next to the sink for the hand towel, but for the party, we just had to roll with things as they were.
The faucet had a tiny leak that dripped onto the counter, and we didn’t have time to fix it before the party, but the CC took it apart and fixed it yesterday…he’s kind of a rock star like that.
Rough Cost: $1000 ($963 plus a few screws and small hardware purchases where we misplaced the receipts)
White Oak Slab $80
Faucet $98
Sink $65
Stainless Undersink Bottle Trap $40
Quartzite Floor/Mortar/Grout & Sealer $425
Toilet $200 (American Standard Cadet with Apron/skirted bottom)
Lightolier Pendant $25
Soap Dispenser $30
Thanks for your patience on this one…we had a lot of fun doing it and are glad to check it off the list. Master bath? Hmmmm. Hopefully soon.
UPDATE: Took another couple of pictures today and I wanted to add my favorite here.
Bathroom Update
Things have been rolling over here….at a snail’s pace. Last we met, we were removing the sink. Got that done, and then it was on to the floor…the messy bit. Messy bits take awhile..OK?
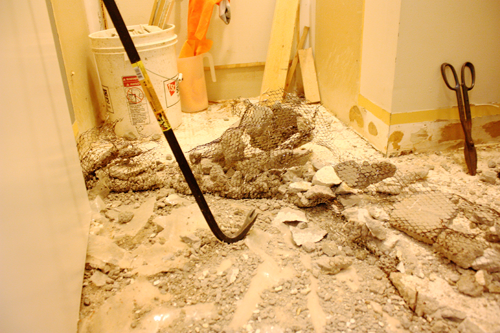
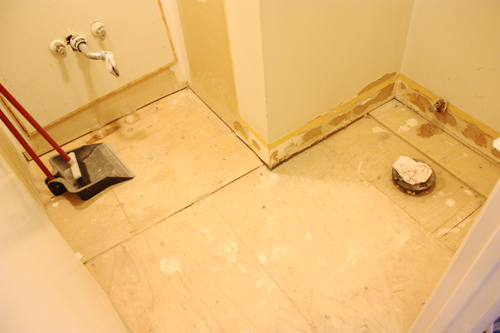
So after removing the tile, the mortar bed and wire mesh embedded within it…we are down to subfloor…wheeeee!
That brings us to this mess…we’ll deal with that later.
Subfloor of cement board was laid and now we’re on to laying the new tile.
And that’s where we still are.
We’ll finish that by this weekend and then we’ll start focusing on the sink/slab situation.
In the meantime, I did order the stencil I plan to use on either one or maybe 2 walls. The paint will be Behr’s Granite Boulder as the base layer, with Martha’s Precious Metals Silver Leaf on the fishscale stencil. Apparently the Martha paint is fiddly, but the dude at the Home Depot said it’s just like the Ralph Lauren metallics. I used Ralph without problems in the past, so I’m hopeful.
Why use Home Depot paint? Maybe it was the time I painted over a glossy chocolate brown with a pale grey satin in ONE COAT with Behr’s paint and primer in one line? I don’t buy Ben Moore or Farrow and Ball, or other expensive paint, as my personal experience has not proven these to be worth the price tag. I don’t need interior paint that will last 10 years because I guarantee that I will be sick of it and wanting a change well before then anyway. That’s just me.
I’m still shopping toilets, and while I really wanted the Kohler Persuade…after looking at the installation instructions and reviews…we are gonna give it a miss. I’m in the market for a modern looking one with an apron to the floor (no pipe shapes showing in the porcelain) for less than $300 which I think is totally doable. We are still sad we couldn’t have the wall mounted model, but we’re holding out hope we can have it for the master bath, whenever that happens!
Half Bath
Longtime readers might remember the previous post about the half bath here. I’ll give you this final glimpse of the “before”, since I’m happy to report that we are finally getting around to dealing with it.
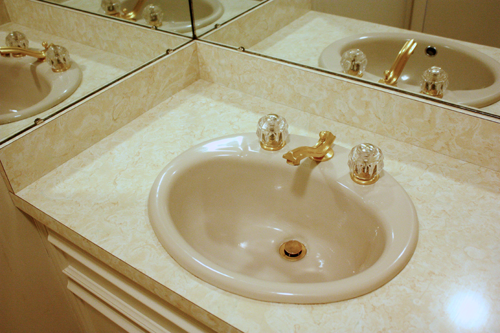
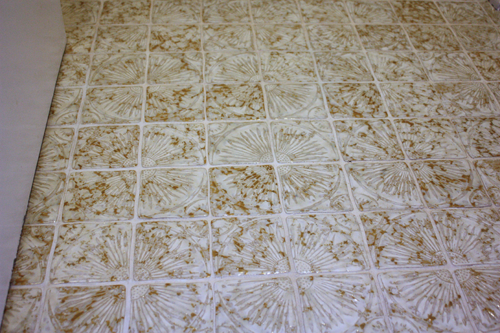
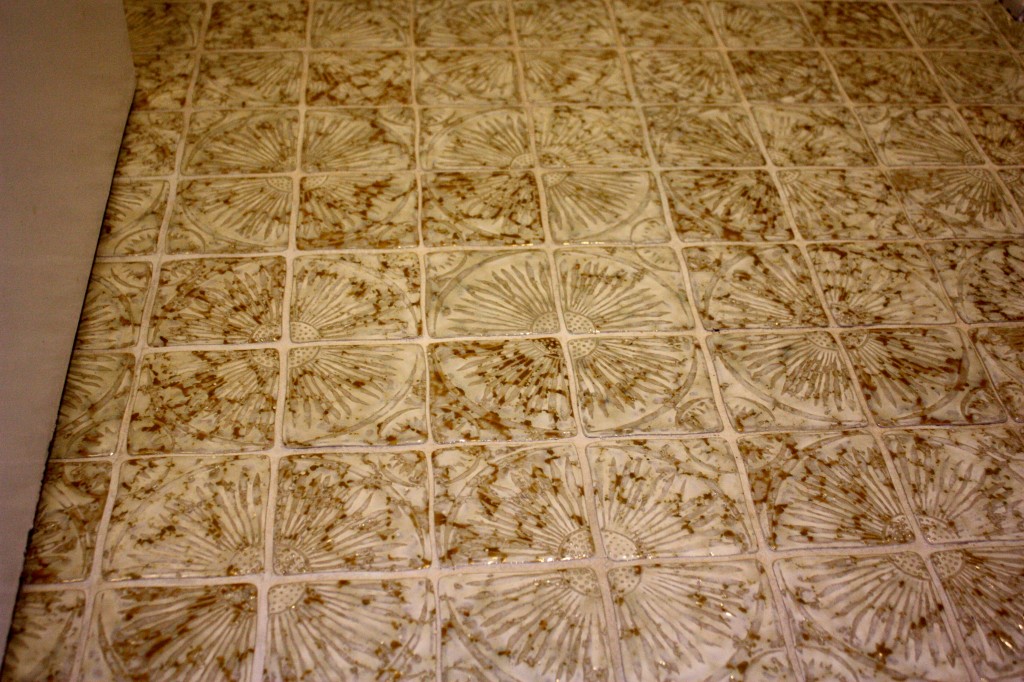
So there’s the difficult as hell to photograph, 23 square feet of 70’s deluxe bath action we’ve had going on. For its day, I think it was probably quite snazzy, and as I mentioned before, the tile is pretty groovalicious, but it can’t stay, since we will be removing the cabinet. (run on sentence much?)
I will be saving the brass pulls from the cabinet, don’t worry. The rest must go.
My Pinterest page for the bathrooms has been a great way to show the CC where my head is with materials and finishes. He wanted to pour another concrete counter like we did before, but my heart was in slabland.
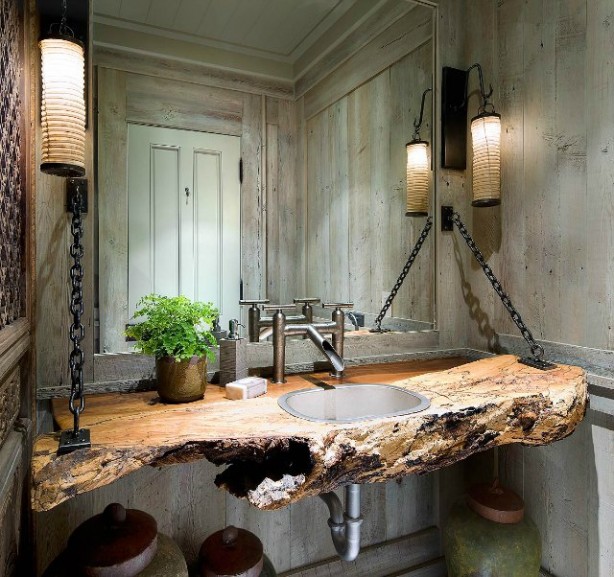 Both images from Pinterest without source linked. If you know, please share, so I can credit properly.
I found a guy on Craigslist selling wood slabs, and while we went looking for Walnut, they were not wide enough, so we came back with a piece of White Oak.
The plan is to under mount the stainless steel sink. We are trying to keep costs really low, so we opted for the IKEA Grundtal faucet instead of our fantasy Arne Jacobsen Vola in yellow.
We are sanding the slab, as it is still rough from the milling blades. Once we get it to the right smoothness, we will oil it well to finish.
Another reason we need to redo the floor is because we had planned to put in a wall mounted toilet. No more, since an exploratory session under the house showed we’d have to reroute the intake of our central heat and air, and that’s not happening.
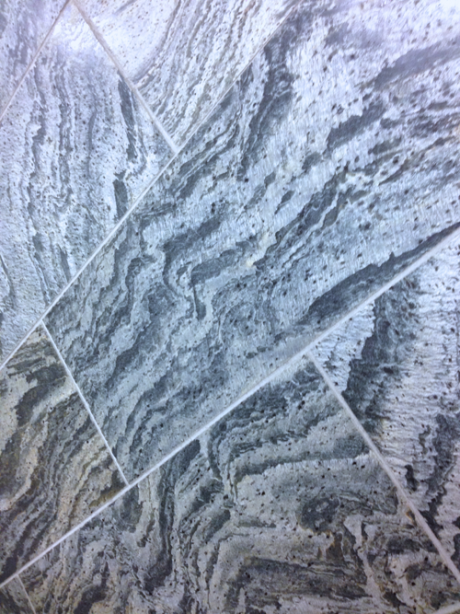
We did find a high impact, lower cost option for the new floor…Quartzite. It’s hard to photograph, but it has an iridescence to it with greenish and grey tones. This was the sample board taken in the tile store.
This below is a little better representation of the color.
Hopefully the sheen of the stone will work with the stainless steel components, and the wood will warm it all up, funkylike.
I need a great (and inexpensive) pendant fixture, and I’m still deciding on how to paint the walls. I also need to decide whether the “wall of mirror” should return. Since it’s such a tiny space, it might be nice to bring it back all the way down to the wood to double as a back splash, but I have to think on it.
Onward. No looking back now. Adios yellow laminate!
Wish us luck!
To Do: Half Bath
I warned you I had some heinous bathroom action going here…and I haven’t had the guts to show the master bathroom in detail yet…it may take some time to muster the courage. The best bathroom in the house by far, was the upstairs jack and jill used by the Minors.  Probably because no one used it for the past 10 years or so.
The half bath is actually our kind of project. Â This will really happen this year, because we can do it ourselves, and do it inexpensively. Â The Crafty Counterpart has some pretty good plumbing skills, so that always makes it easier/cheaper. The half bath will also take priority since it’s what our guests use, and its proximity to the playroom makes it the most used bathroom in the house. Â The beige potty doesn’t flush unless you hold the handle down, etc..even the Minors have been asking when we’re going to “do something about that bathroom.” Â The color in here is that shade of beige that looks dirty all the time. Â No matter how many magic erasers I use on the walls, it still feels dirty.
I had debated keeping the floor in here. Â It’s a groovy tile, but if I keep it, that means I have to keep the vanity cabinet. Â The cabinet is actually decent, paint job, new countertop and sink/fixtures…it would look great, but since it’s such a small space, my vision was to have a floating countertop with freestanding storage underneath. Â It will certainly be faster and simpler to rehab the cabinet. I’ve brought home about 30 swatches and can’t find a color that I like to use with that tile. At the end of the day, busy tile means no busy walls, so methinks the tile floor goes.
For the walls, I really wanted a groovy 70’s inspired wallpaper, but I have stripped too much wallpaper in my life and I can’t do it. It’s a shame, since there are SO many beautiful papers, but I refuse to put it up in my houses. Â It’s too big a commitment. (I can hear the collective gasp of horror now…sorry.)
So, my plan has been to take a page from Kellie, who I saw featured on this Design Sponge post last year.  Brilliant!  All the wallpapers I had been eyeing were metallic patterns on a rich color, so I could do something like that in the half bath! If I screw up, I paint over it and start again.  My kind of project.
photo via Kellie/Scraplog
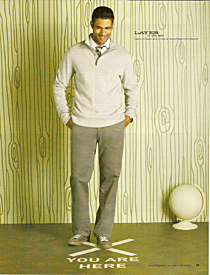 photo via Scraplog via Fossil catalog
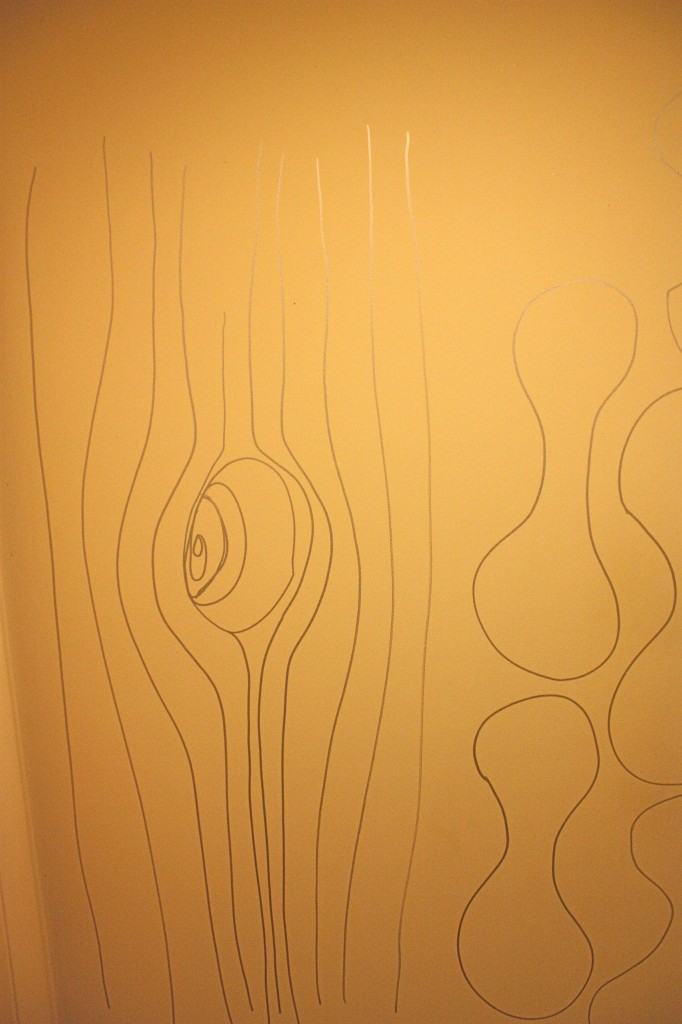
Problem is, one day this summer, when it looked like we might get started on the half bath any day, I grabbed the paint pen and started doodling on the walls. Â Just testing some ideas..you know…6 months later, it’s still there. Â Kind of embarrassing when guests are over, but hey…it is what it is.
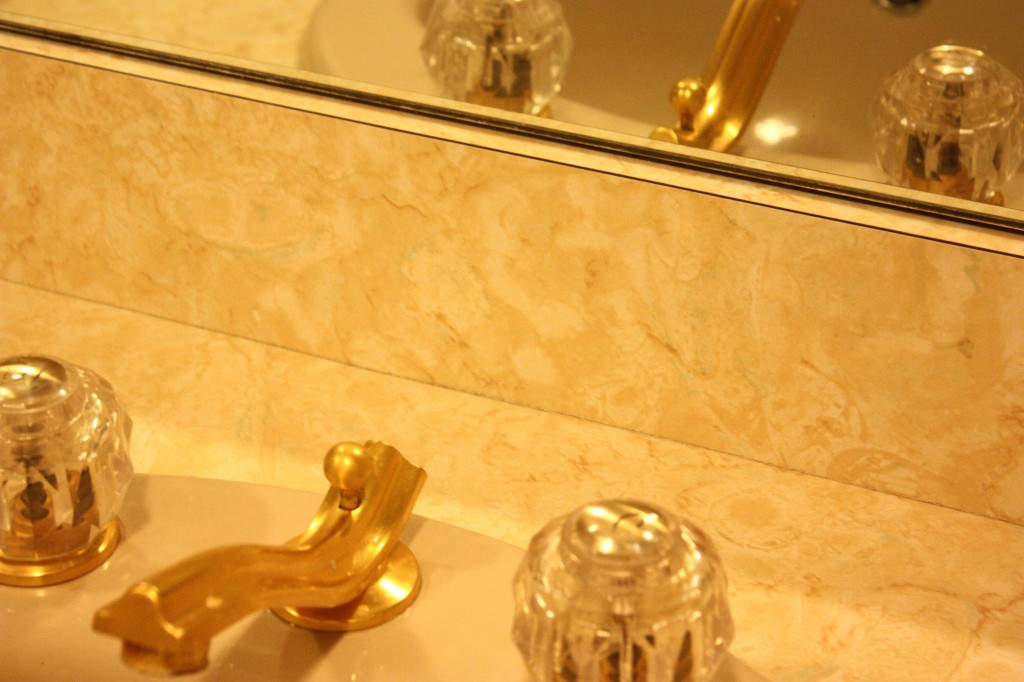
You know you’re jealous of my fancy hardware and faux marble laminate countertop.  So, should I rehab the cabinet or go floating like this one we built in our last house?
