I See a Red Door……

….and I want it painted black…..

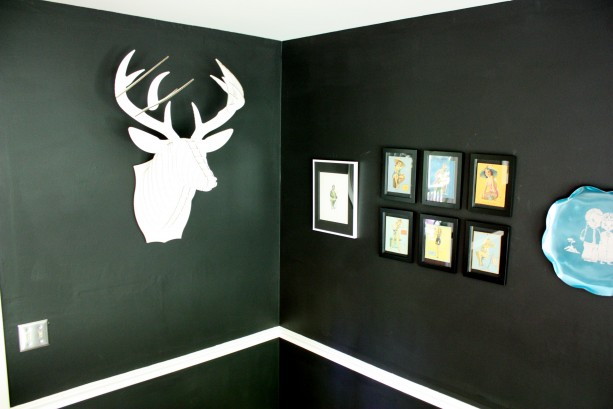
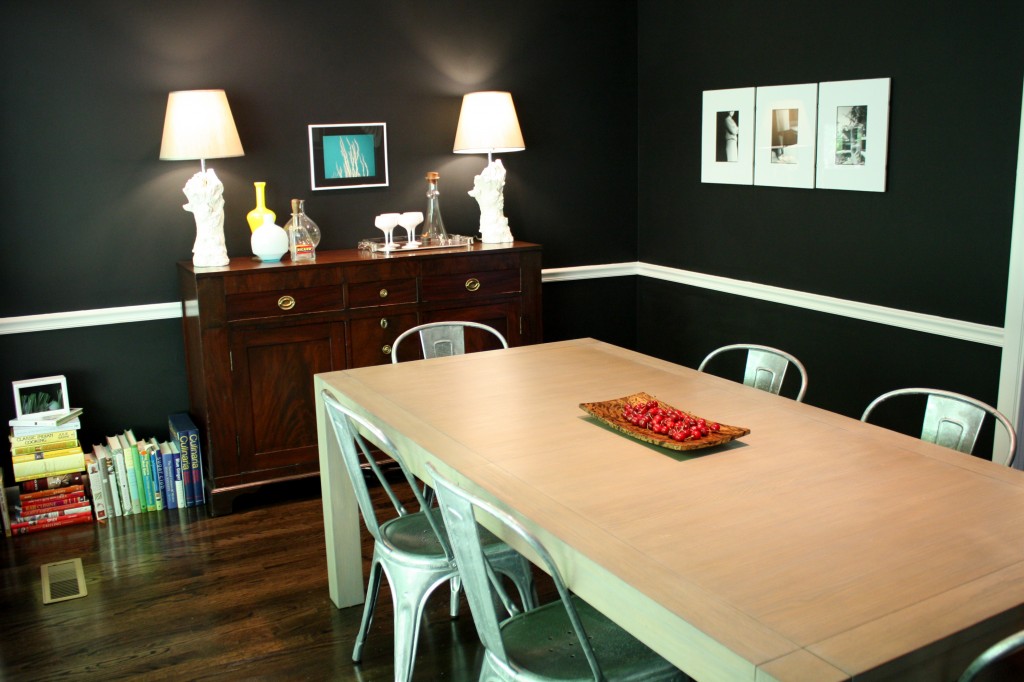
It was only a matter of time… I had to have a black room.  I’ve seen so many beautiful ones in the past year and I wanted to play too.  The dining room was one of the few rooms we hadn’t painted before moving in, so it’s been on the list for awhile.  Feeling a bit worn out with the process of getting the siding out to bid,  I decided to focus on a small, instant gratification project.  Hello, French Bulldog Black from Martha Stewart’s Valspar line.

BTW, this is how we renovate.  (That’s how the mailbox got done towards the end of the kitchen remodel.)  When faced with a big project that is very involved with tons of planning and details, we get impatient and need to feel like we are moving forward…so we go completely off task for a weekend with a “play” project.  I guess we could call it the attention deficit approach to remodeling, but neither of us have ever been diagnosed…..yet.

I worry that keeping the chair rail white will make it feel too traditional, especially because I have this big traditional buffet (that I want to go away!)  I hate the temporary lampshades, and I don’t have a place for the cookbooks yet, but all in good time…I will have it worked out.  This is just a start.

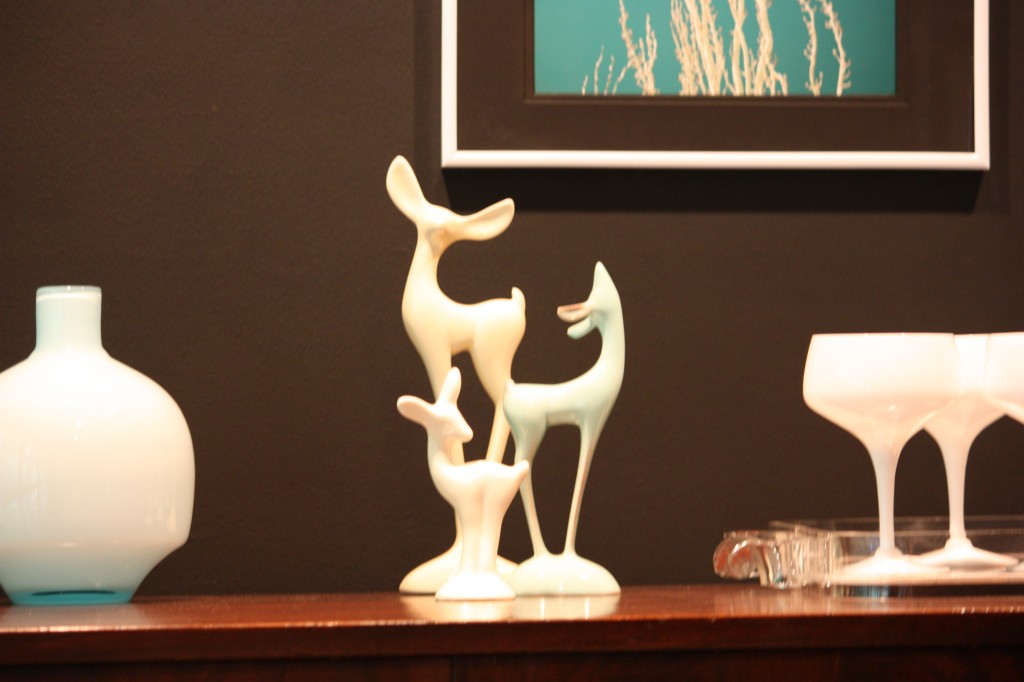
For those who like these kind of details: The photo over the buffet is by Jon Armstrong at Blurbomat.  Deer “trophy” from Cardboard Safari.  White MCM glasses are a recent score from my fave antique store in Chicago.  Fawns are (2) Roselane and (1) Northern Pottery…all 3 found on e-bay.  Dining room table is a Pottery Barn Shelton just scored half price a few months ago.  Chairs are PB’s Marais knock-off, BUT I got them a few years ago at the Pottery Barn Outlet for $60 each.  All in all, an extremely inexpensive makeover.

We’ve had our fix, and now it’s back to research, negotiations, no shows, fuzzy math….
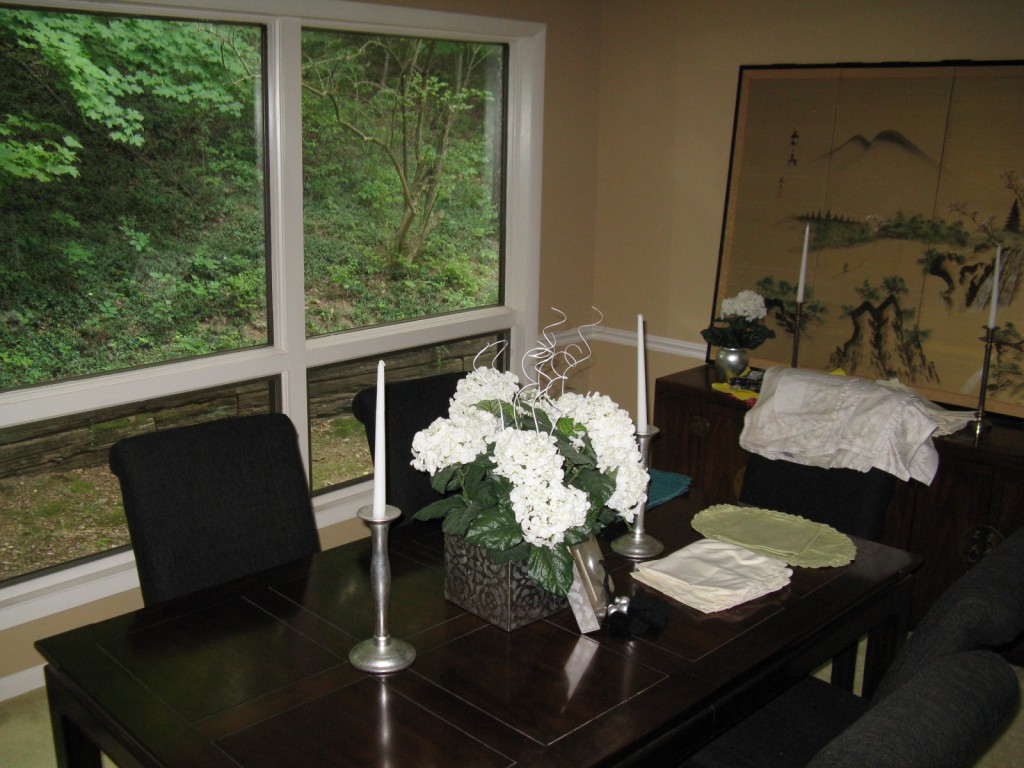
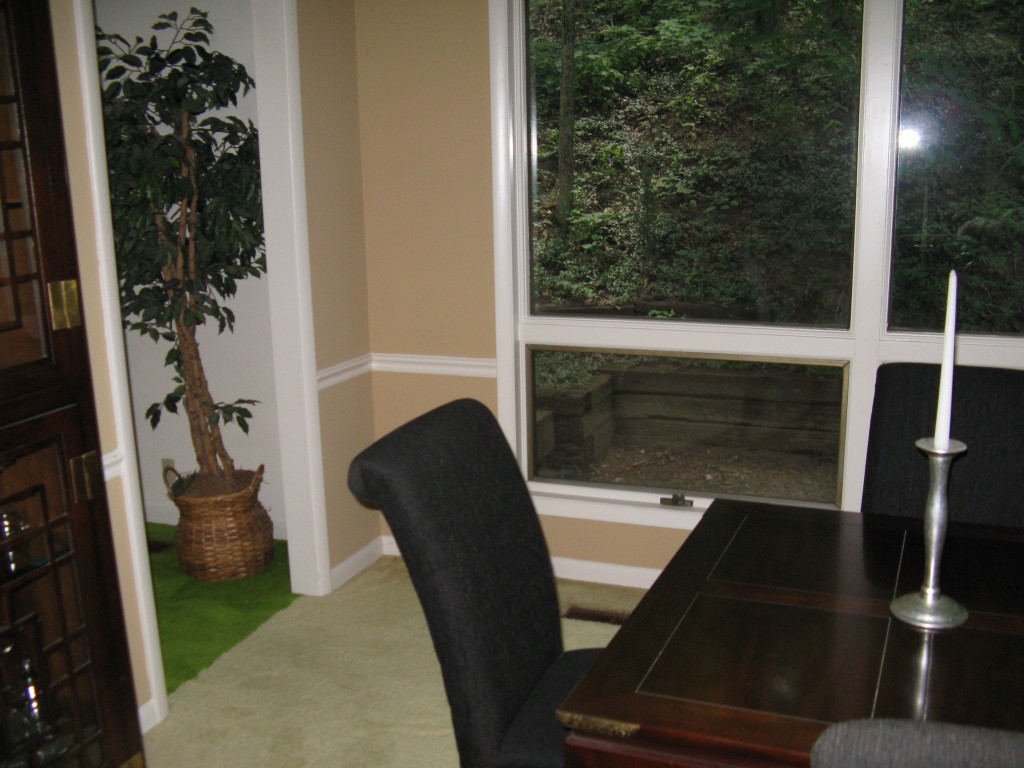
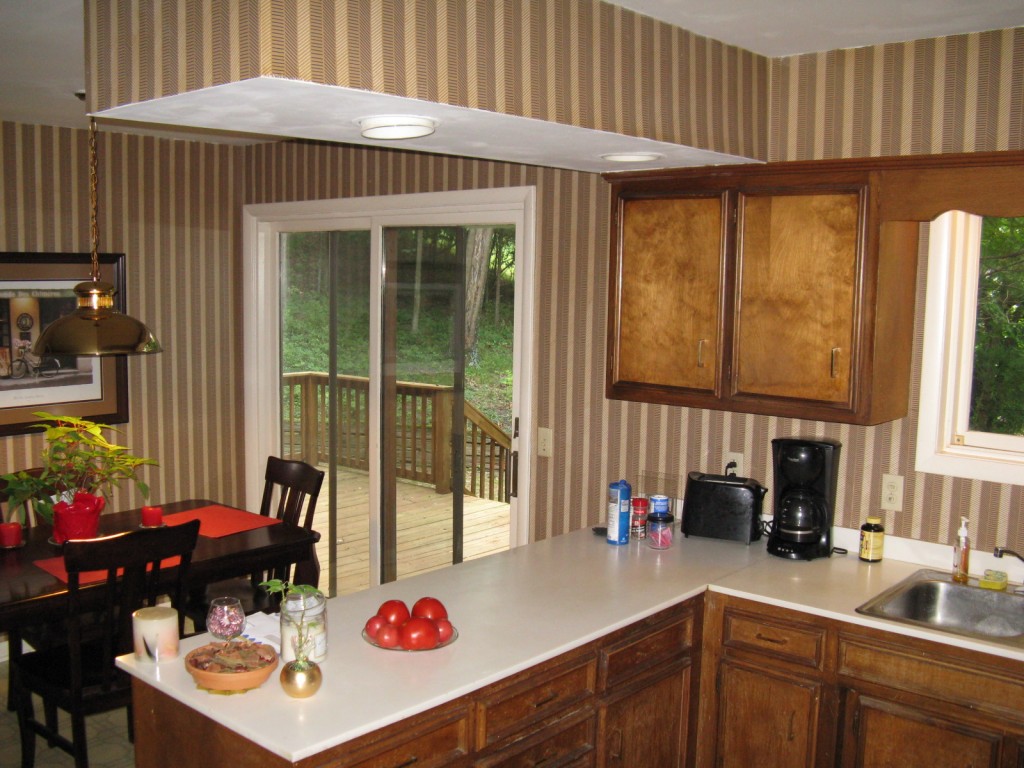
Previous Homeowner's Dining Room
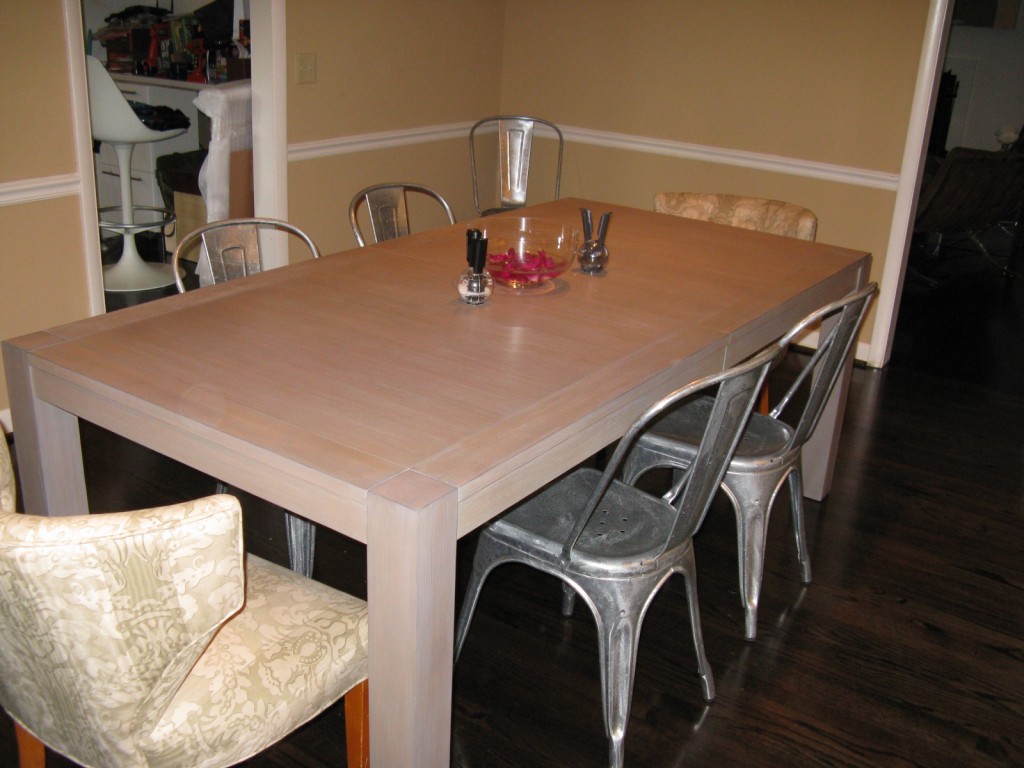
Before..New Floors, but BLAH Paint
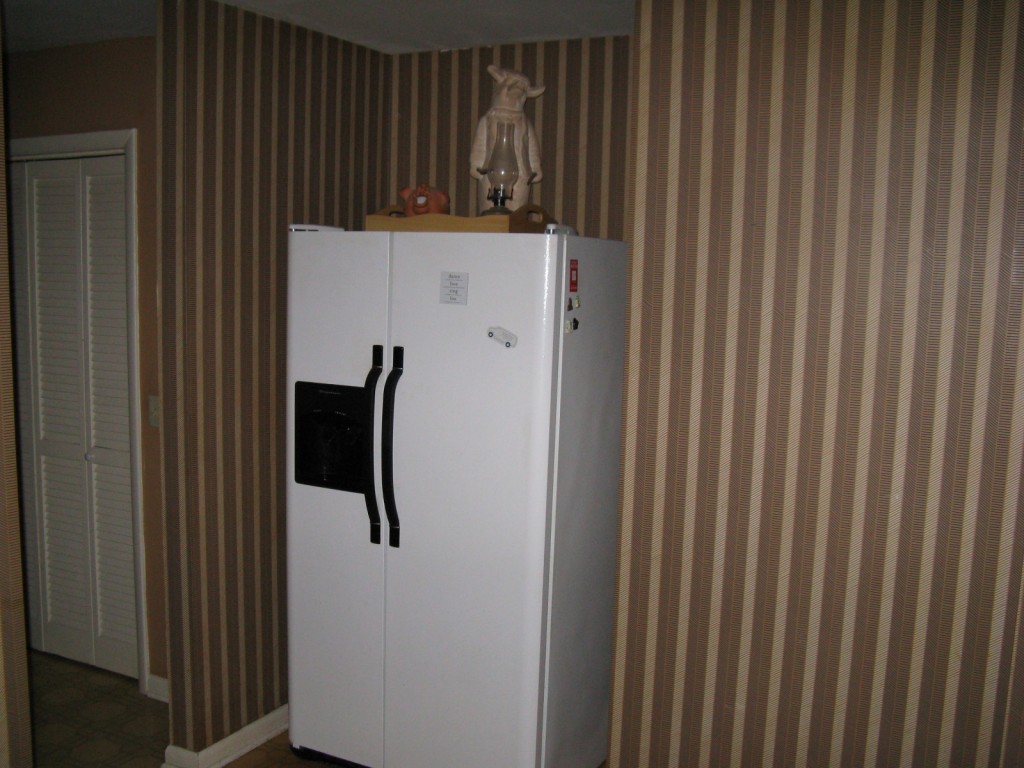
DR Before Paint
Goodbye Milquetoast Mocha
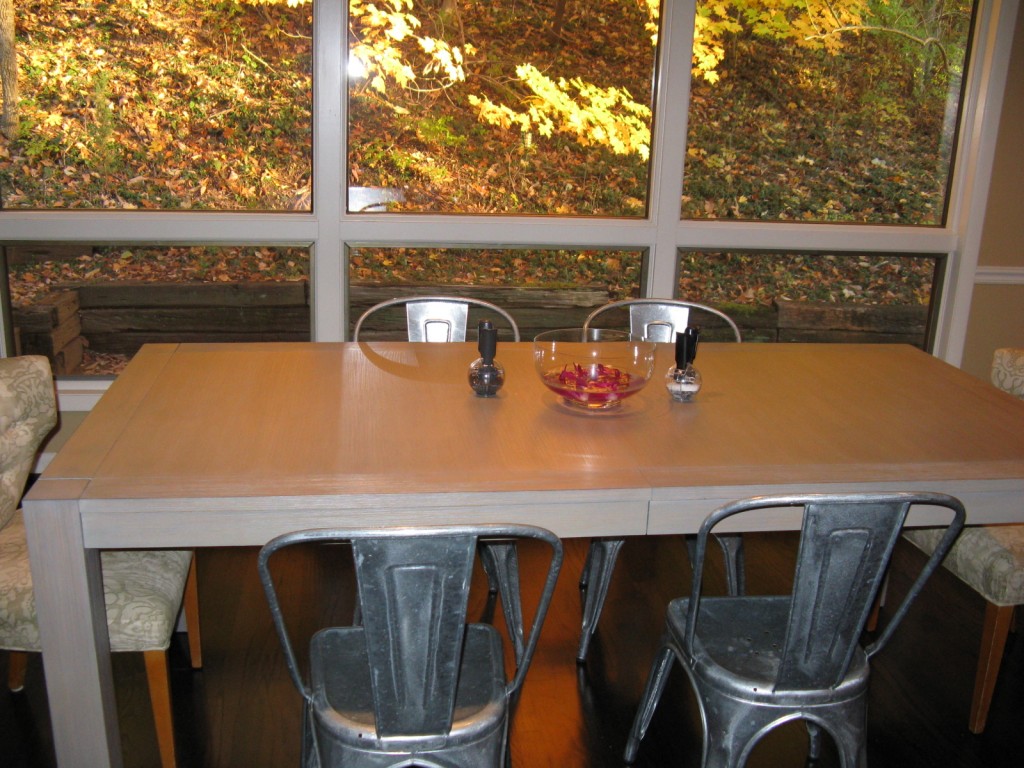
View From Outside

Let’s Get This Potty Started….
I have 3 bathrooms to renovate.  A big draw in buying this place was the condition of the baths-they may be ugly but are fully functional, thus buying us a bit of time.

Doesn’t it seem like a conspiracy when the one thing you didn’t want to deal with rudely forces itself on you like the flu?  The upstairs toilet is leaking.  There is NO way I’m ready to redo that whole bathroom yet because there are walls to be moved, so let’s just focus on potty replacement as our band-aid. That 70’s tile isn’t really all that bad, and the kids don’t seem to mind having only an 18 inch wide walkway by their sinks….really!  I’m sick of plunging anyway.

I’m down to 3 contenders.  The Toto Aquia Dual Flush, the Kohler Persuade Dual Flush and the Jacuzzi Espree.  The Espree is not dual flush, but a high efficiency flush. That plumbing guru Terry Love and his fans say this is a no brainer…Toto all the way.  I am put off by the…ahem…skidmark problem reported by Toto users.  They don’t seem to mind though….they say…”just keep a brush handy..best toilet ever!” Dedicated following.  I’ll admit my cheap and impatient side has me seduced by the NOW availability (Lowes) of the Espree. The other 2 are mail order only where I live.  Whatever we choose will be installed by my fabulous crafty counterpart.

Kitchen Remodel

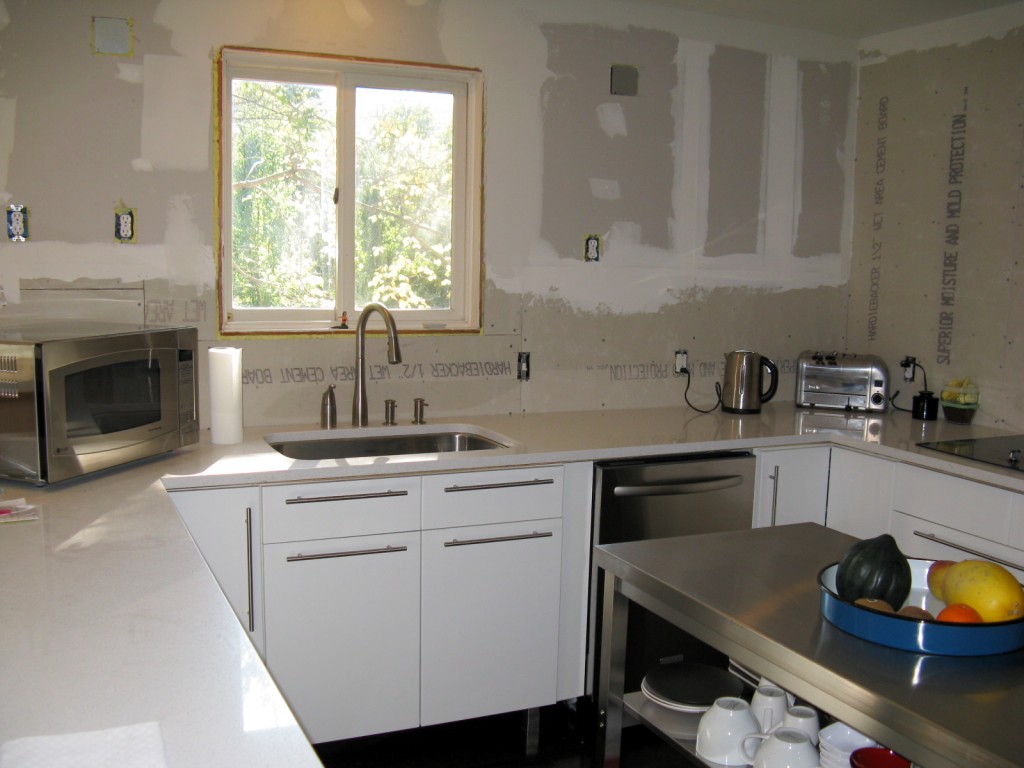
The kitchen has finally reached a semi-photographable milestone.  There’s still trim to lay, painting and some minor finishing touches – but it’s basically done.

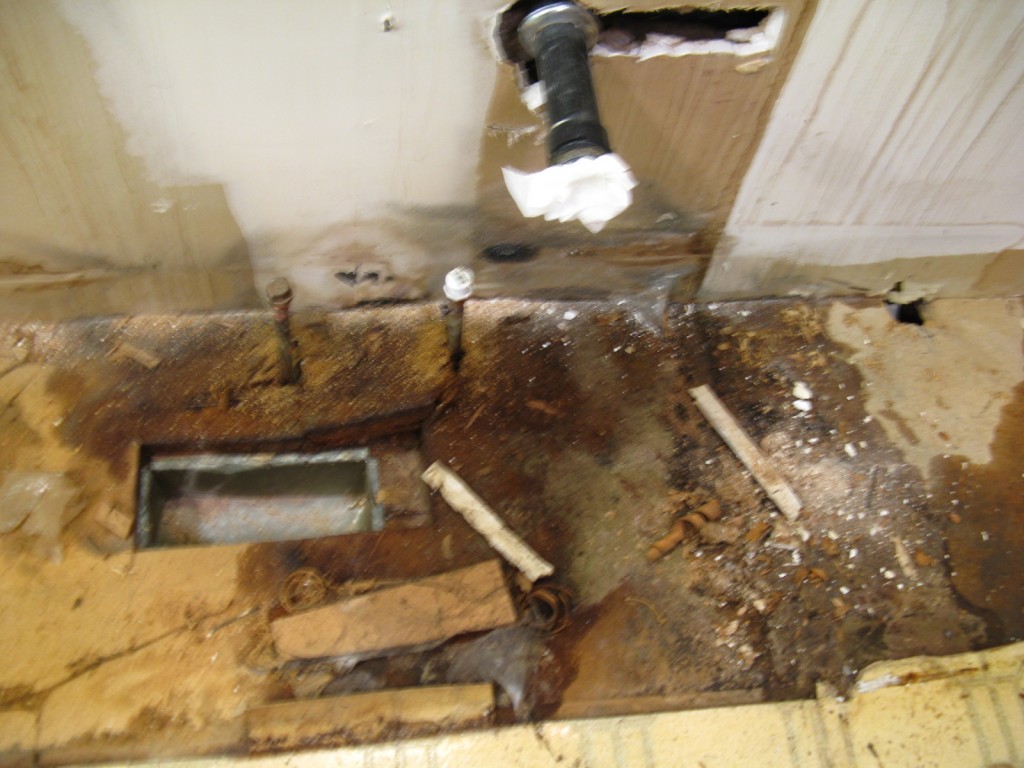
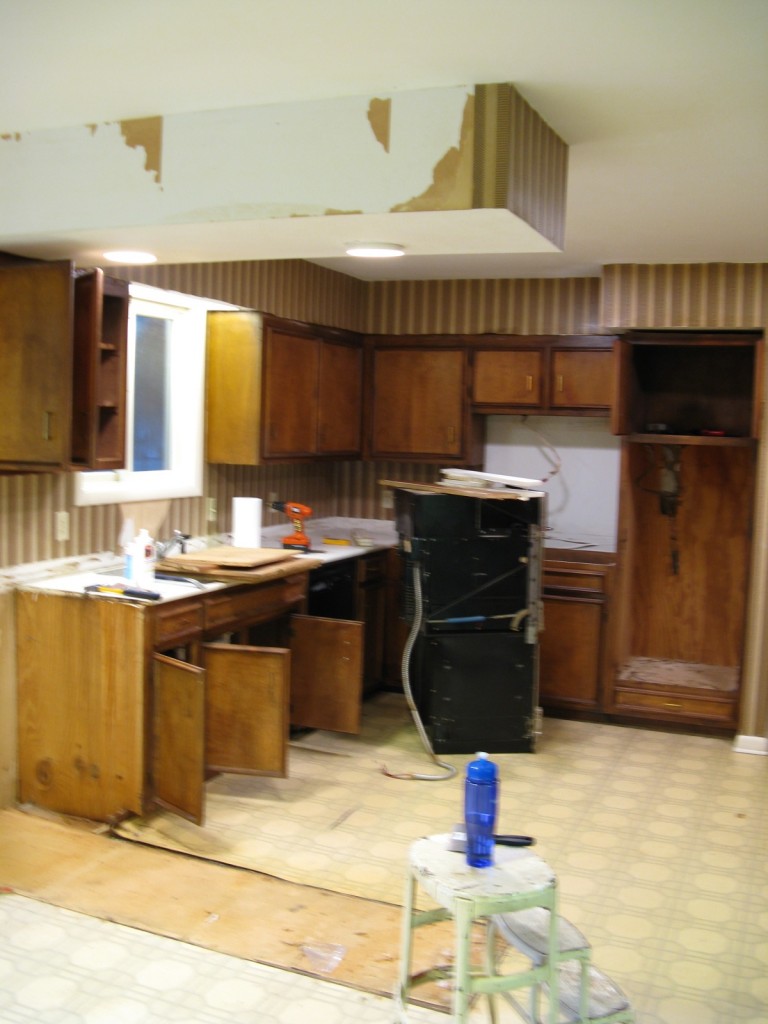
To give a bit of background, we recently purchased a 1977 modern home that hadn’t seen a lot of love in the past 35 years.  The kitchen had to be gutted -  the sink had been leaking for years, and the use of space made the kitchen feel a lot smaller than it really was.  We closed on a Friday and started the kitchen demo that night.  We knew it would be tough to live kitchen-less with kids, so we hoped to minimize down time.

I haven’t added up every last Lowe’s receipt, but, to put a number to it, we completed this job for $16k.  While not cheap, (we had hoped to keep it well under $15k), it’s not too bad for a full gut and redo with ALL new appliances.

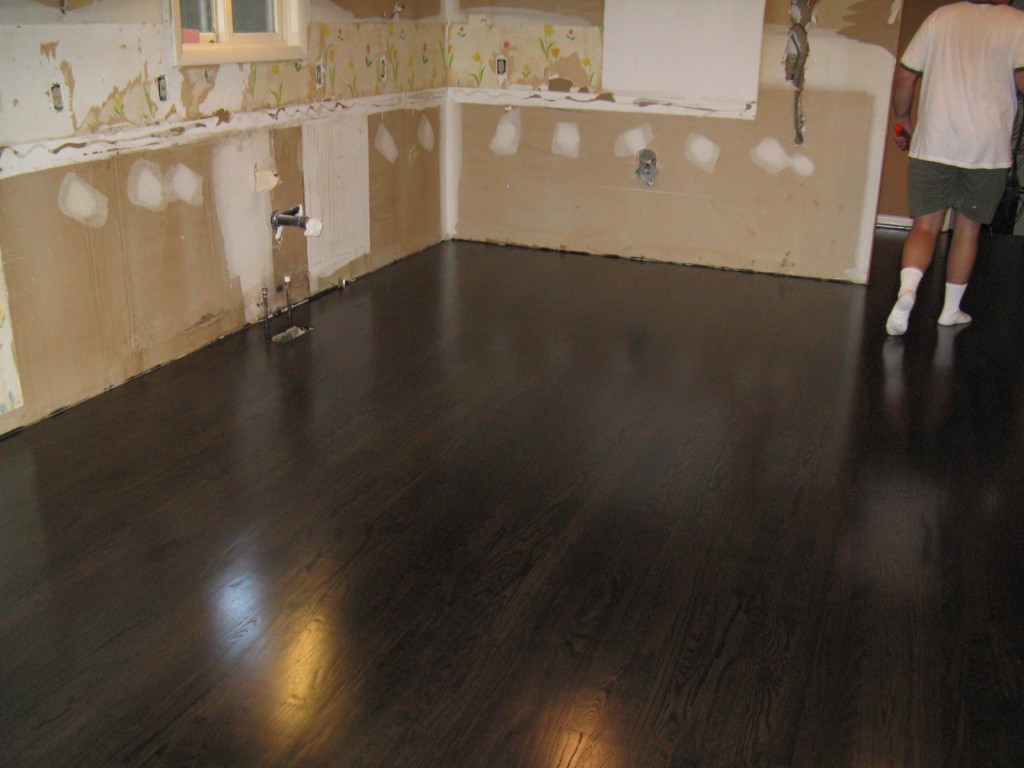
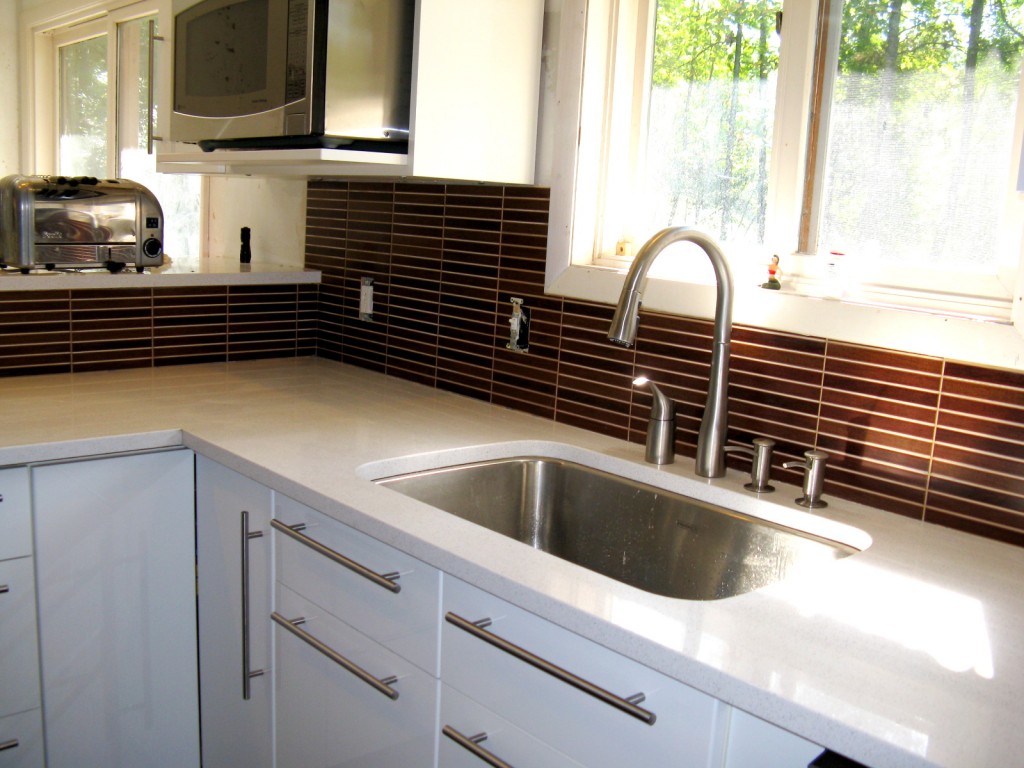
We did everything ourselves except the flooring and the backsplash tiling – I know – why not?  The flooring was a continuation from the adjacent rooms, that were getting an upgrade from green shag, and the tiling was a simple combination of exhaustion and a need for precision with the tiles we chose.  We gave in!  Additional info on the tile we chose has been covered in this post.

Although we live more than 3 hours from an Ikea, Pricing cabinets made it very obvious that with truck rental and hotel costs, we were still saving immensely by doing an Ikea Kitchen.  To illustrate this point, we were quoted $14k for ONLY the base cabinets of Kraft Maid Venecia from Home Depot/Expo.  All of our cabinets, including uppers, and the desk area not shown here, cost $7k. The counter top material is quartz ordered/installed through the now defunct Expo-just in time!

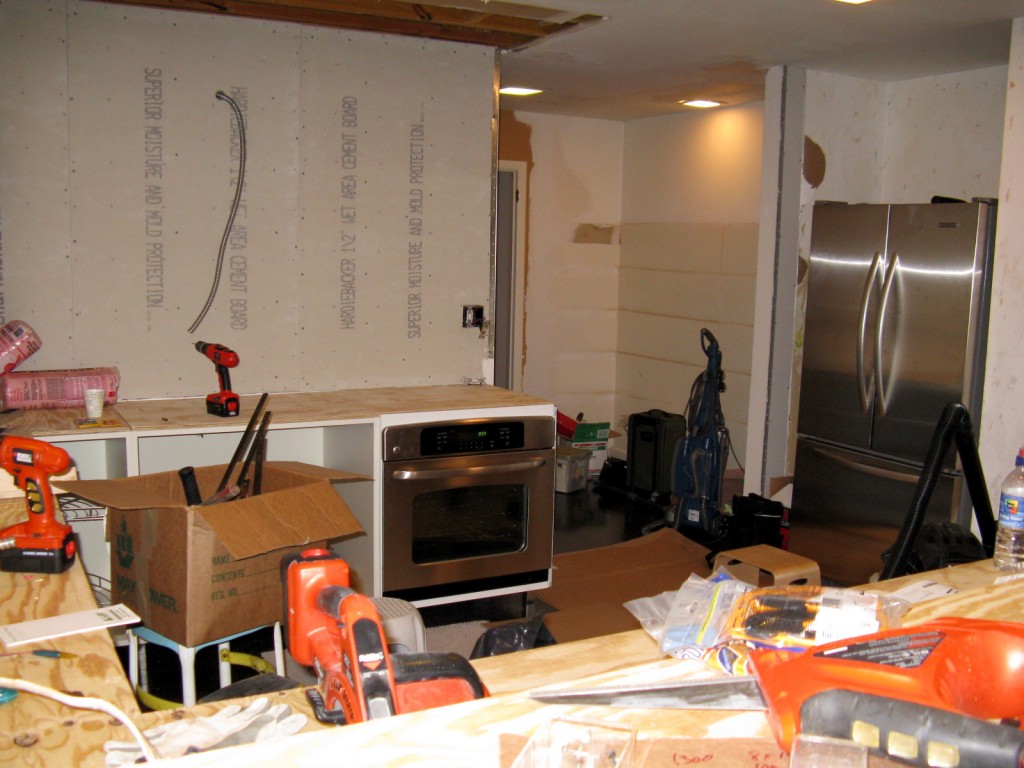
We removed the soffits and 2 small walls that crowded the pass through area between the ovens and the fridge.  We also made the tough decision to install only one oven in order to maximize the open feeling and gain counter space.  We enjoy cooking together, so that’s why we placed the oven offset from the cooktop.  While one person cooks at the stove, the other can access the oven without anyone having to step out of the way – a decision I still stand by as it works great for us.

Utby feet from Ikea seemed like a good idea to show off the new floors rather than using toe kick plates.  As I clean under there and chase rolling grapes, I’m not so sure it was that practical, but I still love the look.

The Original Kitchen
Before with Soffits
Before Fridge Area
Rotten Floor at Sink
Demo in Progress
Finished Floor
Typical Renovation Mess
Finally Usable
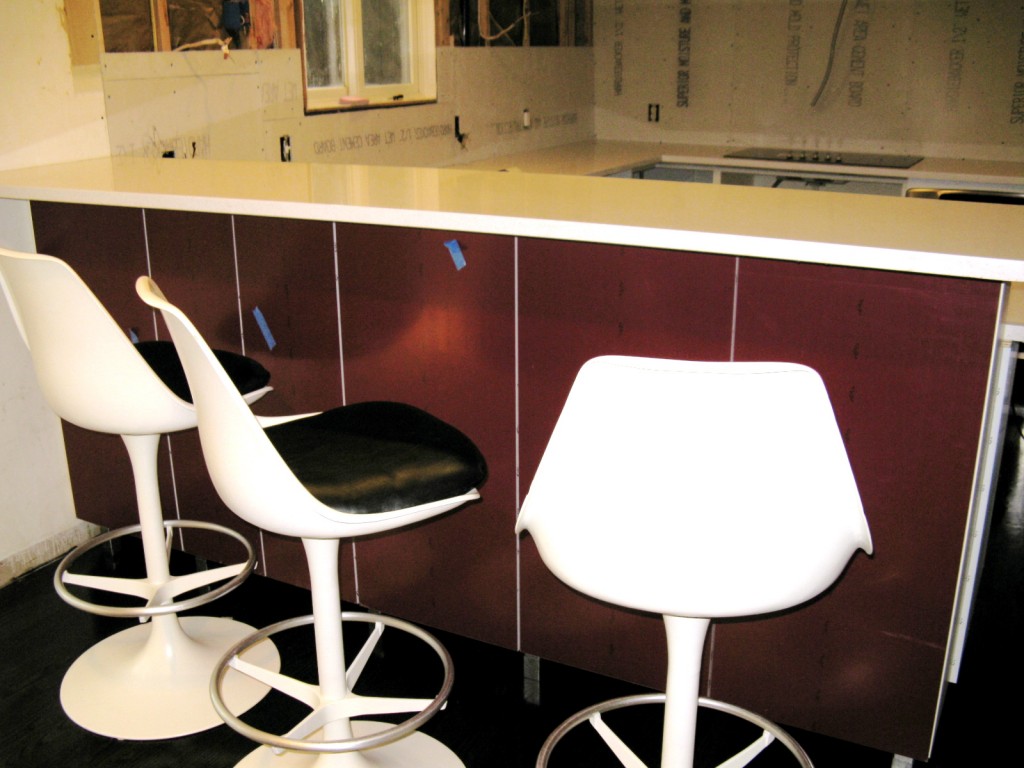
Breakfast Bar
Backsplash at Sink
As of Yesterday

Sunflower Power

Another day, another fun knock-off.  George Nelson’s Sunflower clock has been translated by those hipsters at Urban Outfitters into a fun little wall mirror.  Nice compromise for the price.  if the functioning clock part is still missing from your vision, pop out the mirror and install your own clock hardware to it.  Making your own “fauxflower” clock could shake off those last winter blues and bring a bit of mod spring inside.

Those Wizards of Oz

The latest issue of Dwell had me nodding my head vigorously as I read the cover “Why are the world’s best houses in Australia and New Zealand?”

The Aussies have also got this building material I’ve been trying to source in the US – unsuccessfully, so this is a call for help if anyone knows.

The magic I’m after is concrete crib walls and concrete “sleepers” or rail ties.  Concrib in Australia makes the crib wall retention systems I’m so fascinated by – they are used in big commercial projects such as highway bridge erosion control.  Engineering genius- and I think the look is stunning – softer than solid hardscape.   The other option I seek is the concrete sleepers. The photos of those here are from Modular Concrete Sleepers and Boonah Landscaping.

I have a retaining wall situation in my 70’s modern home with a 6 foot high tower of crumbling, chipmunk infested, rotten wood sleepers.   I especially like the sleek joining of sleepers with the metal beams.  Anyone who has some knowledge to share will be my hero.

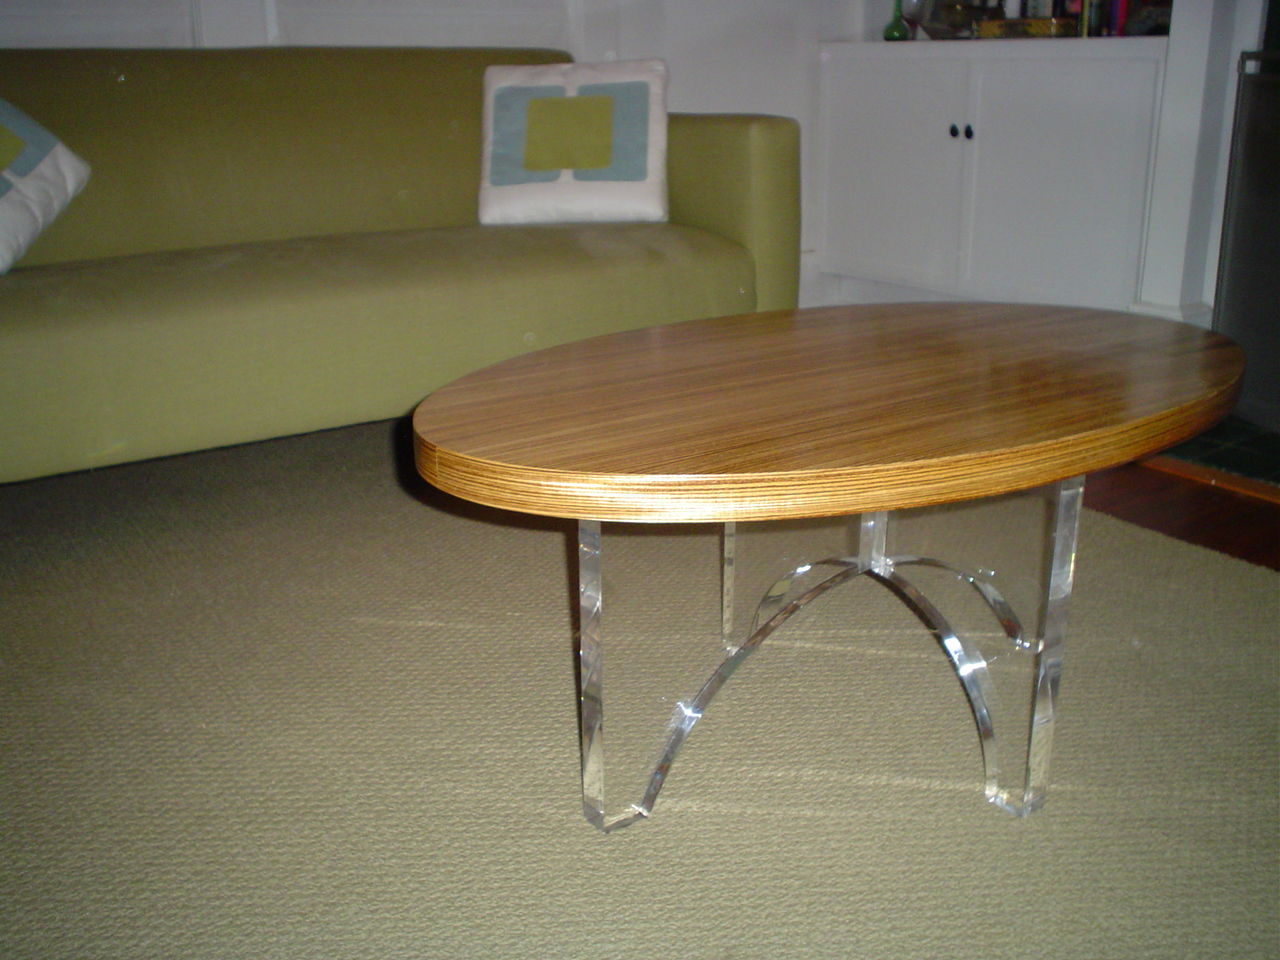
Lucite and Zebrawood Table

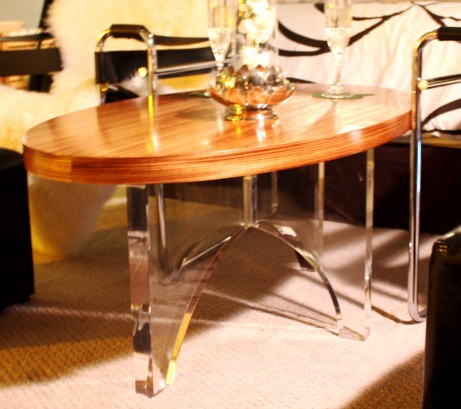
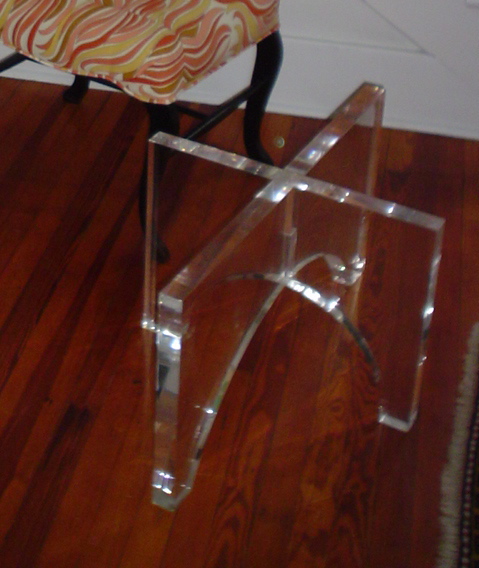
I really wanted a Karl Springer lucite table, but kept getting outbid by interior designers on e-bay every time a good one came around.  So I gave up that approach and started thinking about how I can finagle a new glam coffee table for no more than $200-$250.  I found the lucite base on e-bay – came with a giant glass top that made it look oh, so 80’s…but I was able to purchase just the base.

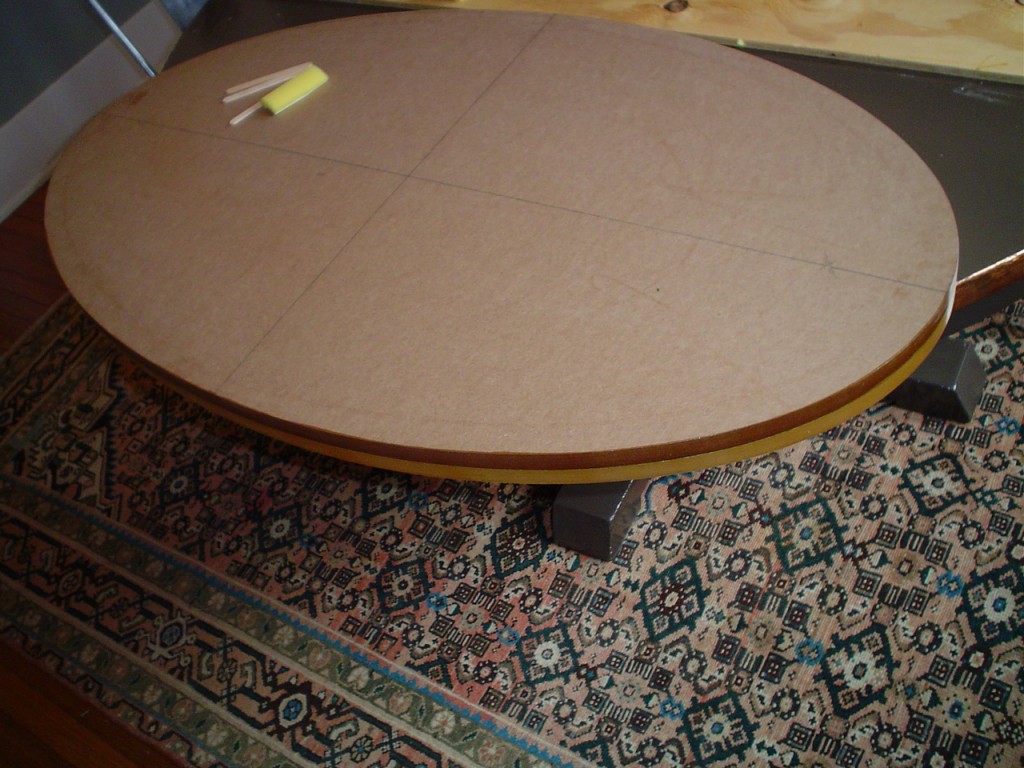
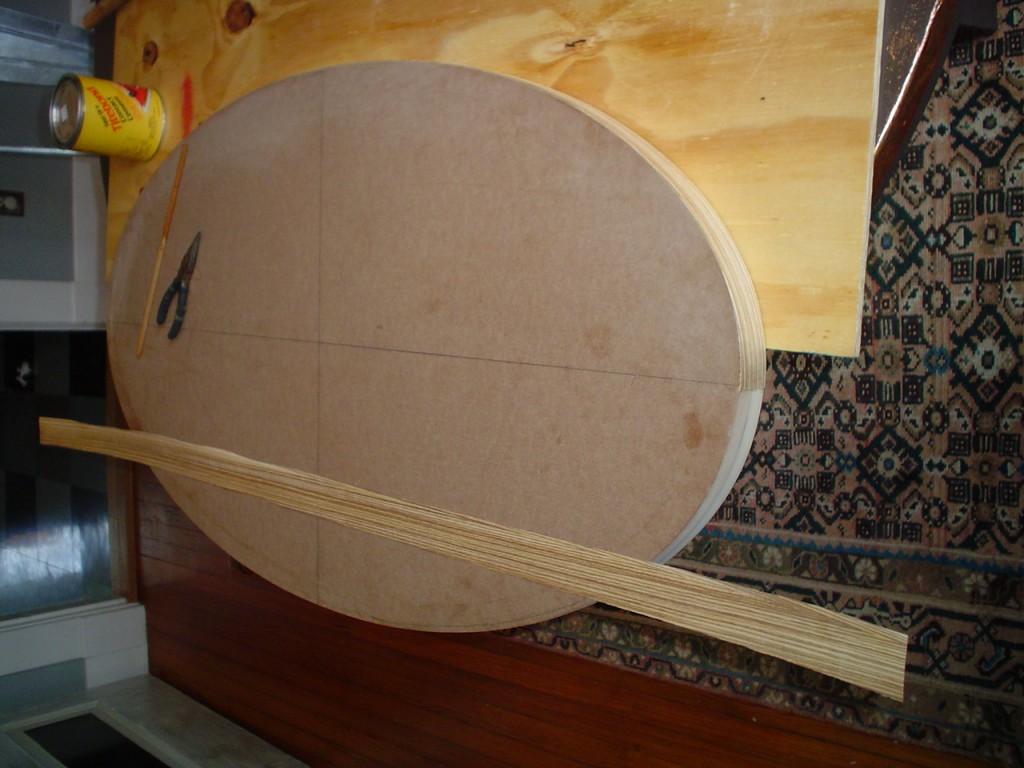
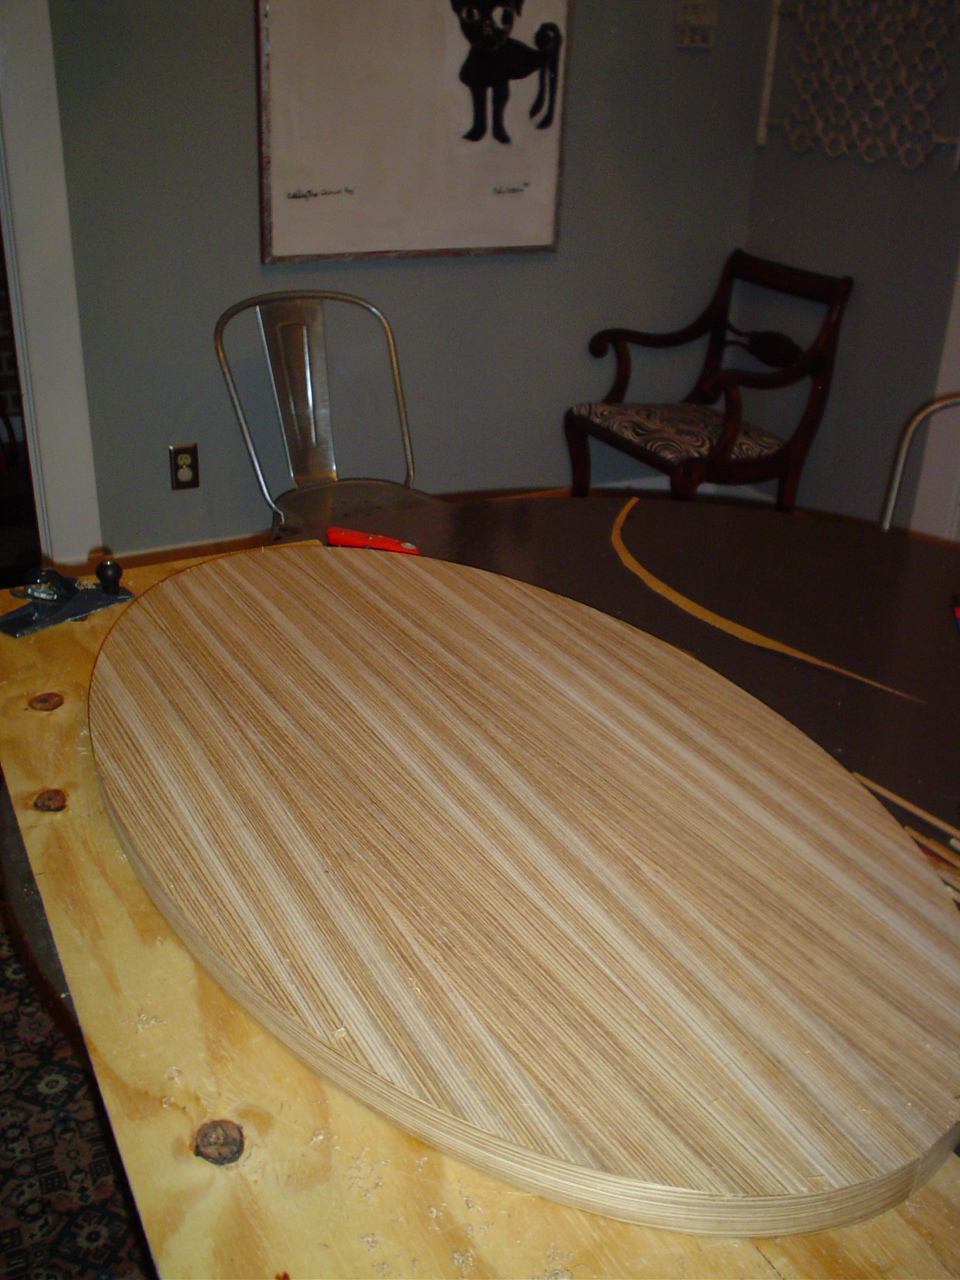
Next came making our own top….In discussions with my crafty counterpart – he decides 2 pieces of MDF glued together is the perfect base on which to apply our veneer.  I went to the local woodworkers shop and picked out a nice piece of zebrawood veneer – from there, we built the tabletop to be the exact width of the veneer so we won’t have any seams on the top. We cut small strips to use on the sides and left the underside alone. Sealed with a few coats of polyurethane and it’s done.

Lucite Base
Before Veneer
2 Pieces MDF
Unsealed Veneer On
Complete