Pea Gravel Patio

Well, it’s only been about 9 months since the walls were built…we are finally finishing the top patio in the front.  In our feeble defense, it’s just been lower on the list since we wanted to spend spring and summer filling the new beds and getting stuff planted.

It was tough to decide which gravel to use.  Since we needed massive amounts, the budget needed to be less than $50/yard.  That pretty much left us with limestone or pea gravel.  The granite chips were 3 times that so…no dice.  We can’t use decomposed stone fines (my 1st choice) because they set up too hard and the water will run off away from the tree …we need the water to drain down so that it gets at its roots.

I’ve used limestone before for gravel patios and it worked great, but I wanted to explore something softer and easier on the feet. I’ve always hated pea gravel…it felt very dated and ugly to me, but I found a few nice gardens that changed my mind.

This patio used pea gravel in between the hardscape…

Photo via Studio G

… and this post showed a nice pea gravel patio
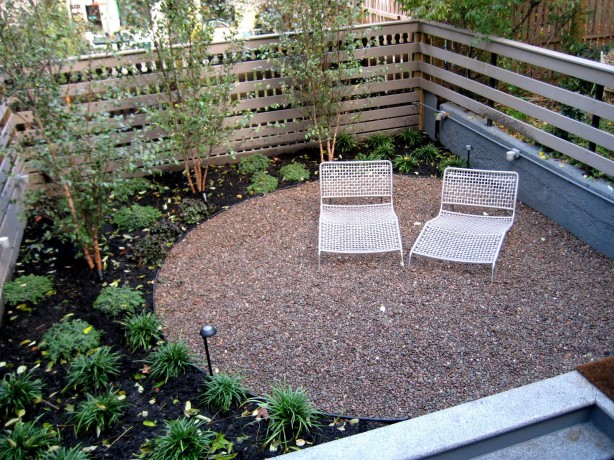
Photo via Rock Stock & Quade

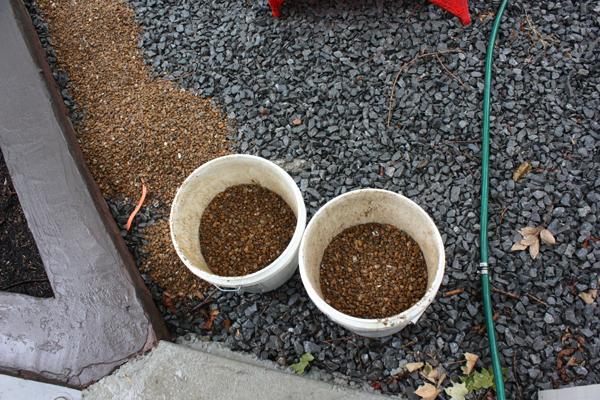
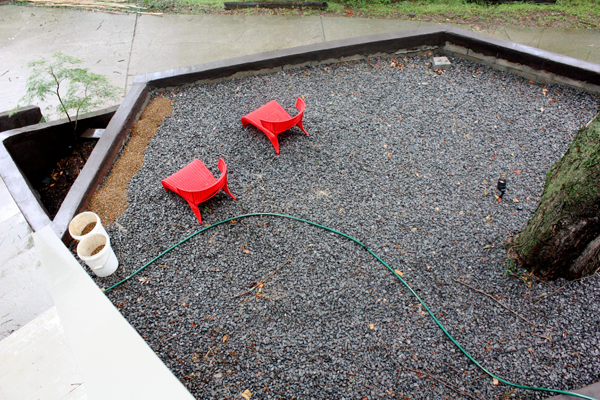
Now we have a monster sized pile of pea gravel to put on top of the large limestone.  I started spreading it in the rain since it’s as cool as it’s ever going to be (only 87°!).  I discovered I can only fill the buckets half way or it hurts.  Up all the steps, dump and repeat.  2 buckets are best since it keeps me balanced instead of bending over a single full bucket.

Phew…gonna be a long week.  Problem is….I think I might hate the color….stay tuned for a hopeful improvement…maybe when it’s dry…maybe.

New on the Blogroll

I’ve been under the weather this week and getting f-all done, but I have, over the past few weeks added some new links I thought I’d point out for your enjoyment in my absence.

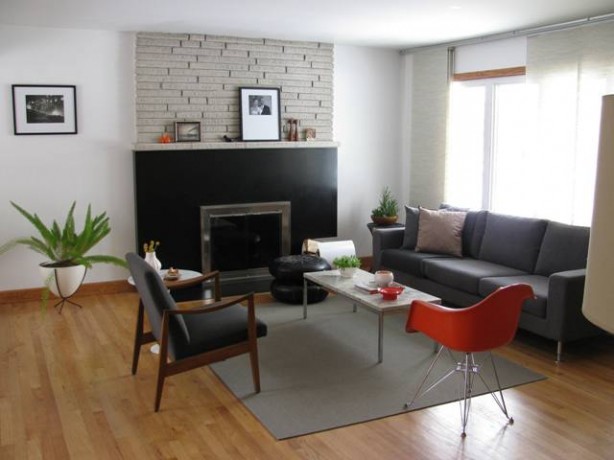
La Residence (sorry, I can’t get my special characters to add the accent mark for some reason)

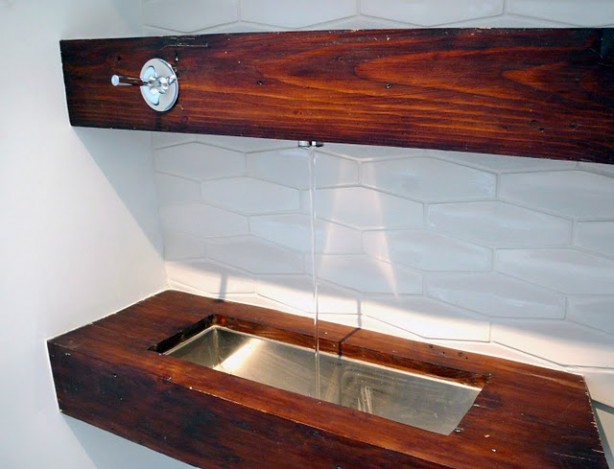
Ah. Maze. Ing.   Reno junkies…start thumping your veins cuz it’s some good stuff.  That sink is a DIY from an old support beam…yeah.

Another one that I’ve been loving is Housepet….another amazing whole house transformation….check out the tour here.

Have a great weekend….

Spin Baby Spin

So, who didn’t love spin art as a kid?  I don’t think I could trust someone who didn’t like spin art…what’s not to like?

When reading through Laura Day’s Spin Party inspired by her Damien Hirst print, I thought…why not improvise and go big…Hirst style?  I need bigger pieces of art in this house… I have lots of little things that look crappy on these big walls.  Since my art budget is nil right now…time to improvise…and have fun creating something special with the Minors in the process.  Perfect summer project.  Thing One has an ear infection, so when pool time is out…craft time is in!

Although this is a clever DIY, I wanted something bigger….We have this lazy susan base in the garage that we use when painting small things so we can rotate them on the workbench.  Perfect, I’ll tack the paper onto the lazy susan and we’ll be good to go…right?  If it works, then I’ll attach even bigger pieces of paper to it.

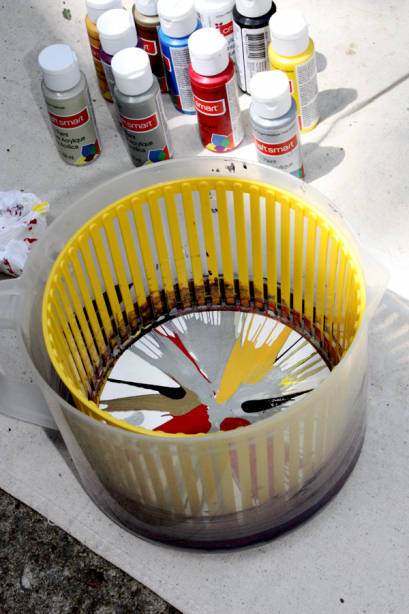
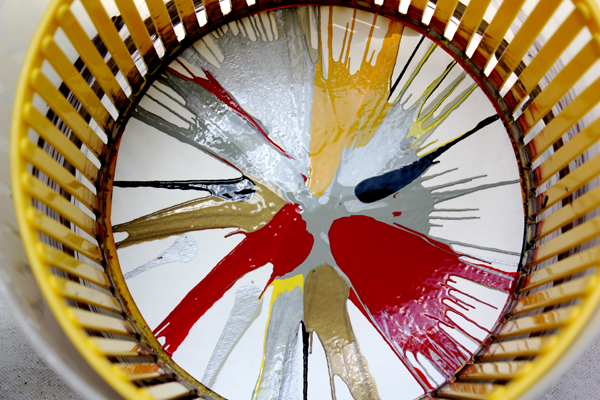
Um….maybe not.  It’s not exactly spin art.  The LS just couldn’t spin fast enough.  Until I can figure out some way to MacGyver a drill powered spinner…we are back to that clever salad spinner version.  Visions of our giant Hirst-ish creations would have to wait. So, here we go…small scale!

She used construction paper, and I used both watercolor and painting paper both of which worked equally well.  I thought the construction paper would be too flimsy and absorbent.  I traced out the bottom of the spinner basket and cut it out with a blade.  Pop the circle in the bottom of your spinner and it’s time to squeeze and spin!  I used craft acrylic paint in squeeze bottles…they are only $.59 each at Michaels.

We’ve started playing around with some other textures of papers and edges…like this slick silver paper I forgot I had…

I think in the end we can make a big piece with all the small ones compiled some way….

Back to spinning!

Holiday Progress

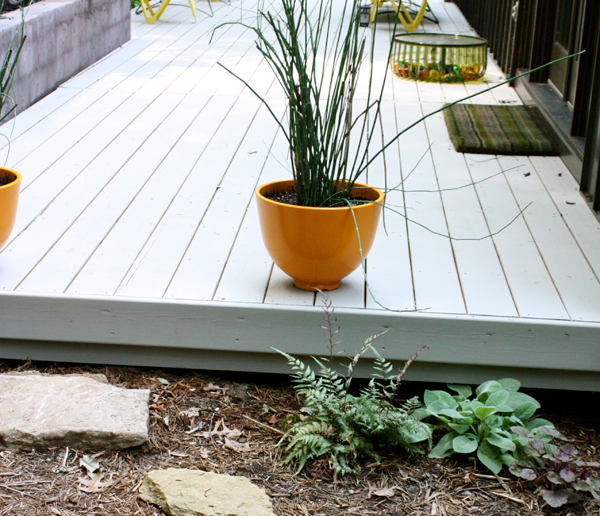
It doesn’t look like much, but we did actually accomplish more than stuffing our faces with carnitas over the July 4th holiday.  We have finally had a break from the Nashville Monsoon so I could finish that pesky spot of deck floor staining.

The old railings were really getting in the way of completing the stain job, so, even though we don’t have the hog panel yet, buh bye.

We’ve kept up the support posts since we will reuse them, but now we are thinking of rebuilding and widening the stairs.  We didn’t change them when they added onto the deck since they were attached to the old section and were perfectly fine.  We’ve got some planning and potential reconfiguring to do….of course…UGH!

So while deck progress is now at a potential screeching halt, the CC tackled a little work on the compost pile…

We are now using it although far from done…he has finished one gate, but could only find the ugliest hinges ever.  He has promised to paint/camouflage them since we grudgingly conceded that mail order stainless hinges were not required for a compost pile….although it would look SO much better.

AND, groan…we started to deal with the fallen tree.  One solid day of heat and sawdust.  I dragged branches to the road and stacked future firewood while the CC got all manly with the chainsaw.  There’s more to do, but what’s left is hidden from public view in the jungle so we can take our time finishing up.

We were so exhausted after that day…we packed up Thing One and Thing Two and headed to the pool.  I cracked out an old find from the depths…I think these were my dad’s.  Love ’em…even though the Things thought they looked “funny”.  I was too whipped to care if I looked “funny” in them or not.

Compost

Forest = leaves, and LOTS of them, since 99.9% of the trees on the property are deciduous.  We need to build our compost enclosure so I can start feeding my new plants some home grown goodness.

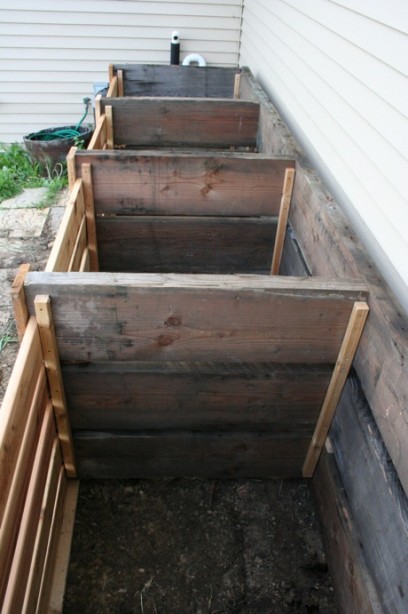
It is tempting to go all out and do something like this…

FOUR bins.  That’s some SERIOUS composting…the blog One Straw gives details on how to here.

But it has to be pretty as well as functional….that one above is great, but I don’t want to look at that.  Why does a composting bin have to be ugly?  Now this looks nice…..

Found this one on Nature Moms….only one bin…but attractive.  Don’t know if it gets enough air circulation though.  Now if we were really creative…and rich, we could knock out two projects in one with this…..

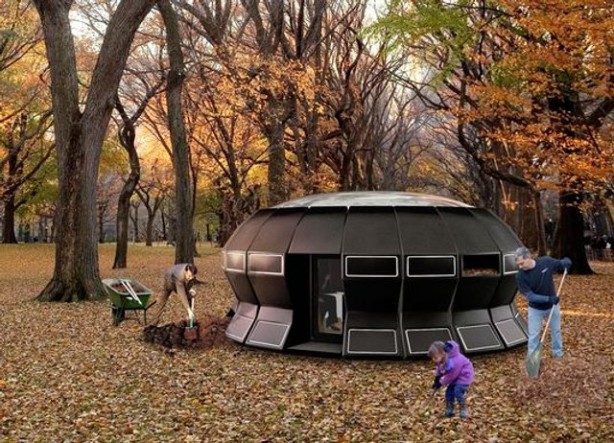
The Comploo.  It’s part composter, part igloo..and supposedly, is heated inside by the cooking compost.  Hmmm….It’s being hailed as an alternative Japanese Tea House…or in our case, a grounded tree house.  I love the idea….but the only tea I could think of in there would be compost tea, and I don’t wanna drink that, thanks.  It HAS to smell…no?  Not to mention the fact you can’t turn that “heat” off in the summer….Ooh..maybe it becomes a Japanese sauna in the summer?  Ahhhh…Spa ModFruGal….free your body of toxins while surrounding yourself with rotting organic matter…and worms, if you’re lucky…. I digress.

How about we just go with something that will be in keeping with what we already have going? We’ve tried the plastic tumblers in the past with lame results, so let’s just build one with the wood salvaged from the deck work.

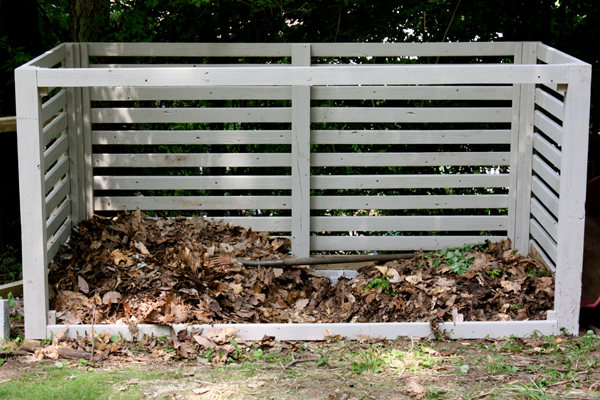
Behold…the 2 sides of the future compost palace. (Compalace!)  recreating the look of the new slats at the front.

The CC started building this over the weekend…It will be a simple 2 bin system so we can have one side cooking while the other gets filled.  Ideally, form and function will work in perfect harmony.  And don’t think it didn’t occur to me that if he hadn’t diligently stained it…I’d have had enough left to finish the deck.  Eh, we would have needed more anyway….and it DID rain yesterday..I TOLD YOU.

Revenge of the Sweaty Solstice

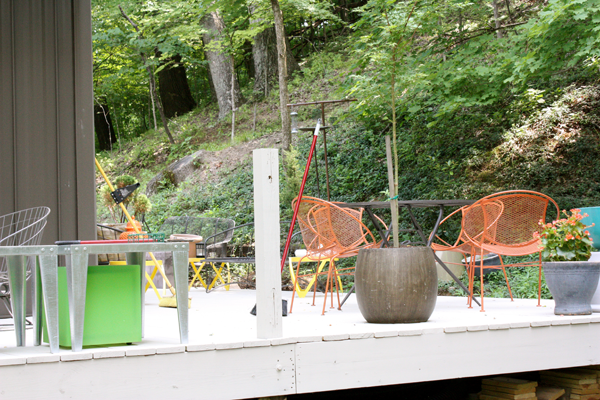
Today is the summer solstice…and it’s hot.  We had 2 dry days, then rain, then another 2 dry days…I am ready to pounce.  I stained the area outside the kitchen, let it dry for 2 days, then dragged all the furniture over so I could tackle the next sections.

Things are moving along and the end is in sight….I thought it would take me 2 days to get the floor finished, but I am on track to finish by dinner.  It has been a long afternoon….95 degrees in the shade.

What?!  I’m going to run out of stain?  Nah…I can make it…it will be tight, but I can do it….I HAVE to.

Nope…I’m all set to paint myself into the living room, but noooooooooo…. I run out of stain dammit.  Just in case you think I didn’t try….

Ugh.  Back to the paint store tomorrow…it will probably rain… just to rub it in.