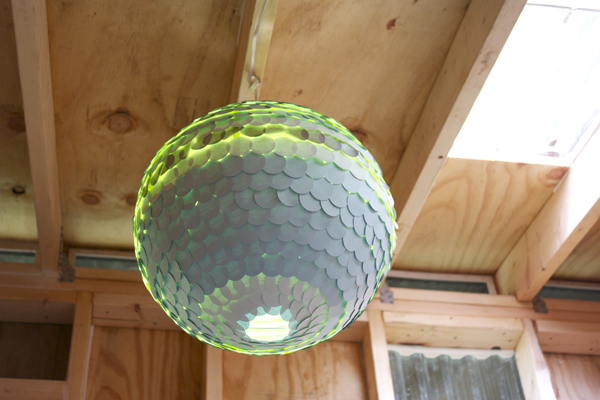
The Unintended Disco

I wanted to make an inexpensive pendant for the treehouse to give it a little extra special umph.  While I liked the look of these projects, I wanted them to be slightly tweaked….

via Zipper 8 Lighting


Same principle here, but too feminine for my Things.

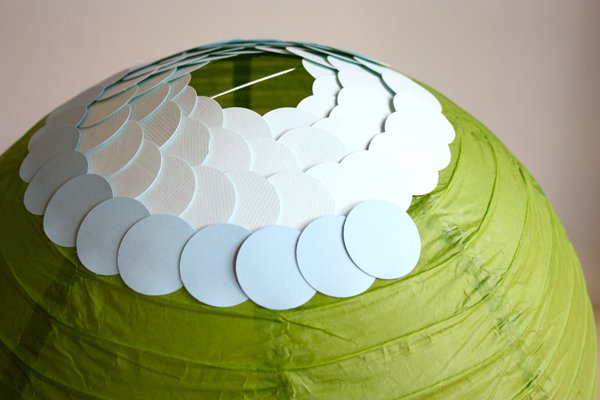
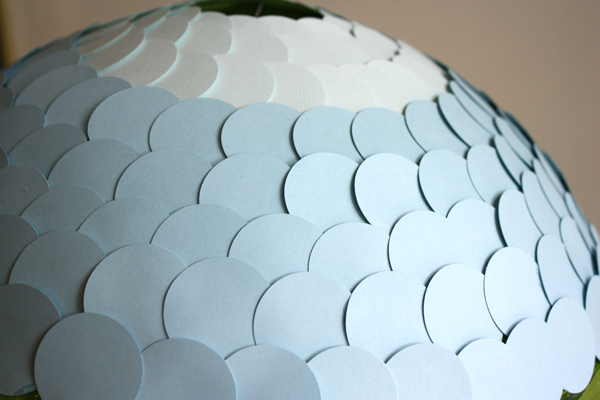
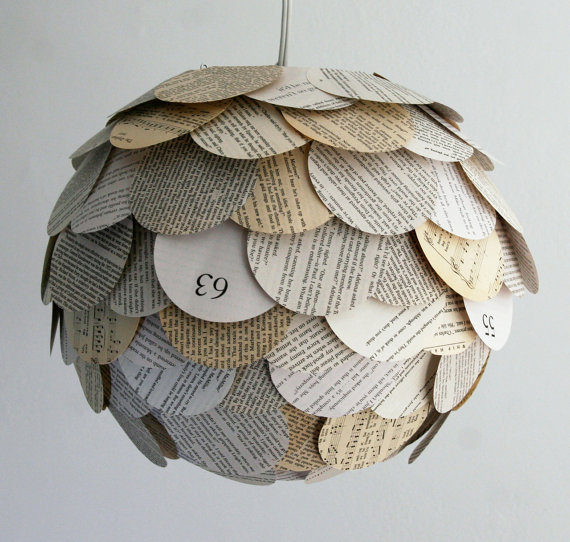
So I thought smaller, tighter circles might give it more of a fishscale over floral vibe…so I punched out LOTS of little circles…this was just the beginning.

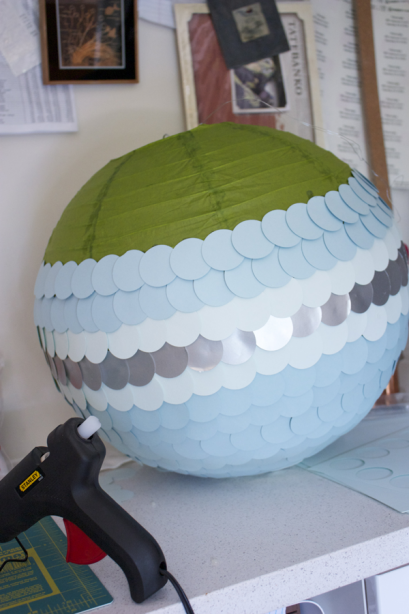
Gluing.  Small circles.   For FIVE AND A HALF HOURS.  Taking into account the breaks taken to feed people and other tasks…it took me WAY longer than I thought it would.  Just as well I love these little people.

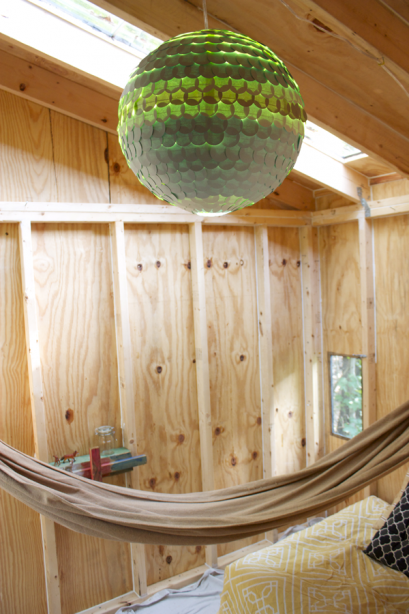
Speaking of, Thing One helped me with the design.  He requested a stripe scenario with the silver at “the equator” of our globe, so I like to think I took direction well.

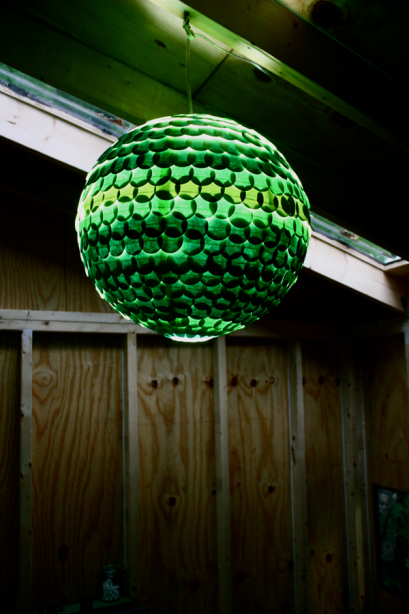
I might have opted for a solid, or an ombre effect, but this is their lamp and I want them to have input and ownership over their space, so stripe it is!  I started to worry that using card stock would block too much light, but I wanted the stiffness of the heavier paper and decided to risk it.

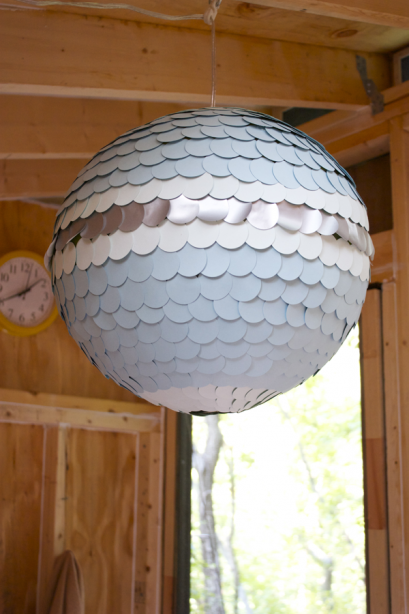
Well, once I hung it…it looks kinda like a disco ball!  Oops…or not!?  Hey-o!  Things like to disco!

It is not really bright enough for general lighting, but it is really great mood lighting/nightlight which might work out perfectly here.  There are other lanterns and such in here….

Of course, right when I finished, SFAS aired and I saw Orb-lando’s DIY wire pendant and well, that would look so much better in here.  THANKS Orlando.  I was happily discoed for a few hours.  We’ll see what the Things say on the matter.

BTW, I am really digging season 2…loving her vintage choices, and well, everything else. I’m so pleased to see a show like hers doing well.  Long may it last.

Where was I?  Yes.  We have a lamp that looks like a disco ball!

Next on the horizon?  Well, things are heating up around here….barn door installation, The Flea next weekend,  and THE SALE…and all the prep leading up to said event.  I’ve got to start shooting items for your previewing pleasure!
Crafty Time

I’ve always been attracted to geometric string art, and when this photo started making the rounds, I filed it away for a rainy day.

Photo via sub-culture via Apartment Therapy

I absolutely loved it just as it was….until I read the comments…where the consensus was,  it isn’t really a cardioid,  it’s just a big butt.  Well, after that, it’s all I could see, so I began searching for other circular designs.  It’s a dreary weekend and we are stuck inside…let’s do it!

I wanted it to have a feel like these images, where the pins are part of the design.  On a side note, I think I will adapt a combination of these 2 styles for the tree house numbers this fall.

via Ruthi Auda

via ohsobeautifulpaper

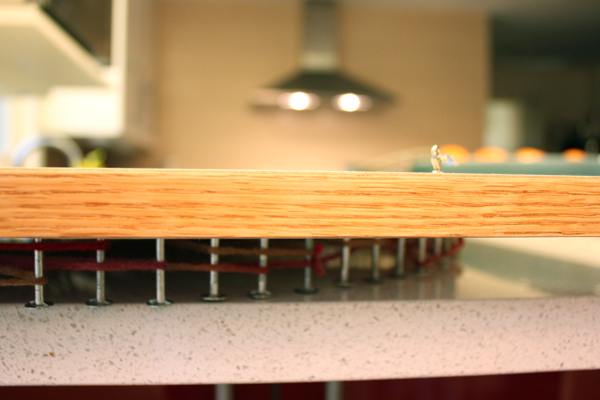
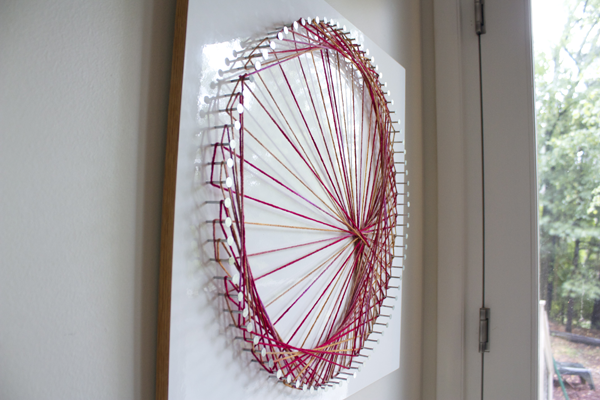
I also wanted it to feel a little less rustic and a little more glam, so we found a scrap piece of Abstrakt/Perfekt cover panel left over from the kitchen renovation for some high gloss action, and I used galvanized roofing nails since they had a big, fat, shiny head.

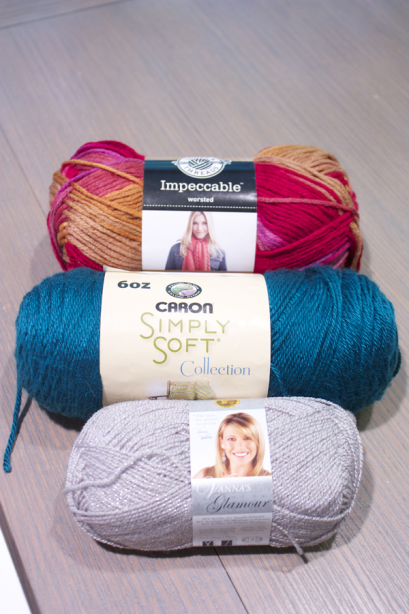
Armed with the letter turner’s skein, I started off trying to make up my own patterns to avoid buttage……


But you know what?  I kept coming back to the butt.

There are so many cool designs out there, but there was something I didn’t like about all of them.  Too busy, too much like a spirograph drawing, too hippie, too much like a wreath, etc…I had to somehow, come to terms with the fact that I like big butts.

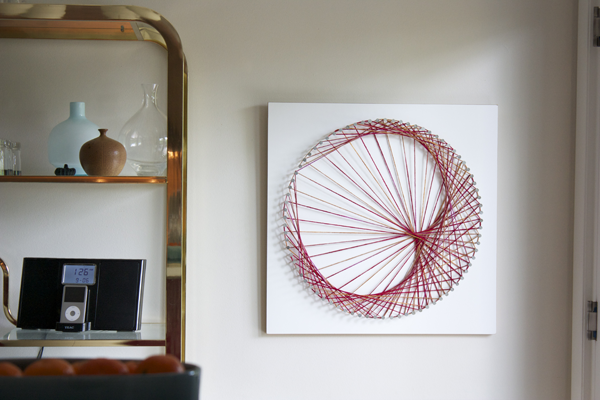
So I decided that would make a cardioid butt, and I will OWN it.

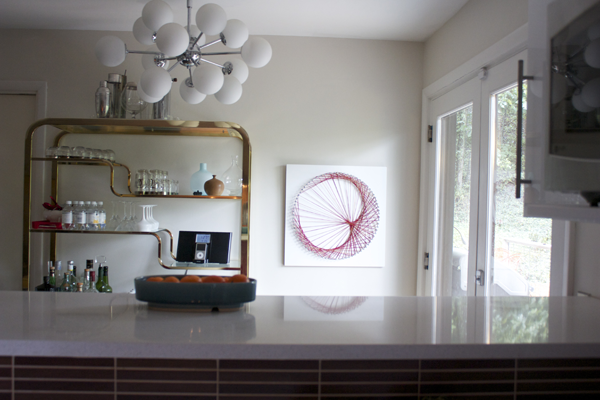
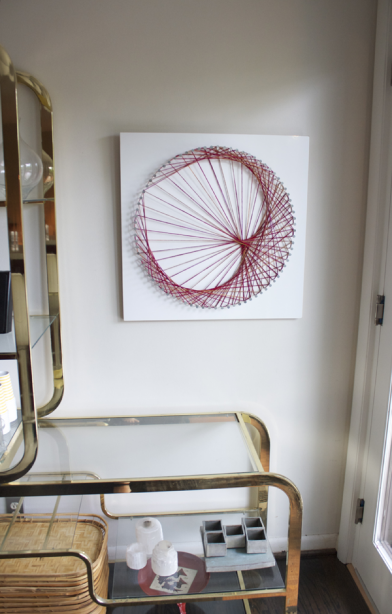
The instructions are found here at String Art Fun, and it took me a few tries before I got it right, but eventually, I finished it and the CC and I couldn’t stop giggling like kids.

Yup, even at the diagonal, it’s STILL a butt.  We liked it though, so we kept the design (for now) and finished the edges of the panel with some iron on veneer we had, and hung it up…snickering.


So we decided to ask the Things what they thought of it.  “It’s a turnip!  An onion!  A heart? A fan!!”  They didn’t see the butt!  But we just kept laughing harder and harder that they didn’t see it…so of course we had to ruin it for them.

Now, when they look at it, they give themselves a little pat where the sun don’t shine as they walk on by.  Go on, call social services on me.  We are clearly a bunch of immature morons.

But we are a childish house divided!  The CC and Thing One like the red, and Thing Two and I like the silver….the nice thing is that it can change when we get sick of it.  For now, I’ll let them have their way……


DIY Art Project

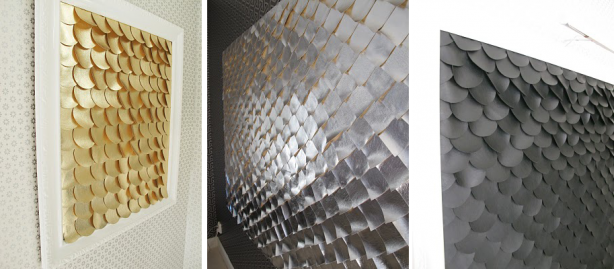
I recently saw these projects, which are all several months old, and I liked the concept a lot.  I’m thinking different shapes and either the frameless route or more modern framing.  All are from Signed by Tina with her tutorial here. Use Google Translate if you can’t read Swedish!


images via Signed by Tina


Basically she makes a grid on canvas and glues vinyl shapes to the grid for uniformity.  So simple, yet what an impact on a budget.  The matte black looks great in her house.

To Do: Chickens?

I know….some of you can excuse yourselves to go throw up while I discuss my metamorphosis into a Trendy Mindy.  Don’t forget to brush your teeth.

Still here?  OK, well last year’s CSA gave us fresh eggs on a weekly basis, and we desperately miss them.  We opted against the CSA this year after our 9th week in a row of zucchini exclusive boxes brought the entire family to tears.  The Things were begging for it to STOP.  “Can’t we just compost them?  I can’t eat them anymore!!!  I’m even sick of the fritters!!”  I digress….

Eggs. We can go to the farmers market and get them, but some weeks I just can’t get there.  We’ve got a few friends who have been keeping them and we are fascinated.  Replacing our beloved pooch doesn’t seem likely, and a pet with such a tasty habit might be nice?

My Pinterest followers will recognize some of these images from my growing collection of coop inspiration.


So many beautifully designed coops out there!  If money were no object and we weren’t planning to build it ourselves…then these might dot our landscape.
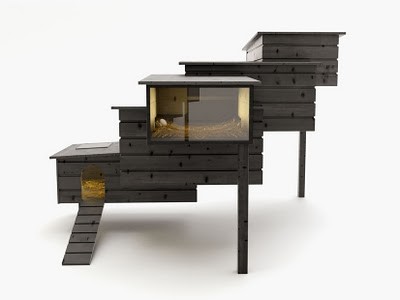
Via Dwell

via Nogg.co

This is one of my faves…and we could probably make something similar, but I think we might like a walk-in coop?  Dunno..details, details.

via gastronomista

So, if we are to build said structure, would it look more like these?

via my pet chickens

via star apple

via backyard poulty mag

And we have all loved and admired this couple’s super coop….

via Dwell

So why am I talking about chickens anyway?!  Don’t I have the interior of a treehouse to paint now that the temps are cooling?  Why, yes.  But finishing up pesky details isn’t nearly as much fun as planning something new, that may, or may not, ever happen.


August 24 UPDATE:  Oh my GAWD..I just saw Karen’s coop over at The Art of Doing Stuff…and that is the mac damn daddy of all coops…..go check it here!
Chalkboard Paper Shout Out

Megan at Shelterrific was diggin’ on the chalkboard contact paper from the basil vinaigrette post over here, so I figured it might be helpful to expand a little further…


I bought the paper here this Spring because I was sick and tired of scraping labels when I decided to change pantry items and receptacles.  To keep it uniform, I used a gift tag punch, and now I keep a little stack of labels on the ready.

Beacuse I have a memory like a sieve, I also find it helpful to write the ratios for cooking on these little guys…like so…

It’s the little things like this that make me happy to be a super-dork.

Rustica/Farcito Part 2

Can you tell we had a lot of rain recently?  Yup, more food.

So, I made another pizza rustica/pane farcito so I could show you the steps this time.  I had all my ingredients grilled and ready for a sunny day to cook and take photos for you by the window, and that day just wasn’t coming.  I finally gave in and had to make it on one of the darkest days in a long time.  This means flashbulbs and no natural light for the food shots.  I almost didn’t post it, but figured you just might forgive me…AGAIN.

Let’s go….

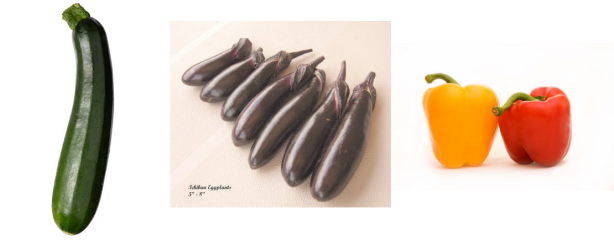
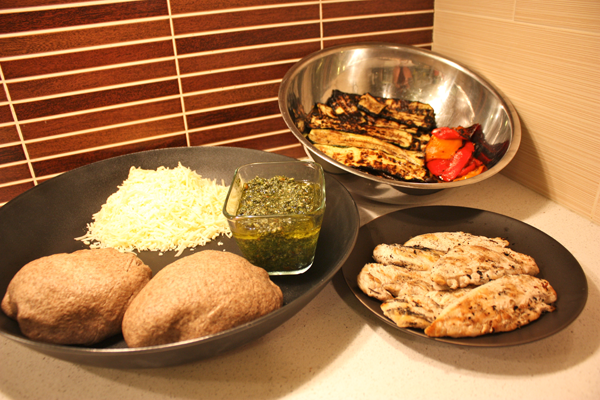
We grilled these….as well as 3 chicken breasts.

Photos via Bon Appetit, highdesertgarden.com and agewell.org

I personally prefer to use ichiban eggplant for these, but that’s just me.  I’ve made it with the globe variety as well.

I was lazy and used Trader Joe’s Quattro Formaggio (Paremsan, Asiago, Fontina and Mozzarella) but by all means, source some locally made fresh goodness in your area and elevate this baby.  They key is to include some hard cheeses with a lower moisture content so as not to make your creation soggy.

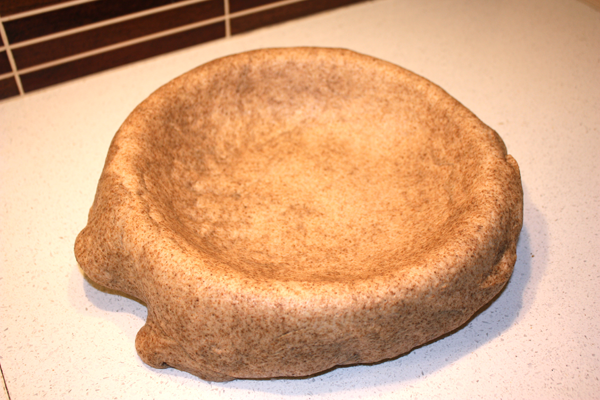
Roll out your pizza dough to stretch across an oiled, nine inch round baking pan. I used 2 packages of TJ’s whole wheat pizza dough.  Again, go homemade on the dough and make it even better! These days, if I have to take the extra hour to make my own dough and grate that much cheese, I just won’t make it, whereas right now, I can knock this out in less than 2 hours total: 30 minutes to chop and grill, and 20 minutes to assemble.  Bake for one hour.  That’s doable for me…maybe when the Things are grown I’ll go back to those recipes that take all day to make…or not…

I digress.

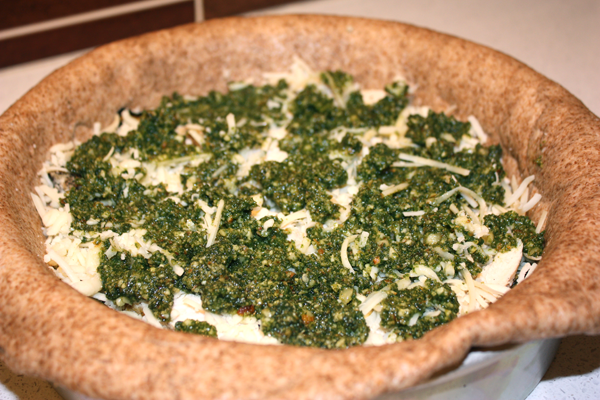
Start layering!  I actually prefer to do a layer of the zucchini/eggplant before the cheese first, and I don’t really know why I put the cheese down first, but once it was there, I decided to roll with it.  My sequence was cheese, zucchini/eggplant, chicken, cheese, pesto, peppers, zucchini/eggplant, chicken, cheese, and pesto.

I chop the chicken into thin strips that can be scattered into a layer like so….

Oh, I almost forgot…I had some tomatoes from the farmers market that I oven dried a few days before for this top layer…if you use jarred sundried tomatoes, make sure you drain the oil off well before putting them in.

Now comes the fun part.  The ole pinch and flip.  Thing One was using my tabletop tripod so I couldn’t photograph this (I tried) but I’ll talk you through…it’s not as hard as it looks, but you need two hands.

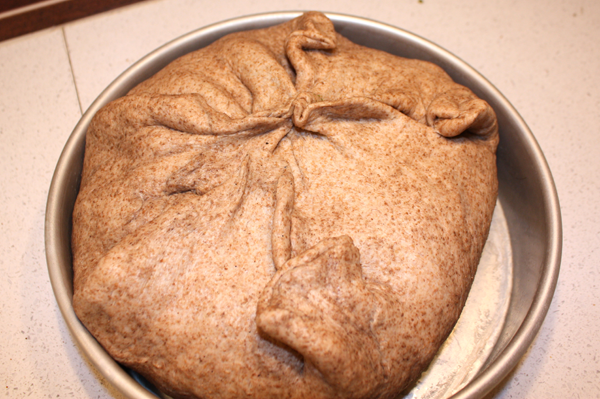
The good news about this little maneuver is that it doesn’t have to look good, it just needs to seal everything in.  Since pizza dough is stretchy, it’s not too hard to gently pull at the sides to bring it up to the top and pinch together with the other ends.  Now you take the pan in one hand and very gently flip the whole thing into the palm of your other hand, and set back into the pan pinched side down.  See?  I told you the pinching didn’t have to be pretty!  Then score the top for ventilation and call yourself fancypants.

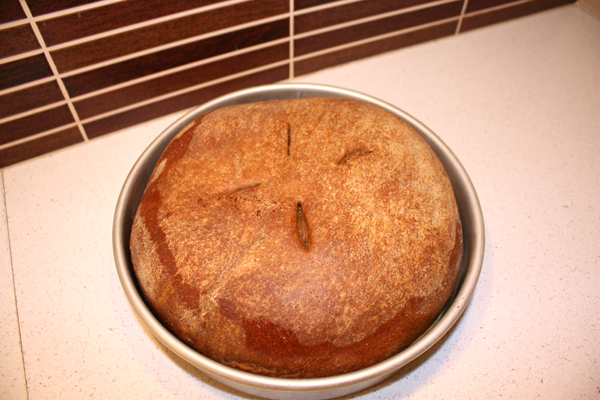
Pop this puppy into a 350° oven for an hour, YES an hour!  Remember last time I said I thought 40 minutes would do it?  It didn’t for me. I checked by pulling the whole thing out of the pan to make SURE the dough was done at the bottom, and it still needed a bit more time.

Then you get this.  It’s best to let it cool in the pan so that it keeps its shape.  At this point, you can serve right away while it’s still a bit warm, or let it cool completely and wrap up and put into the fridge.  Either way, you’ve got a meal that is easily transportable for picnics and poolside.

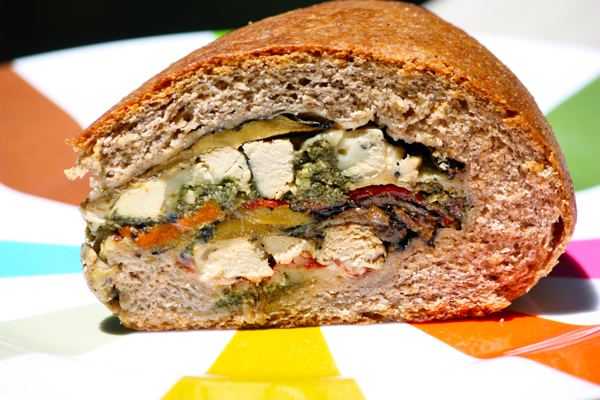
The sun finally came out again today so I could get at least one decent shot of a slice.  This one is a little doughy for me, but we’d eaten the rest of the slices over the week of the rains!


I’m ready to make the Cuban version next.  We grilled some pork tenderloin this week and the leftovers are crying out for a higher purpose.