Haunted Forest Recap

It’s a mixed bag, my friends.  Some might say, I failed you big time.  Others might recognize that I did way better with photos than last year, so let’s focus on progress and development….mmmkay?  Glass half full people.

Weather was our main foe this round.  Last year, it was nice and dry all week, this time, we had rain Thursday AND Friday.  So?  This means the bulk of our forest adornments must be put in all at once….on the day of the party..in the mud.  We had a dry party, so there’s that…not cashing in on your rain date is definitely a win.

We used a Paperless Post invite which I have edited for public viewing…

We had about 95 peeps this year, and some of these snaps were taken before and after the party, and some were taken the next day.  Again…just not a lot of time for photos during the party.

As guests arrived up the driveway, there is a table at the entrance to the forest with treat bags.

We pulled out the tombstones we made last year….

And hung the moon…..

For those worried I might expose children to Gnarls Barkley, rest easy…we went with the spooky sounds instead, which I think scared the kids a lot more than the Boogie Monster ever could have, so they were potentially ruined either way.

For safety reasons, the treehouse was off limits, but we styled it up super spooky.

We created a little scene underneath the treehouse with our new gifted butler from our good friend…she loves Halloween as much as we do and I hope we did her proud with him!

I decided to put more than just skelebirds in the cages…this one has ghost bats…..

The other practice moons ended up adorning the bar area.

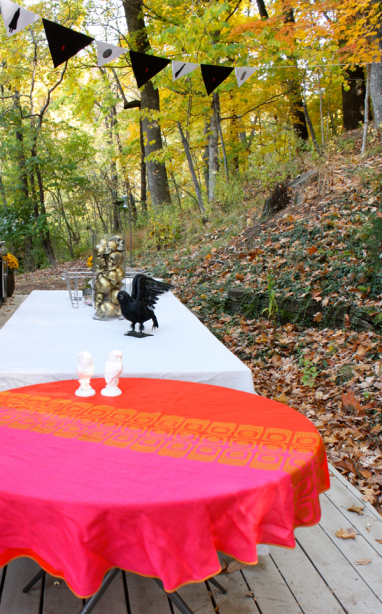
I’m pretty bummed I never got a single photo of the table spread.  It looked pretty good too…it was heaving with yummy stuff….

Now nothing…no bloody cranberry grape juice with brain ice, no hot spiced apple cider, kettle corn, mini pizzas, mini bagel dogs, carrots, sugar snaps, sun sugar tomatoes, hummus, grapes, manadarins, chips, pumpkin cakes, oreo tower, cheese plate, paté, garlic toasts, and of course…  dem bones!  Photo FAIL!!!!

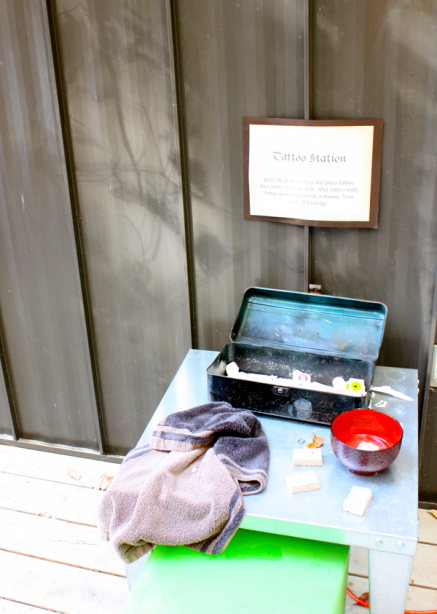
The Tattoo Station was back again this year…..

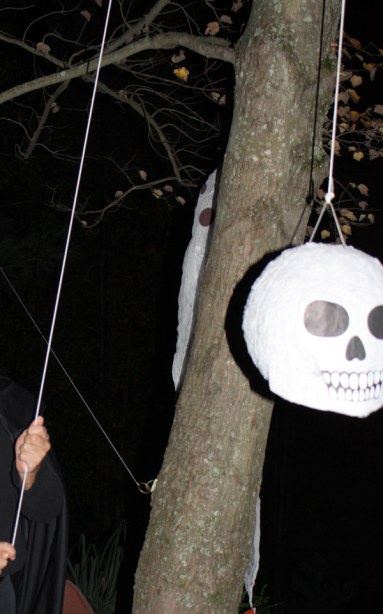
….as was a pinata.  We didn’t make it ourselves this year…not enough time.

There’s really no better reminder of our savage animal insticts than watching the melee after a successful hit on a pinata.  That’s SCARY.

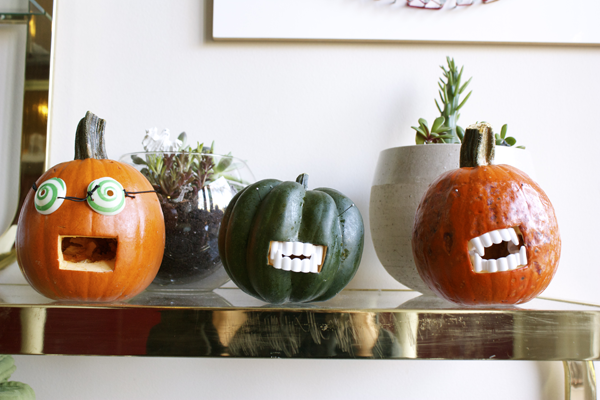
So this is one of those funny little things you discover after a party….who took the teeth?  Did they wear them, and did they taste like raw pumpkin?  Who knows.


This year’s movie feature was a series of old Scooby Doo episodes from 1969-1971.  Here’s a theater before and aftermath……

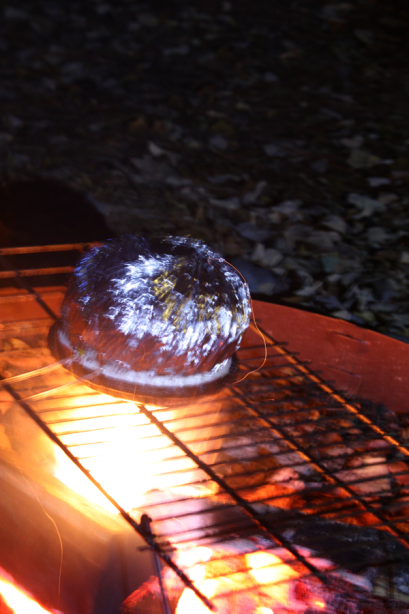
The next night, we had a fire, leftovers and popcorn and the Things choice movie.  Heh. Ven.  New tradition for sure. After the Things went to sleep, the CC and I watched the 39 Steps.

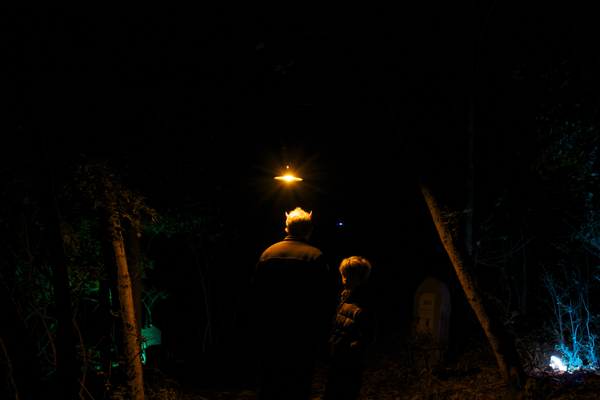
My favorite photo:  The CC and Thing Two kept me company after the party while I was snapping away in the forest, and I got lucky……

Happy Halloween everyone.

Crafty Time: Tatooine for Halloween

It’s that time of year!  For long time readers, we will indeed be doing the Haunted Forest again this year, bigger and better, of course.  By the time the Things are in college, it will be epic, then no one will care.  Anyway, I created a tag for all DIY, etc… related to the Haunted Forest preparations here.

Last year we cobbled together a lighting situation that I am determined to improve upon for round two. We thought we’d have installed some low voltage lighting on the trail by this year, but the treehouse kinda sucked all the energy and resources for such a project.  I saw this project below and wanted to do something kinda like it, but with a slight twist.

via eighteen25


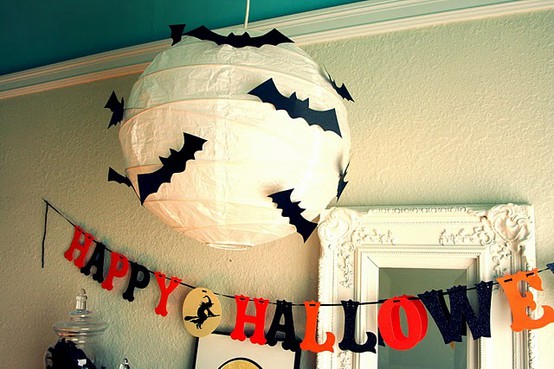
I loved the idea of creating a big “moon” in the forest with bats affixed to it.  When I discussed this brilliant plan with the Things, I was immediately shot down as Thing One said, “But there’s already a moon.  It will look like Tatooine.”   I countered that it might be cloudy, and wondered since when has a touch of Star Wars EVER been a problem around here?!  For proof, go here.  They relented.

I ordered a 24″ yellow paper lantern to act as the moon and I already had some of these LED battery powered mini-lights.  The less extension cords out there, the better, so I’m hoping if I group a few of the lights in the big lantern, it will give off enough light for impact.

 via Just Artifacts

To test my crafty plan, I happened to have both a small yellow and a white paper lantern up in the attic.  They are a little worse for wear, but at least I could get an idea of how it will look before the big one comes.  I can use them in other parts of the party as long as they are high enough to hide their flaws.

I used a bat template from Country Living, but it was too big for a folded piece of 8 1/2″ x 11″ paper, so I ended up freehanding them, and just looking at the template for reference.  I used 80# black card stock.

Here are the “test lanterns.”  I’m excited about how the big one will look in the forest…I think it’s gonna work!  As you can tell, the dining room is officially, Halloween central.  I think we’ll be eating at the breakfast bar, or outside for the rest of the month….

Halloween Projects

The ModFruGal household is in full-on Halloween mode now…we spent the last week road tripping around the Southeast while the Things were out of school, and we are now scrambling to get everything done.

I’ve been on tombstone duty, and it’s a real time-sucker, but fun and I think it will be totally worth it.  I’m already thinking how many more we can crank out for next year…when there’s more time!

There’s a ton of good interwebs info on DIY tombstones…one of the best sites I found here. These guys don’t mess around.  In the interest of time, I have morphed many of their ideas to take certain shortcuts and wing it the best we could.  I’m pretty pleased with the results so far.

Through trial, and not so much error, but dorky persnickity-ness, I prefer to base coat the foam before carving out the epitaphs.  Print out your info, pin it on and grab the x-acto knife and go.  This takes awhile and there is a learning curve..but isn’t that always the way…with anything?

Once the name is carved, I paint it in with black craft paint and a very small brush.  Then a final coat of faux stone spray paint and you’re done.  There are purists out there who would hiss at me for not using a heavy latex base coat on everything to prevent marring the foam, but I think those abberrations make it look old and weathered so…I don’t. Plus..that whole time thing…
Here’s one I just finished today…

We’re also making a few cardboard ones since we had a big pile of broken down boxes waiting to be recycled, so we figured, why not?  They’ll do, but the foam ones are the biz.

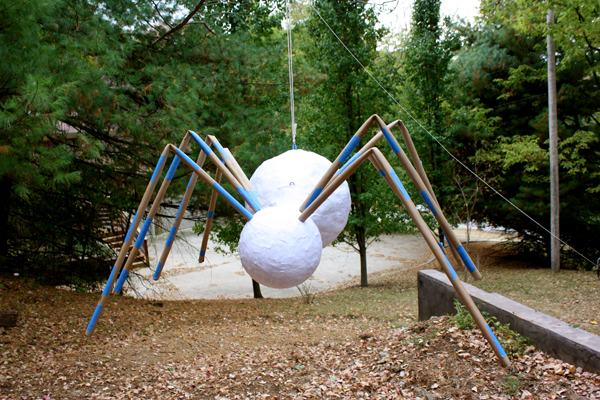
The CC has been building the pinata…It got its black coat today and is starting to look snazzy.

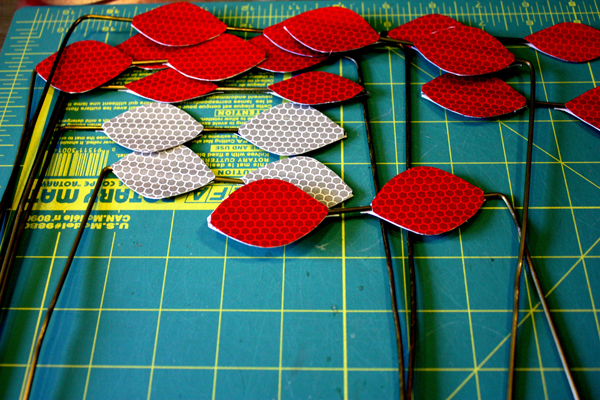
The CC has also discovered our magic weapon this year.  Reflective tape.  We had a couple of rolls and the CC started making these eyes out of them with coat hangers to scatter throughout the forest…I love them!  Not just a pretty face that guy.
Oh, and it makes the Werewolf look a helluva a lot more menacing.

So I really need to get back to work.  Thing Two and I just stained the new back steps (Yay!) and I’ve got 3 more epitaphs to carve so I can paint before the impending rain (BOOoooo!  Although we need it.)

I haven’t been able to show you the completed brassy acquisition since the house is a total disaster.  We haven’t eaten in the dining room in ages – it’s covered in Halloween projects.

More later my friends, much more……..Whaa Haa Haa!


Update: Here’s a couple of extra photos of the carving process I did tonight.  Note to self: “Cracked” is NOT an easy font to carve…unless you don’t mind cramped fingers!