Crafty Time: Bauble Edition

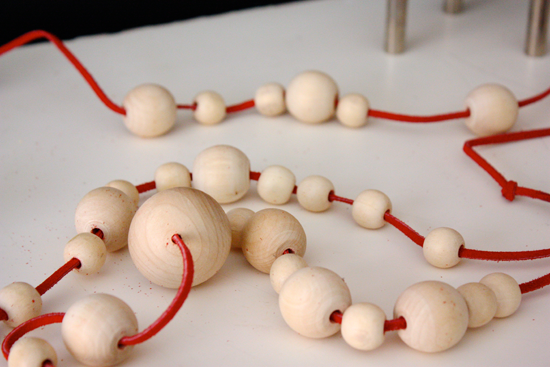
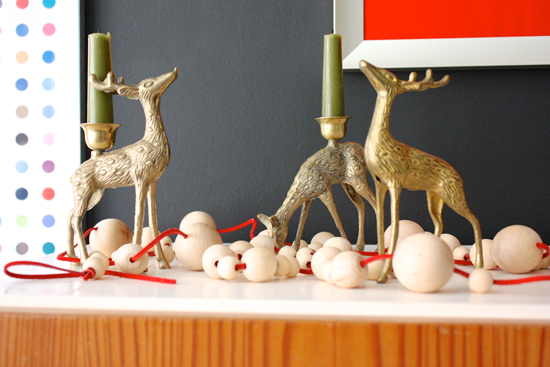
I made a garland of wooden baubles. Why?

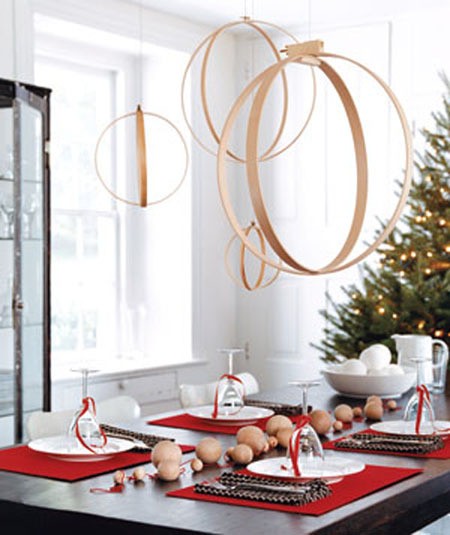
Once upon a time, when people only read magazines made on paper, I tore out an image from Real Simple. Since then, it has made its way to all the digital formats like Pinterest etc.. and I still like it after all this time, so maybe this is the year I actually do something about it? OK, then.

Here are the original shots, back when Hable Construction textiles (see the napkins) were all the rage.

The simplicity and crispness of this styling still works for me and I wanted to make that wooden garland the minute I saw it. When everyone was going ape about the Ferm Living candleholder, I remembered this tablescape and knew it was time.


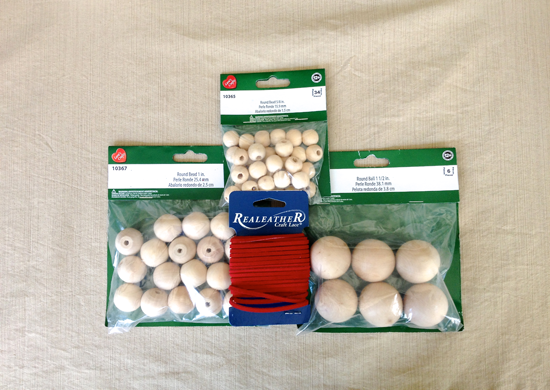
So, I braved Michael’s during the holidays to gather my supplies.

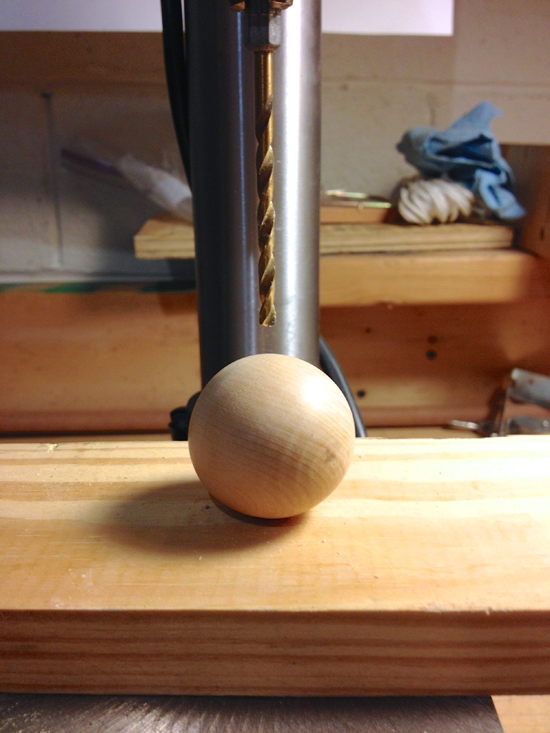
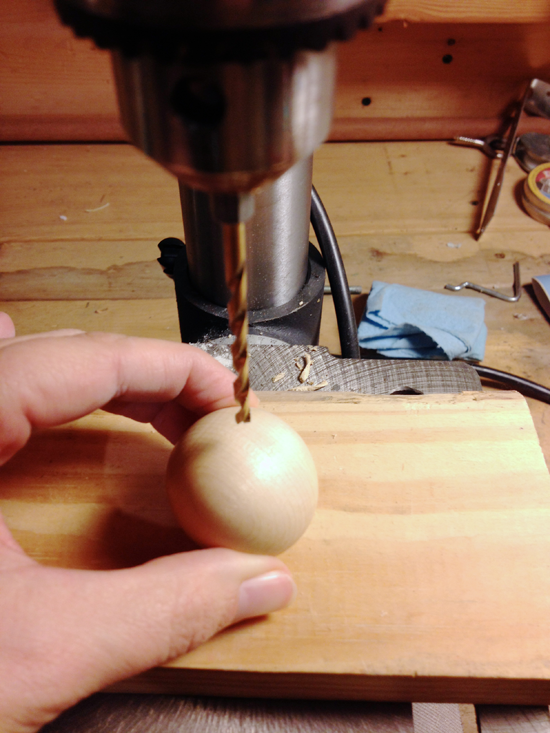
Instead of red string, I decided to try this red suede cord. The larger balls were not drilled, so I had to do that myself. Luckily the CC has a drill press he lets me play with now and then.

Without a vise, I had to hold the balls in place and hope I could stay on center.

Then, I strung them all up on the cord very loosely.  I don’t know yet how I will arrange the table for Christmas, so I decided to err on the side of caution. I can always tighten, but can’t add length once it is cut.

It was super simple and quick to put together. I might have to go to the woodcrafters shop and look for other woods. I’d also like to see if I can find even bigger spheres since the biggest ones at Michael’s are still smaller than the RS balls, but if I don’t have time for all that, I’m still happy knowing I can add on and tweak later.

You can see above that the red suede is creating a dust, but I’m hoping that’s just a temporary settling in thing. It might be a problem for someone using a white tablecloth.
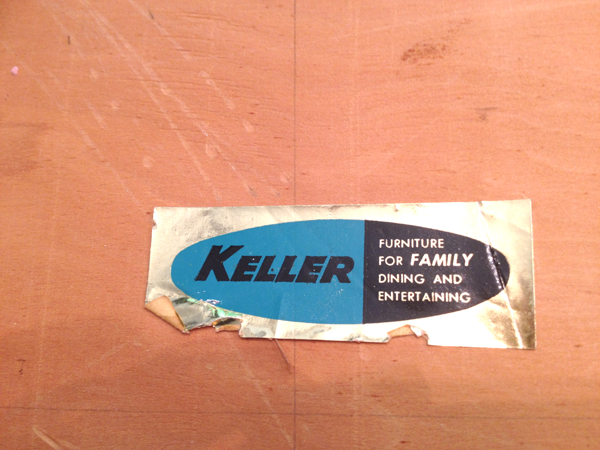
Keller Chairs

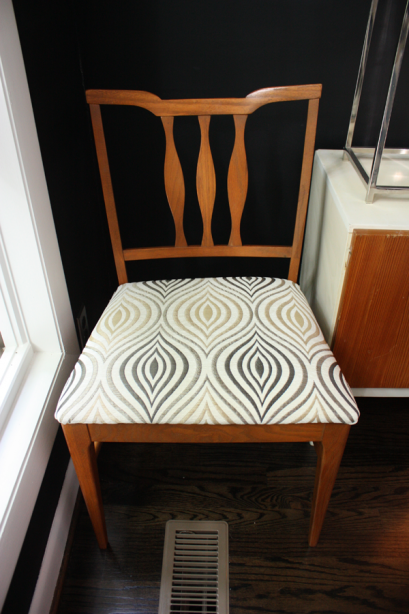
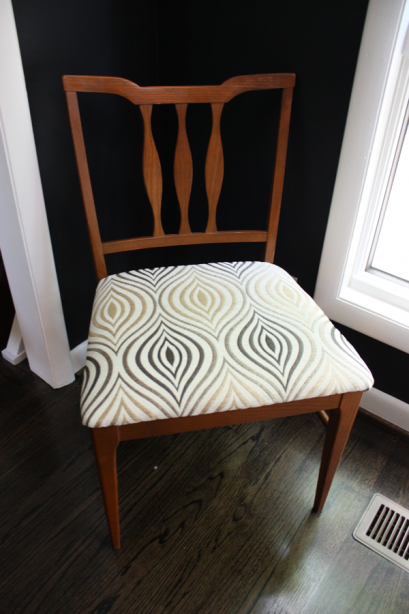
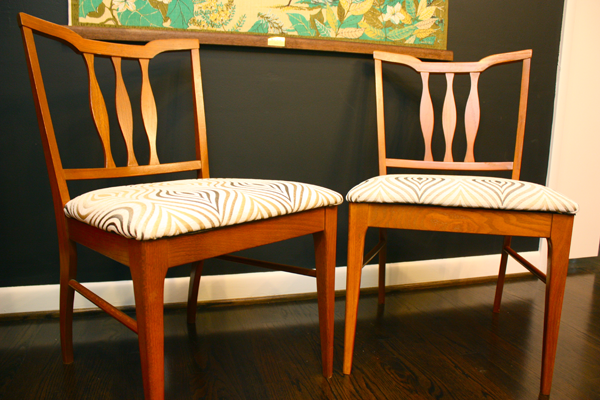
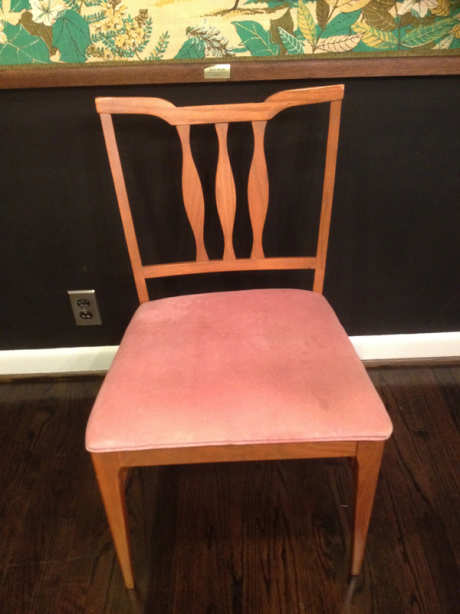
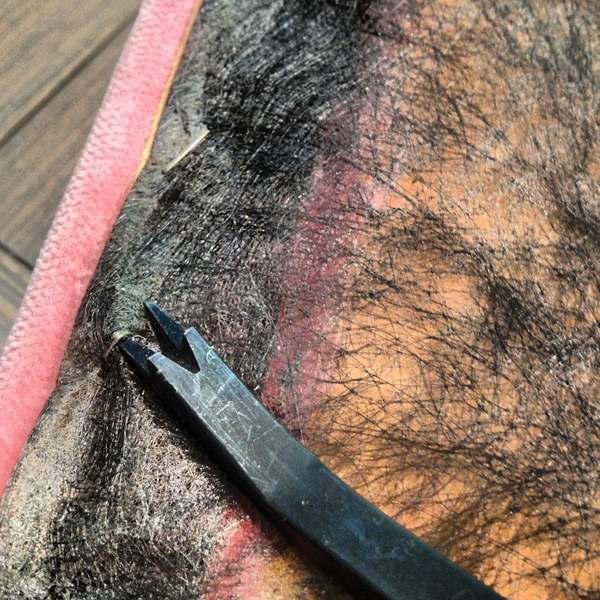
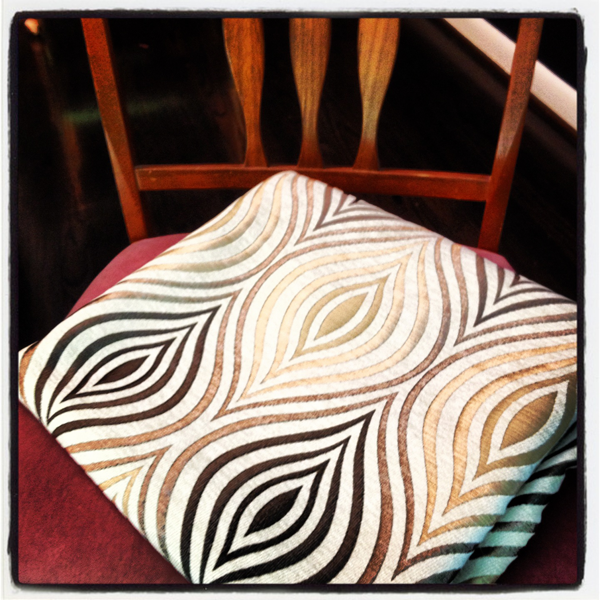
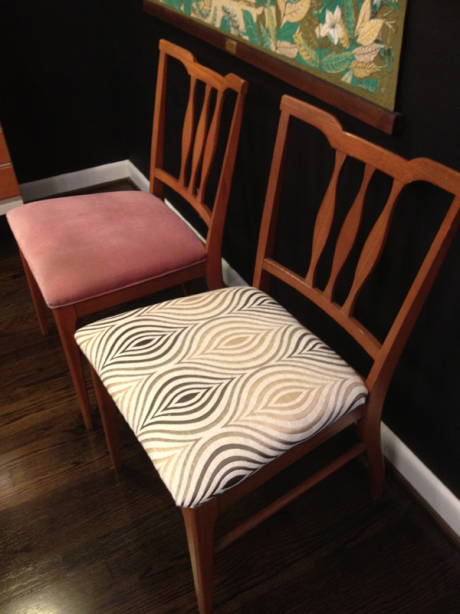
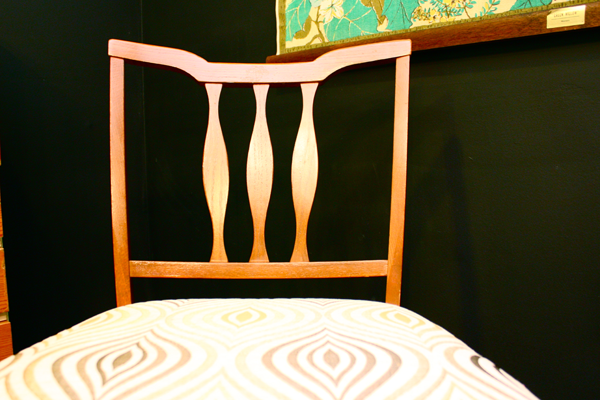
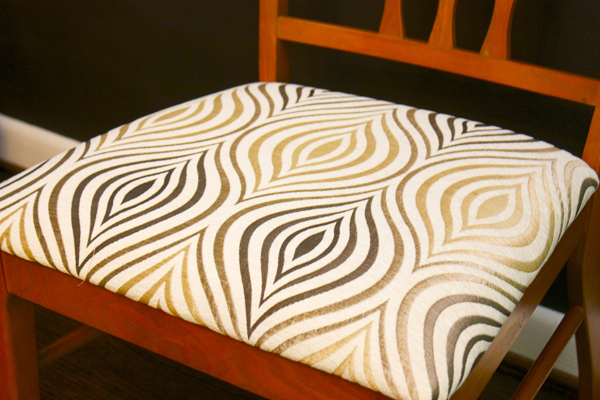
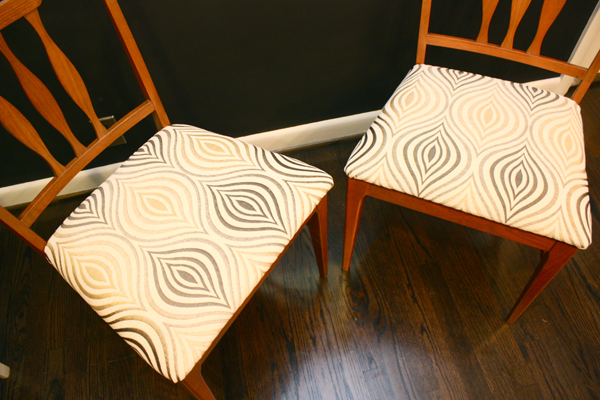
The Keller chairs were finished up this weekend and I think they turned out great. To those who thought I should have kept the pink velvet, the photos didn’t really show how stained they were. Trust me on this one!


The pink was truly gross up close and I’m sorry I didn’t capture it better.


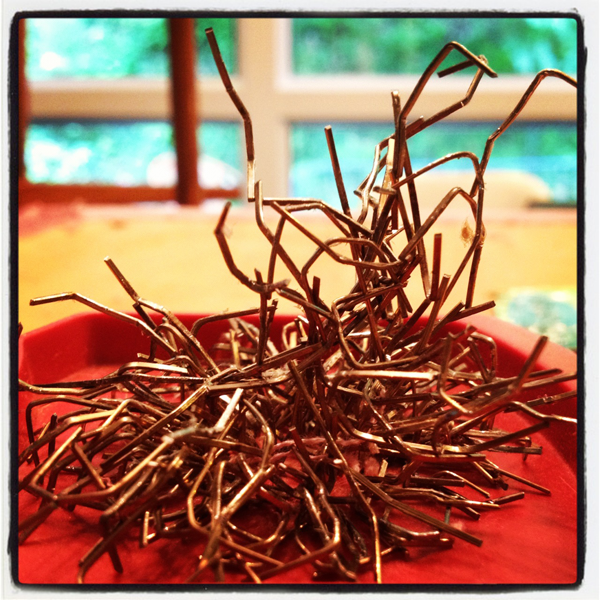
There were a lot of staples in these babies (aren’t there always?) so I made a magnetic sculpture out of them to amuse myself amid the drudgery of removing them.


These were in great shape structurally, so a little fresh batting and fabric was all that was needed. THAT makes a nice change.


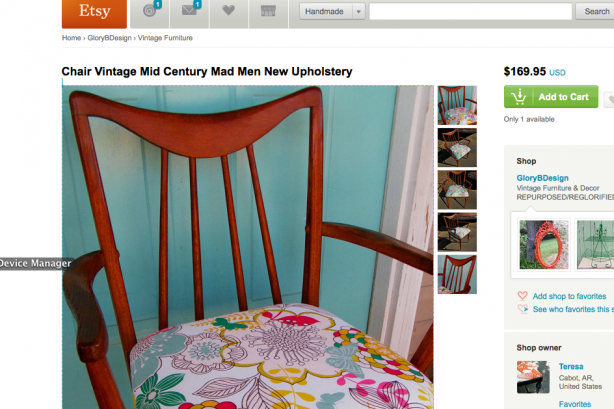
We don’t need them, so I’ve listed these on Craigslist. I’m not putting them on e-bay for a few more days. While I haven’t seen any currently for sale by Keller in this particular style, I did see this Keller chair for sale:


Here on Etsy

I’m offering two for the price of her one!

Movie Screen

Our previous outdoor movie screen was a pitiful, shabby eyesore that required a ladder, 2 people and 20 minutes to install. We had stapled a sheet between two pieces of lumber that were then mounted to the trees. Because of the bulk, it had to be stored in the basement where it would get dirty, but I couldn’t wash the sheet because it had 500 million staples attaching it to the “frame”. This kind of inefficiency makes me grumpy.

Enough was enough and it was time to improve upon what had clearly been haphazardly slapped together 2 years ago. I wanted something that could be put up in minutes by one person, and could be tossed into the wash.


I thought I was SO clever getting a rubber backed drop cloth because it would be so durable, and the matte rubber would be a nice projection surface. We opened the package only to find 2 honkin’ SEAMS running through the middle. NO CAN DO. Scramble time and it’s Target to the rescue with a double sized sheet cut down and hemmed. Add grommets and bungees to affix to the trees and we’re done. No ladders, no drama, and if a bird poops on it…NO PROBLEM.
Sorry for the poor photos (again) my DSLR battery ran out, probably because I’ve been neglecting it so.


Turns out the canopy ties didn’t work-too small, so we used the regular kind of bungees. The canopy ties are great for fort building though, so we’ll keep those after all.

We didn’t return the drop cloth either, and instead used it underneath the brown picnic blankets to act as a moisture barrier so the blankets and pillows all stay dry from the dew.


There were 10 boys who didn’t care one bit about a new screen, but were just thrilled to kick back with some popcorn and enjoy the show.

Lucite and Zebrawood Table

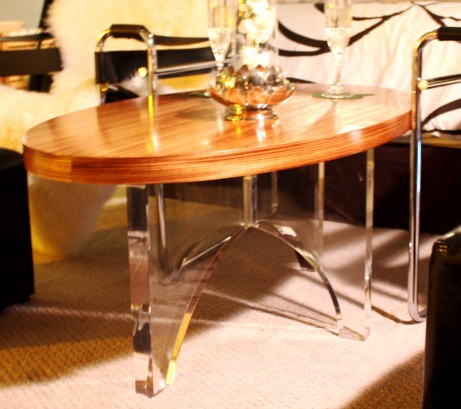
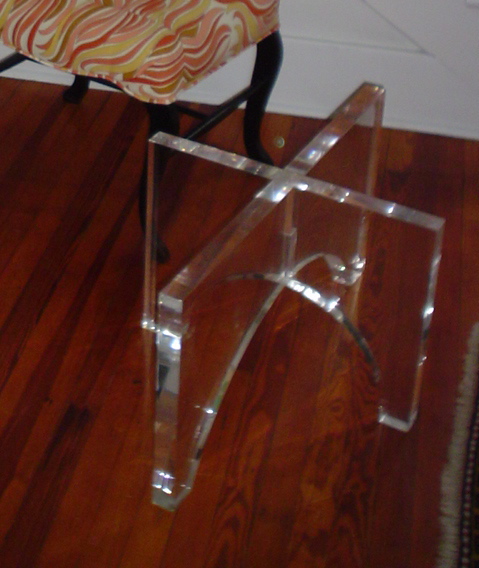
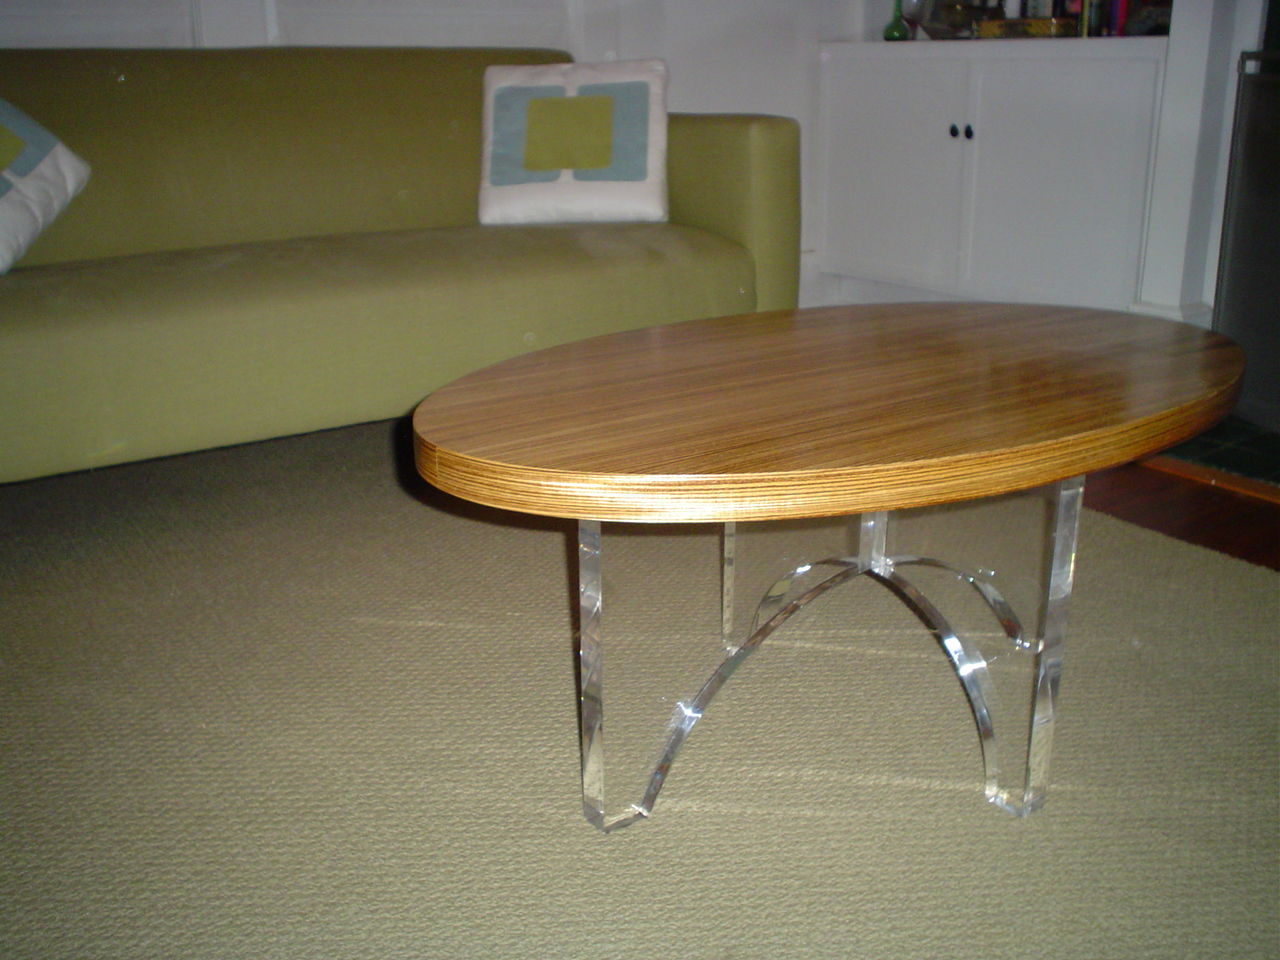
I really wanted a Karl Springer lucite table, but kept getting outbid by interior designers on e-bay every time a good one came around.  So I gave up that approach and started thinking about how I can finagle a new glam coffee table for no more than $200-$250.  I found the lucite base on e-bay – came with a giant glass top that made it look oh, so 80’s…but I was able to purchase just the base.

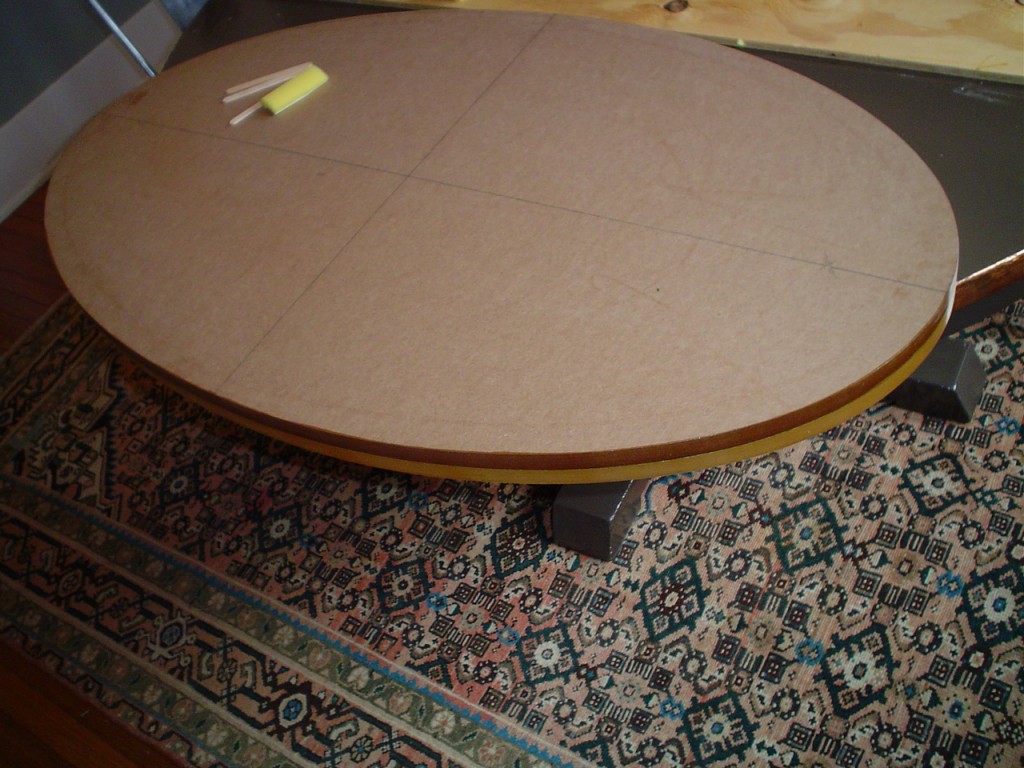
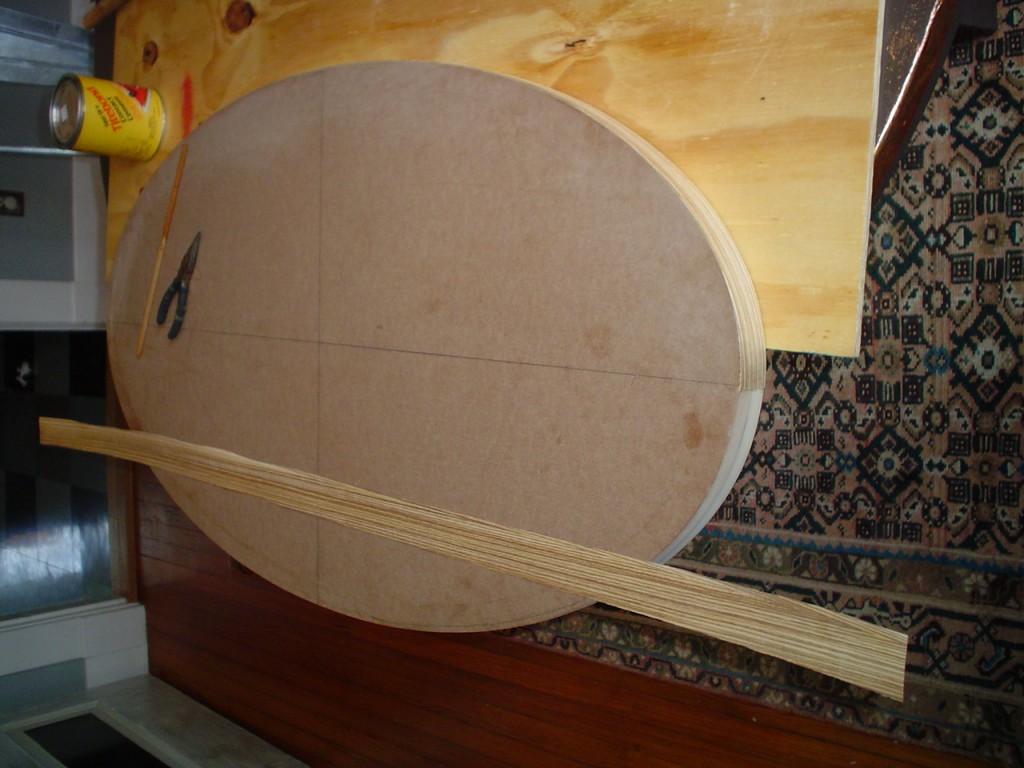
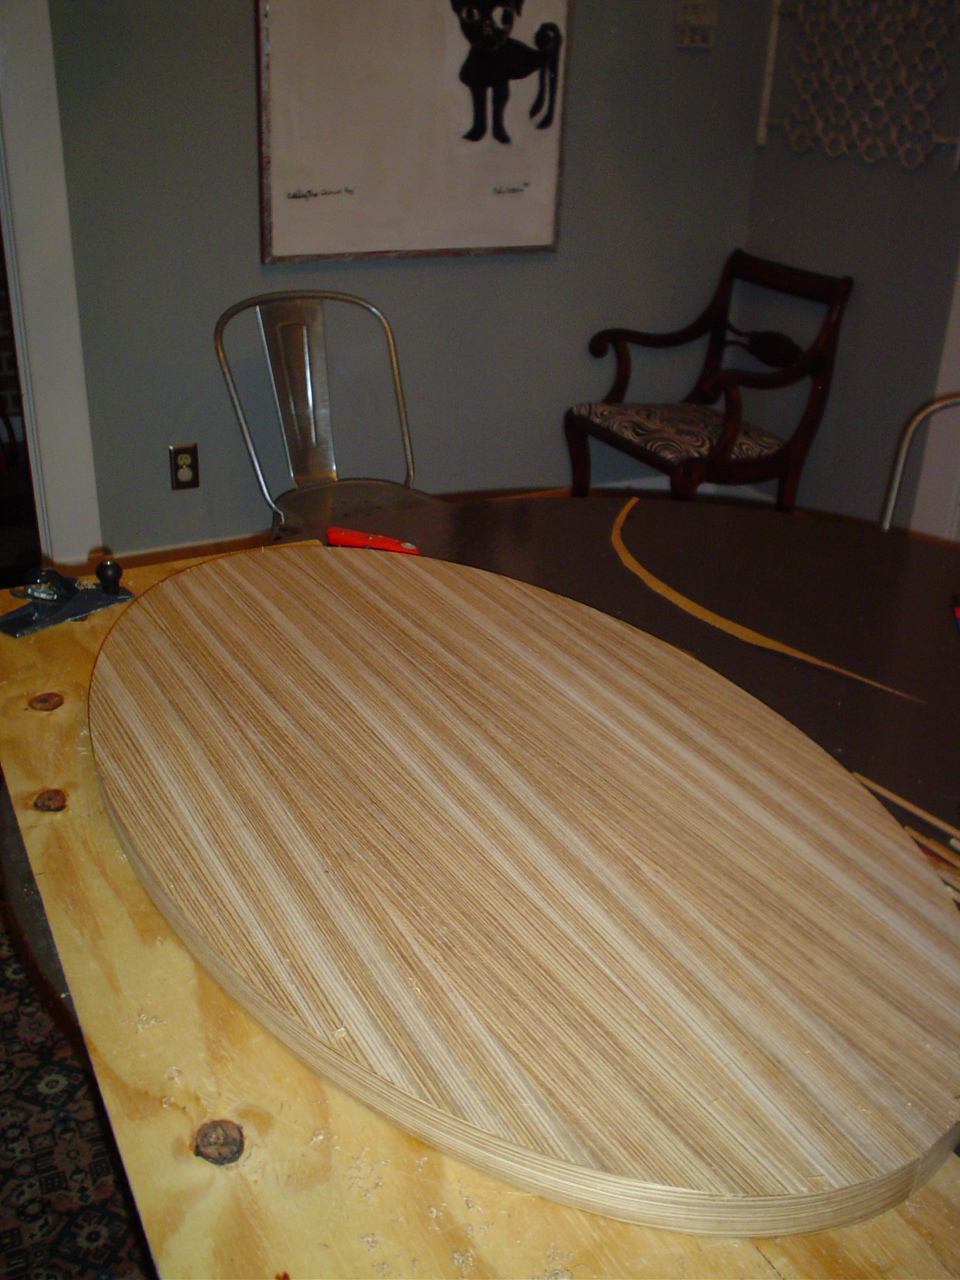
Next came making our own top….In discussions with my crafty counterpart – he decides 2 pieces of MDF glued together is the perfect base on which to apply our veneer.  I went to the local woodworkers shop and picked out a nice piece of zebrawood veneer – from there, we built the tabletop to be the exact width of the veneer so we won’t have any seams on the top. We cut small strips to use on the sides and left the underside alone. Sealed with a few coats of polyurethane and it’s done.

Lucite Base
Before Veneer
2 Pieces MDF
Unsealed Veneer On
Complete

Nakashima Wannabe

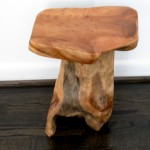
I’ve always dreamed of owning a Nakashima table….maybe when I win the lottery.  In the meantime, I’ll settle for a tiny knock-off found at none other than TJ Maxx.  One of my better fashion bargain stops is slowly becoming a real contender in home decor.  Most urban areas have one and it’s worth sifting through the piles of ugly floral plates to find something like this.  It adds the rustic touch to a modern setting without screaming “log cabin”.  It doesn’t have the elegantly honed legs that a real one would have, but for $35 vs. $3,500…I can live with that.  If $295-$350 sounds like a deal to you, then Pearl River has a nice option.

Another strategy is to buy a slab top from someone like Newton Woods and adding your own legs.  For example, the piece below is currently selling for $249 – plus shipping. I have also seen slab tops on e-bay for a wide range of prices – many affordable.  Classic mid century turned legs or retro metal hairpin legs would make your table a showstopper.

Modern Mailbox

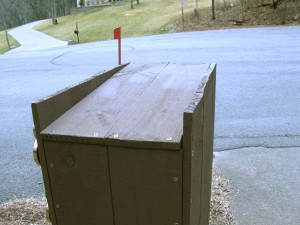
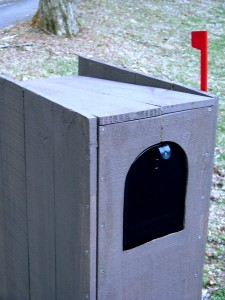
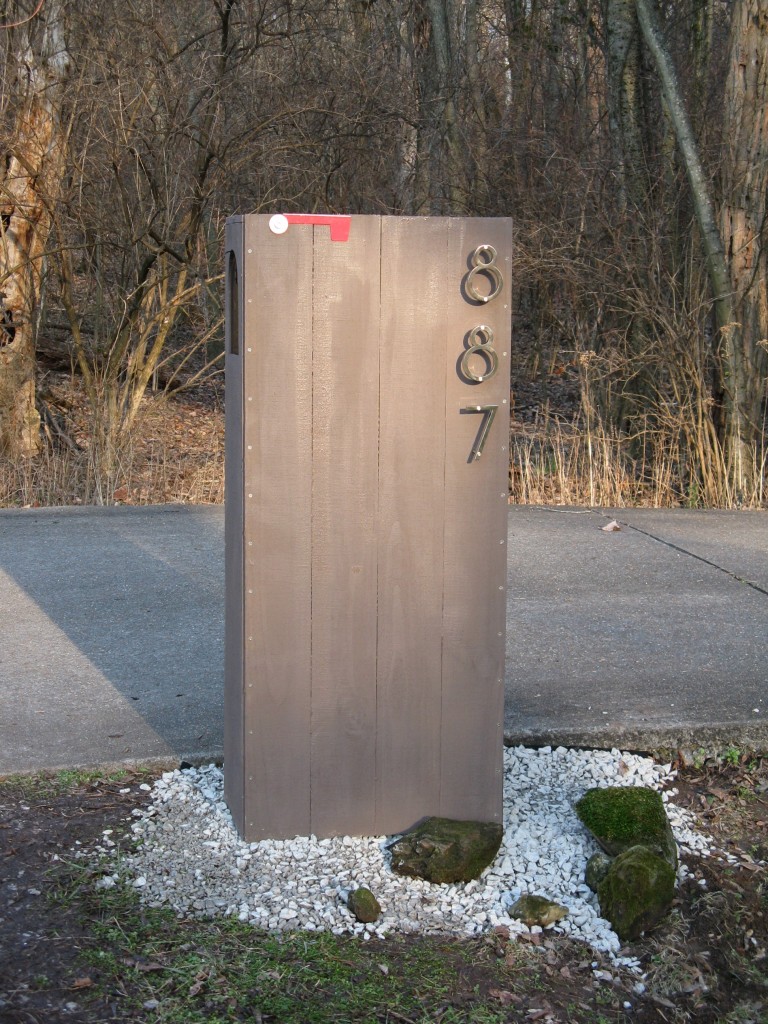
It seems only fitting that my first entry is something completed yesterday, so as the premier feature I offer an alternative to obnoxiously priced modern mailboxes.  You must be handy, or, as I am fortunate enough to have, a handy partner who can engineer your vision into reality with a bit of basic carpentry skills.  So you’ve googled “modern mailbox” only to find that $400-$4,000 a pop isn’t quite what you can rationalize in your budget.  So you start thinking……Can I (or someone dear to me) MAKE something that will suit my taste and not break the bank?

I too have lusted over the Neutra numbers on DWR, but again, $75 each….enter research mode.

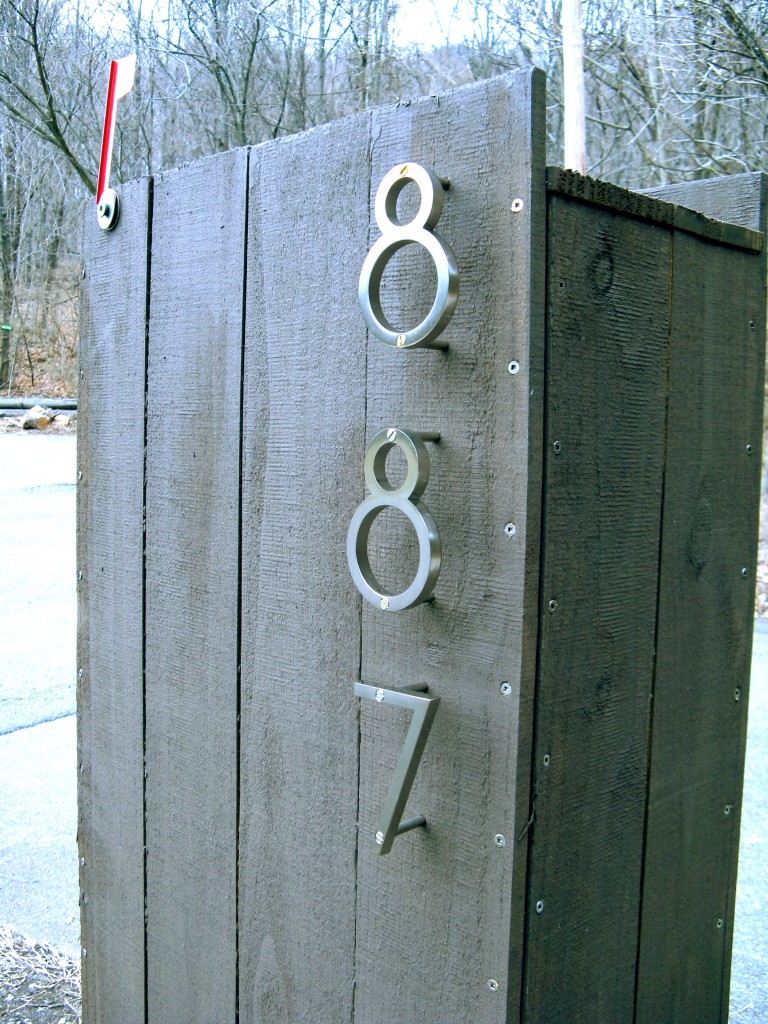
WestOn Letters’ (link below) website provides my numbers at a budget price -I choose “deep ribbon” with spacers.  Cost about $85 for all 3.  I sketch out my vision of simplicity to be translated by my crafty counterpart into real measurements.  Wood, deck stain, gravel brought the grand total up to about $125.

modfrugal mailbox

modfrugal mailbox  modfrugal mailbox


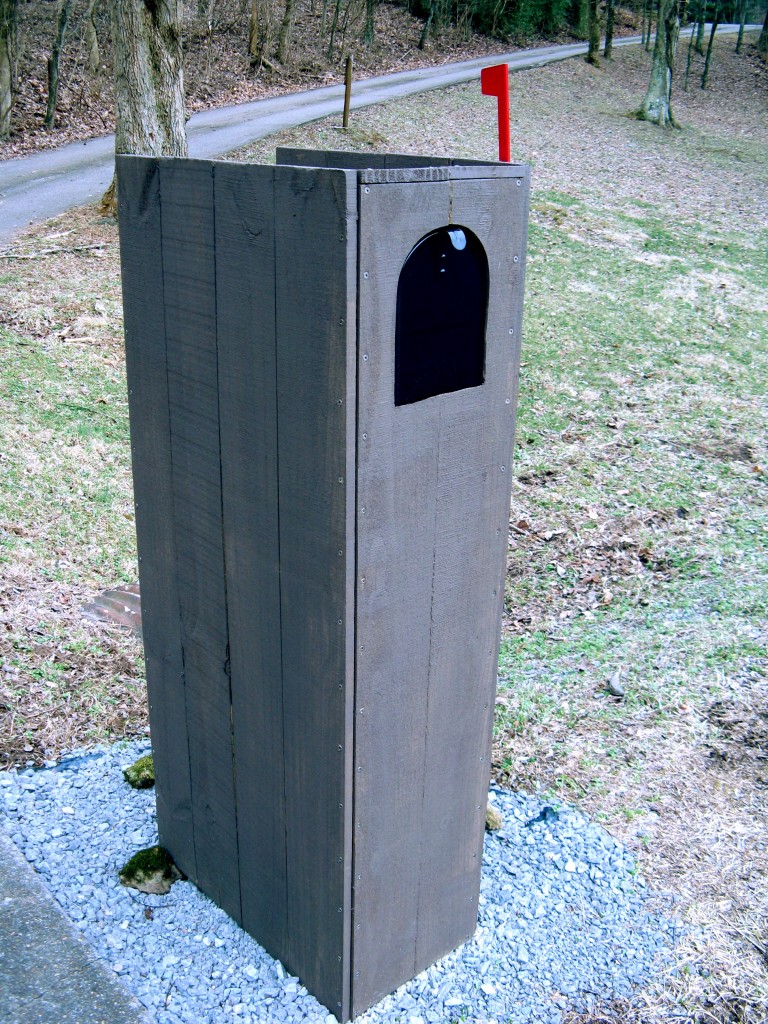
Pressure treated dog eared fence pickets screwed together on a frame with stainless steel screws.  He cut the curve for the mailbox with a reciprocating saw and built a platform within the column for the mailbox to sit. We used our old mailbox so that cost is not included in our budget.  Gravel at the base serves 2 purposes – keeps the look minimalist, but also keeps the wood off the dirt so it won’t rot, despite being pressure treated.  We put a sheet of plastic under the gravel as well as an additional moisture barrier.  The roof between the side walls is pitched at a slant  (shed roof) for water runoff.

Found the mossy stones in my yard to finish the look and voila!

WestOn Letters site

modfrugal mailbox

modfrugal mailbox


UPDATE: I’ve added this to the FAQ since I get it a lot!

Q: How is the mailbox attached to the ground?

A: It’s not! The box we built for the mailbox housing is a sleeve with a crossbar that the metal mailbox is mounted upon. The original post in the concrete is still under there to keep it from falling over or getting knocked over.