Bringing a Burke Back

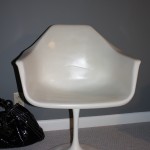
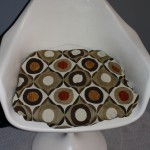
One of my more recent junking expeditions yielded a nice Burke, Saarinen style tulip chair. I had just read the posts here, and here on fiberglass shell restoration so I was feeling pretty confident that the condition of the fiberglass wouldn’t be an issue. Granted, all of the posts I’d found focused on the colored Herman Miller/Eames shells, but the consensus seemed to be that white ones were easy too…just coat with a different sealer to avoid yellowing…simple enough right?

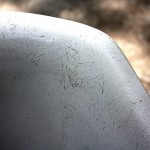
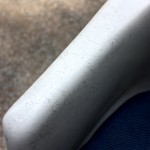
Armed with different grits of sanding sponges, I start at it…at first it looks like the dirt is coming off easily…until I realize the white grit I am sanding off is just filling in all the gouges and as soon as I wipe it clean…it’s there again.  This continues for several hours over 3 days.  Even with wet sanding..the itchy arm syndrome exists.

Finally, I realize I need to just let it go and say enough is enough…it will never be perfect and I wouldn’t have wanted it if it were, so just seal the damn thing already.  I used a spray lacquer/high gloss clear coat and it just kept sucking it in.  I had considered linseed oil, but liked the low maintenance a sprayed coating would provide.

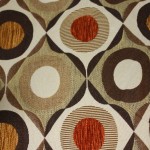
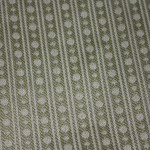
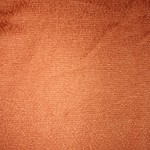
I had a few fabric scraps in the attic I tried to picture it with…but I think at the end of the day…I want a pretty obnoxious print on here so the search continues to complete the job….

Kid’s Desk Rehab

I was out junking in Fairview, TN a couple of weeks ago and picked up a few projects…because I really don’t have enough on my plate.  BTW, I love how everyone else in the country calls it “thrifting”…sounds so much more civilized…down here, it’s just junkin’.

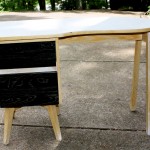
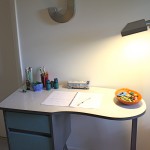
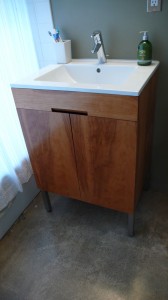
Anyway, this cute little kidney shaped desk was perfect for a little someone in the family who was promised their own desk this summer.  The faux bois laminate top was in perfect condition…just needed to be scrubbed and scraped of some old paint on it.  As for the body…it needed a little more TLC.  It was a LOT rougher looking in person than the photo lets on…really….I look at that photo and think…”it was nice the way it was”..and it wasn’t..I was there!

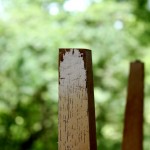
I started to strip it down…and realized it was going to take a REALLY long time.   It’s oak and paint was WAY down in those unprimed grooves.

I decided: 1)  I kinda hate oak furniture as a rule.  2) I’ve brought back enough blond wood pieces in this house….gotta stop.

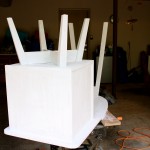
Soooooo…. bringing it back to the natural wood wasn’t exactly worth the effort to me.   A  good sanding, priming, and coat of spray paint got this project done in a much more manageable time line.

The new owner is SUPER pleased which is all that really matters.

Lipstick in the Bath

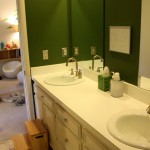
The post title is such since it’s not a real *renovation*, but just a coat of lipstick to make it look better until we can really tackle this..which may be a few years.  We’d love to recreate what we did in our last bath renovation, but it will have to wait.  I guess lipstick is just a bare bones budget renovation?

Thanks to those who voted for the new potty…my cheap, impatient side won and we went with the Jacuzzi Espree…so far we love it.

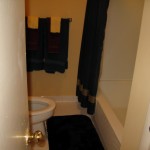
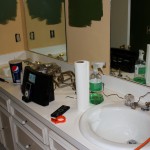
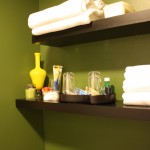
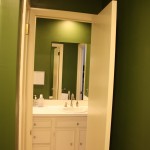
Since we already had to replace the potty and we had a few sets of house guests coming this summer, we decided to try and spiffy up the second floor bathroom.  We really didn’t spend that much since we DIYed it and didn’t do any major overhaul.  In addition to replacing the potty, we replaced the door hardware, cabinet hardware, the sink fixtures and a new shower head.  Swipe on a new coat of paint and add some floating shelves from Lowe’s and we’re done.  All told about $500.

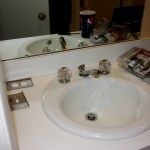
The sinks, vanity, countertop, etc.. aren’t our taste, but are inoffensive enough to buy us some time. Although limited by the lack of modern brushed nickel widespread options in my time frame (They’re OK..they’ll do for now) it’s still amazing what new hardware can do.  I actually like the groovy white 70’s tile on the floor in here, and by luck, the tub/shower surround is in great shape even if it is a thin sheet of acrylic….all in good time.