Driveway Finished-ish

Well, I really didn’t think it would take a year to finish off the upper driveway project, but here we are. Grass grows REALLY SLOWLY in deep shade. Just sayin’.

You may recall, many moons ago, that when we replaced the driveway, there was an area under our huge elm tree where we did not re-pour concrete. It has been a parking pad, and we still needed it, but wanted to minimize stress to the tree’s roots and opted instead for a permeable paver system. Not only does water drain down to the roots of the elm tree, we are maintaining a grassy spot underneath the tire swing – sort of. It turns to mud pretty quickly after the Halloween party, but at least it’s not a slab anymore.

We purchased our paver mats from Landscape Discount which was the least expensive option we could find. We noticed that one of our local parks used the same stuff in their parking area, but instead of seeding it, filled theirs with gravel, so there are other uses besides planting it as we did.

So as a refresher, here’s where we started.

driveway before

driveway scraped Continue reading “Driveway Finished-ish”

Best Find

When Chairish asked me to do a post on my best find, I was flattered and terrified all at once.* I am TERRIBLE at picking favorite anythings. 95% of my furnishings are vintage/previously loved, so how do you even qualify such a thing? Is it the piece that has the most value in relation to what I paid? Is it the most rare? It’s like asking a parent to pick their favorite kid, you can’t – you love them all equally, yet uniquely.

Continue reading “Best Find”

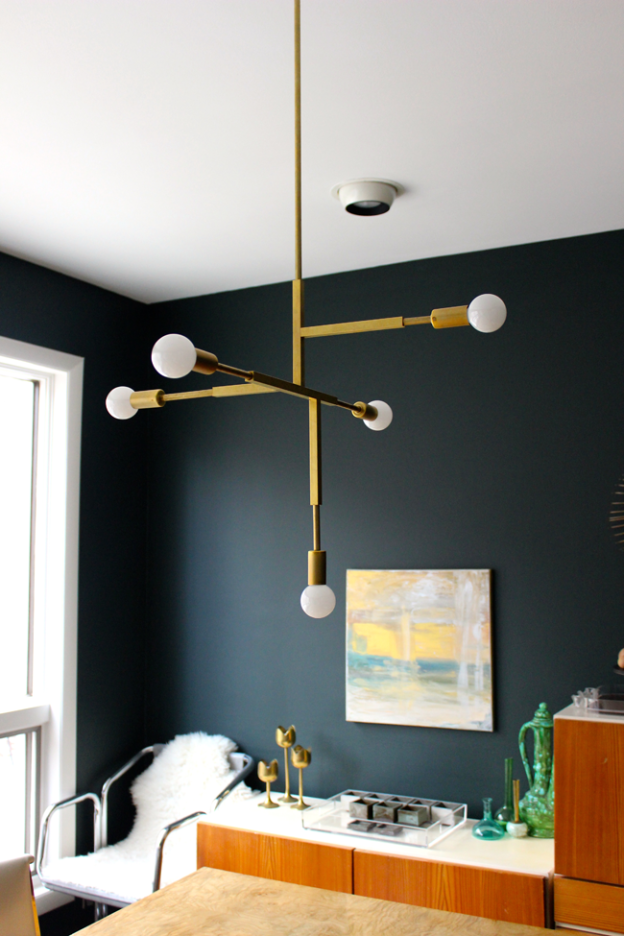
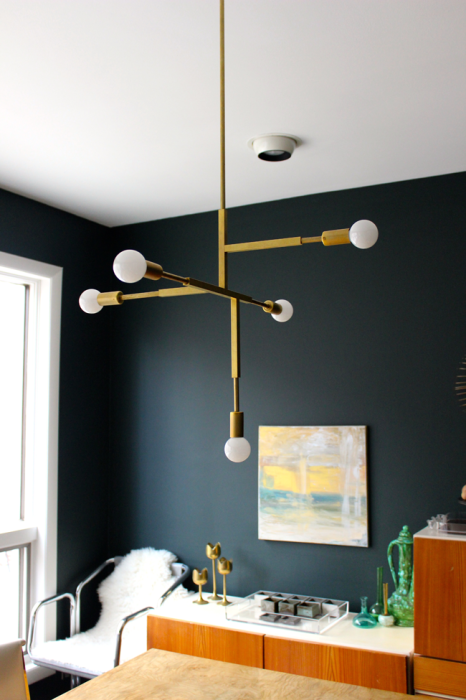
Dining Room Refresh + DIY Brass Pendants

modfrugal DIY brass chandelier

Happy New Year! Yeah, I’m a bit late. the bloggaversary came and went, and I was too ashamed to even mention it because, really, why draw attention to the fact that I’m a terrible poster these days. “Hey, it’s been 6 years and I got nothing!”

So here I am, and I finally have something . Yay for not wasting your time?!? It’s a long one though, so come back, or settle in for awhile.

Continue reading “Dining Room Refresh + DIY Brass Pendants”

DIY X Wing Fighter with Fiber Optics

I had a post mostly written about the marbled wrapping paper and it is so very much the WRONG way to do it, and so finicky, it is a fail for sharing. I will do it properly when I get the right materials, but if I told anyone else how I did it and they tried and went through all the mess I did, they would hate me, so for everyone’s sanity – I can’t in good conscience post a DIY that is so flawed. It came out well because I was patient and stubborn, not because it is an easy technique.

The CC, on the other hand, has been a busy man with more translatable success.

DIY X wing fighters Modfrugal

This has been our dining room for the past few weeks as the CC went all out again this year for the annual ornament DIY for the Things. (See, I wasn’t lying about only one corner of my house being tidy.)

FullSizeRender

Behold the X Wing Fighter for 2014, that can fly around last year’s Death Star on the tree. For a complete (insanely complicated) tutorial on how he did it, go to his Instructable here.

DIY X Wing Fighter rear modfrugal

DIY Xwing Fighter Ornament Modfrugal

For past years’ nerdaments (DIY ornaments for nerdy families like us) click here.

Driveway, Phase 1-2

So, I am always yammering on about how the next big project will be our master bath, and OH, how I wish it could be, but this house has a way of bumping the jobs we WANT to do with jobs we NEED to do. The driveway had become a situation we could no longer ignore.

We had the original concrete driveway that was poured when the house was built in 1977, and I will list the problems that old slab had going for it.

-The expansion joints were originally filled with wood, that over time rots out, allowing water and critters to enter the scene.

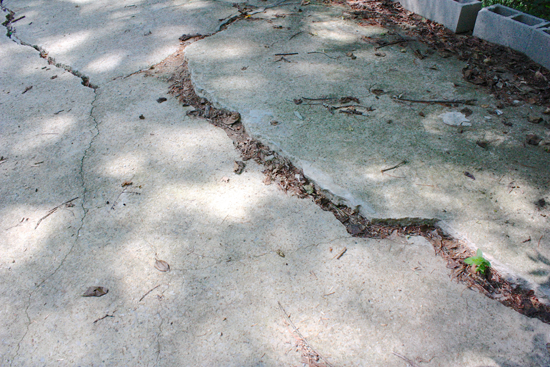
-Two giant sections of that old concrete were cut out and repoured when the foundation was underpinned sometime in the late 90’s. Now, those pieces have settled, pulling away from the house, and again, allowing water to enter under the slab.

-The drain connecting to our gutter downspout, that was installed when the driveway was laid, well, it was the wrong kind…the one with HOLES so that water has been flowing under the slab for decades.

-Aaaaand lots of large trucks driving on it during previous renovations created baby new cracks, to keep the old craggy cracks company. I consider this to be an alternate renovator’s slang for crack baby. You heard it here.

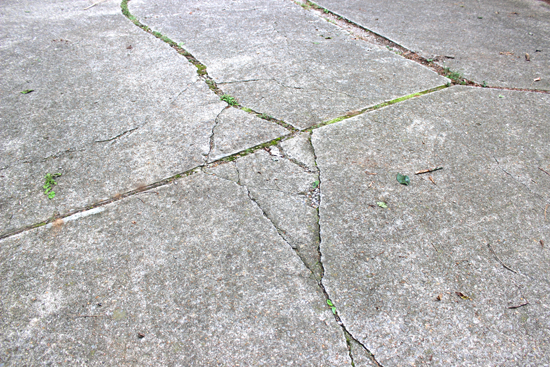
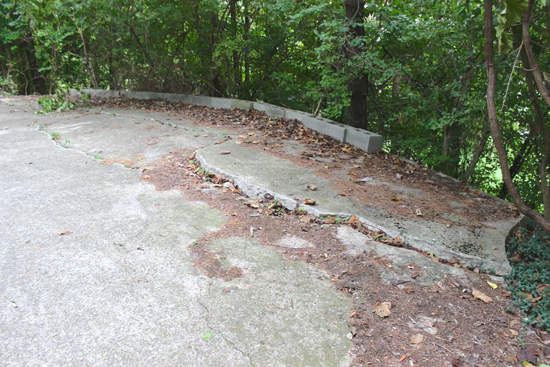
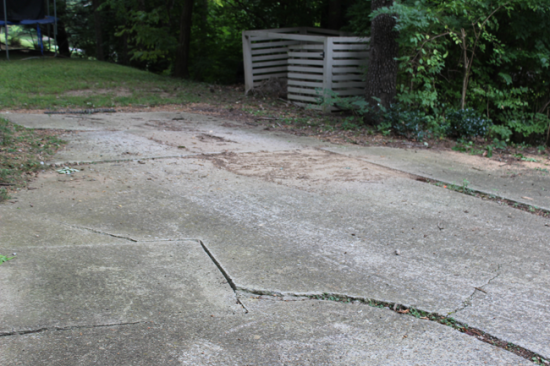
ALL of this equals a nightmare hot mess of cracked concrete. Behold.
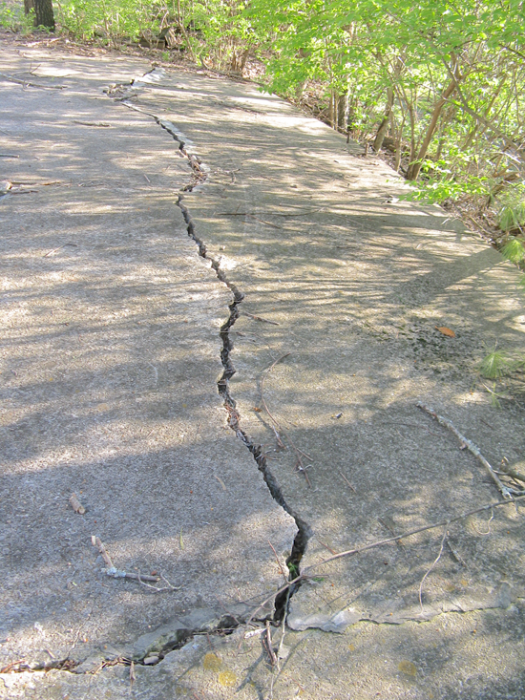
Modfrugal driveway Modfrugal drivewayModfrugal driveway Modfrugal driveway

The work was scheduled to start on Tuesday, and we discovered on the prior Saturday that a yellow jacket colony decided to set up a ground hive down in one of the cracks. I mean, REALLY?! Ugh.

Hive out, and it was showtime!
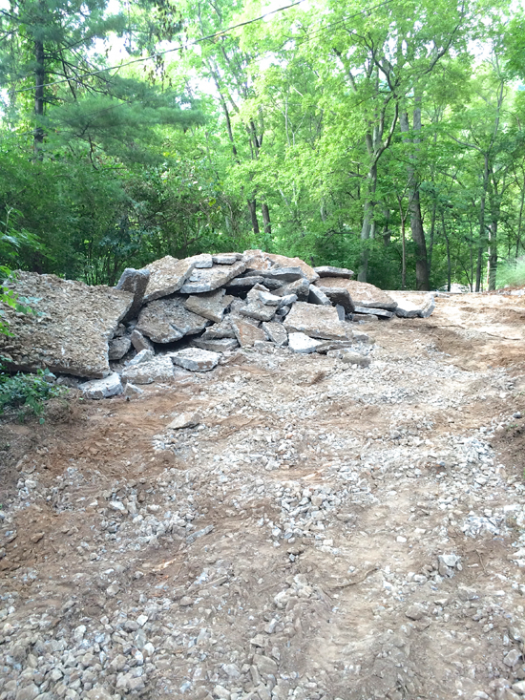
Modfrugal driveway

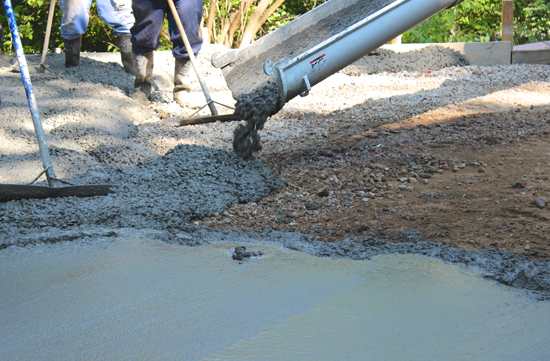
We only replaced the top portion of the driveway and the turnaround. The rest of the driveway is pretty good for its age, so luckily for our budget, the rest can wait. The truck is where the new work stops and joins the old part of the driveway still in decent shape.
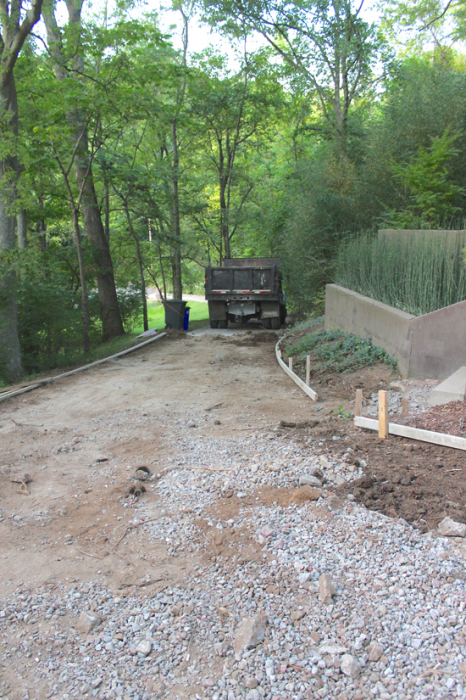
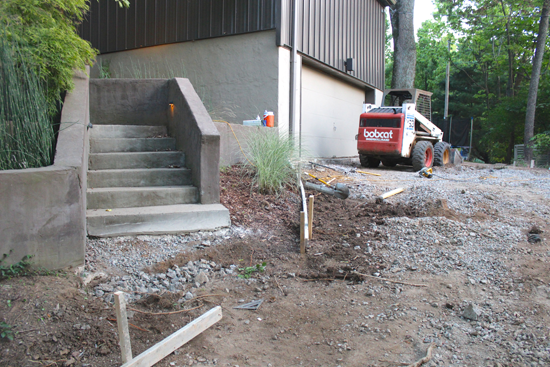
Modfrugal driveway


Modfrugal driveway Modfrugal driveway Modfrugal driveway


Modfrugal driveway

As luck would have it, when the concrete truck drove up the driveway – it broke one of our perfectly decent slabs.
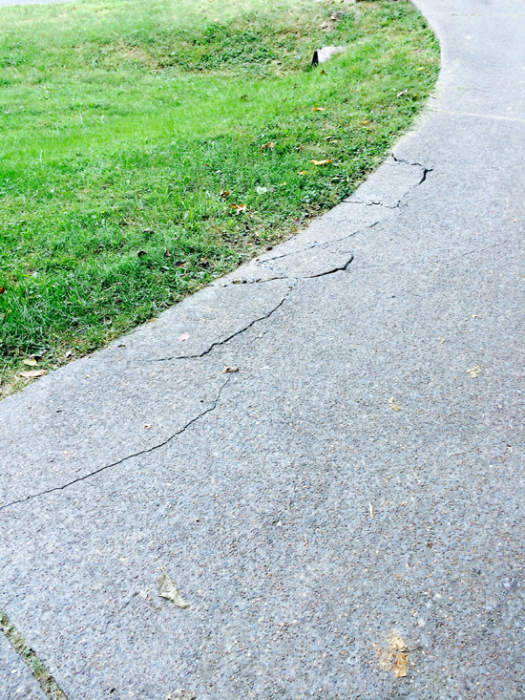
Modfrugal driveway


They very kindly offered to fix it on the spot after the top was poured, BUT, it causes me angst because my inner OCD has a hard time with this…this….Frankendrive. ARGH! Don’t look.

It also created some hairline cracks (more crack babies) in a couple of the other slabs, so I’m sure we’ll have to replace the rest in a just few years…sigh.
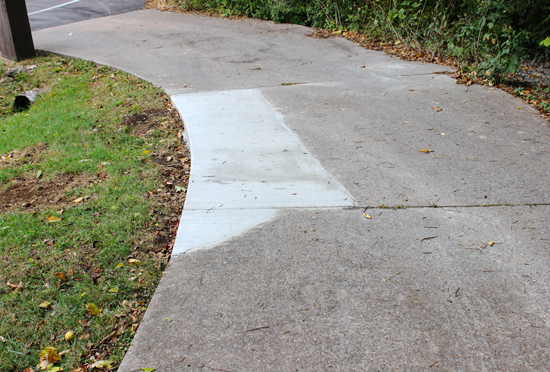
Modfrugal driveway

We need to re-pour our garage slab too, but it just wasn’t in the budget, (knowing this job would likely go over budget..and it did) aaaand we have some joint sistering to do in there before we tackle the floor, so it just had to wait. It would have been SOOOO much easier and cheaper per sf to do it all at once, but that’s life without a money tree.
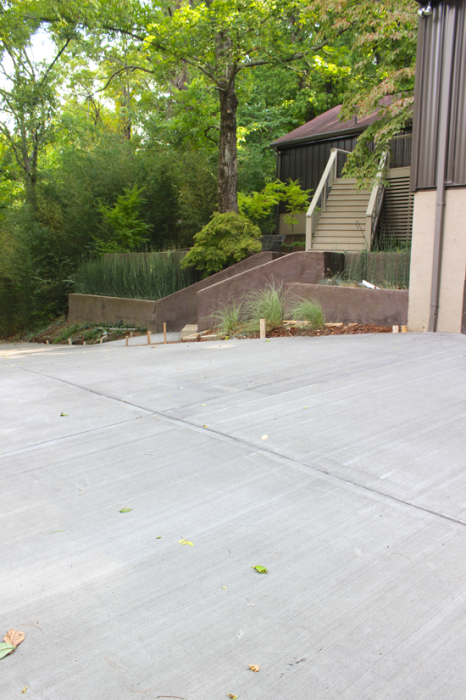
Modfrugal driveway

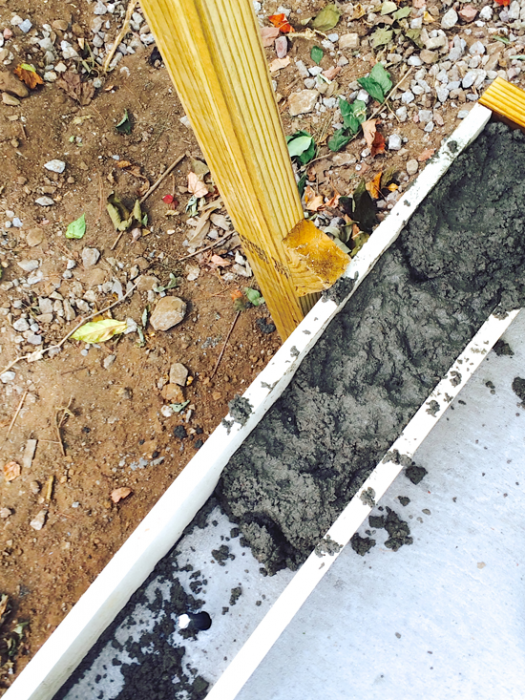
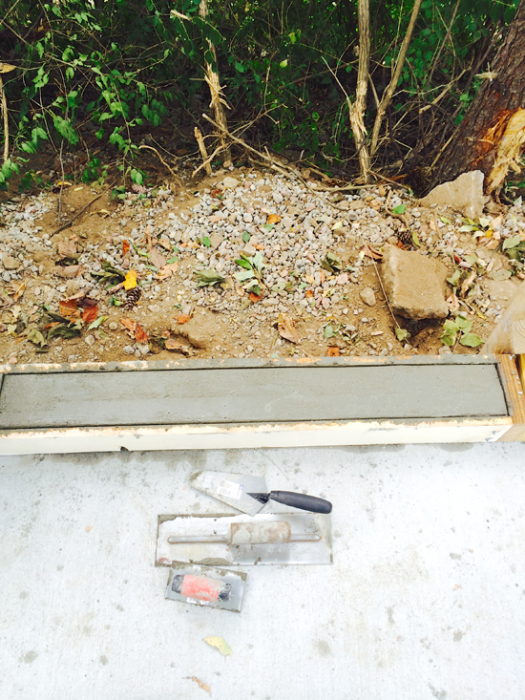
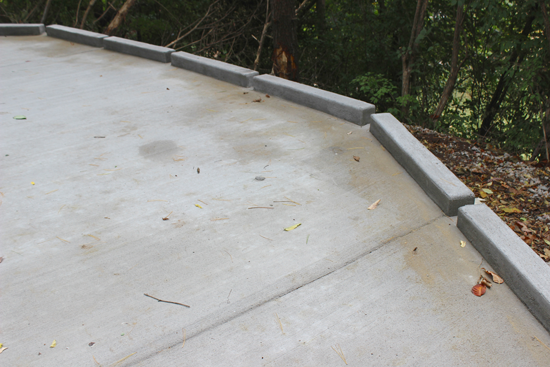
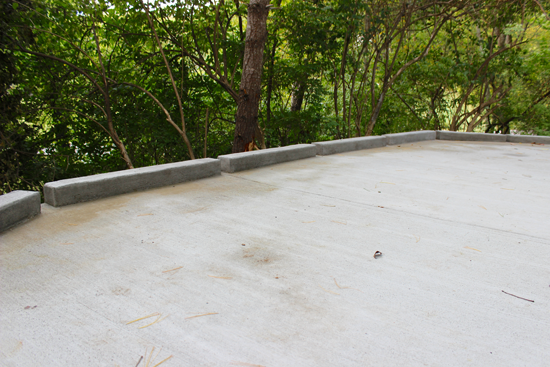
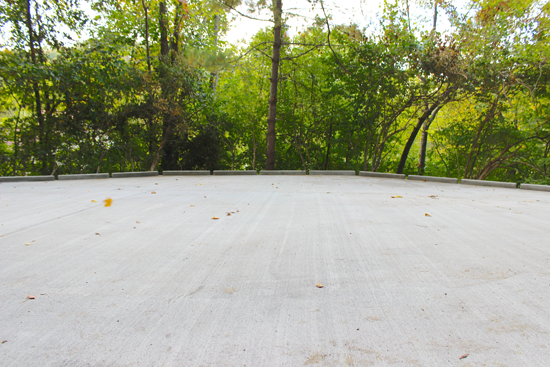
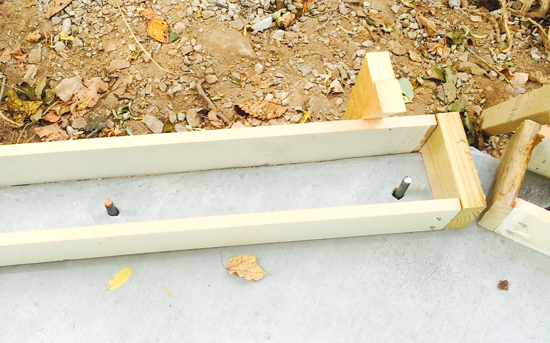
The next phase was a DIY – the CC poured 4 foot curb sections around the far edge so we don’t lose anyone down the hill. We are mildly considerate like that.

Having the curbs poured at the same time was going to add a lot of labor cost, but not concrete cost, so we thought we could handle that on our own. To this point, our driveway has freaked people out since it’s a pretty steep drop-off from the far edge. Example: Our substitute mail carrier won’t come up our driveway at all, and just leaves packages and everything at the bottom of the driveway.

That’s why we had the hideous row of cinder blocks along the edge, plus it kept balls from rolling down into the Nether. The spaces between the curbs allow for water runoff and leaf clearing.
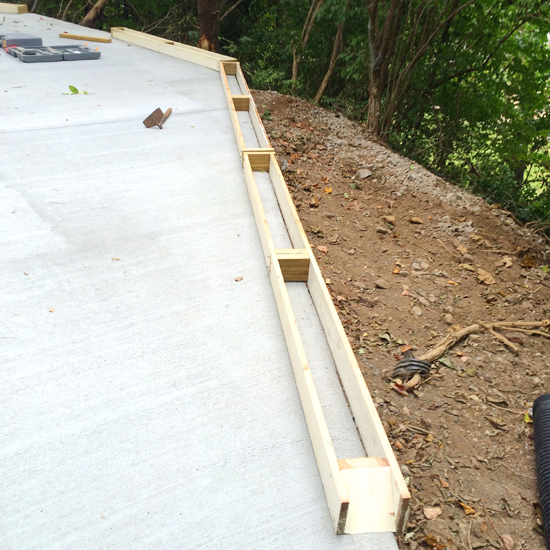
Modfrugal driveway Modfrugal driveway

He drilled steel rebar into the new driveway to anchor the new curbs to the slab.

Modfrugal driveway Modfrugal driveway Modfrugal driveway Modfrugal driveway


Modfrugal driveway Modfrugal driveway Modfrugal driveway

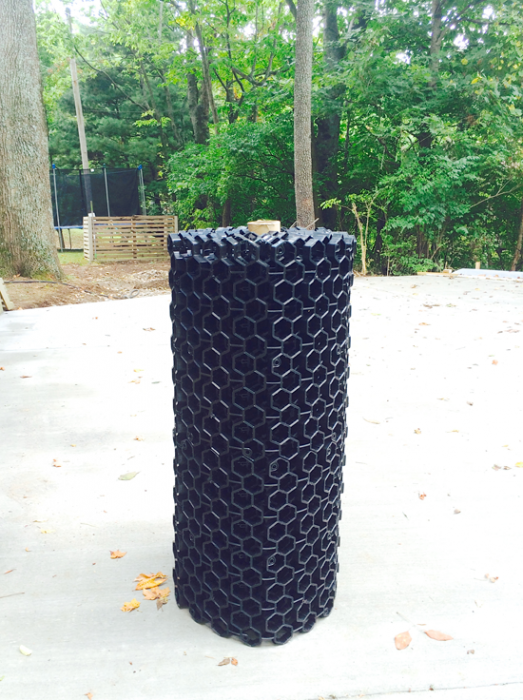
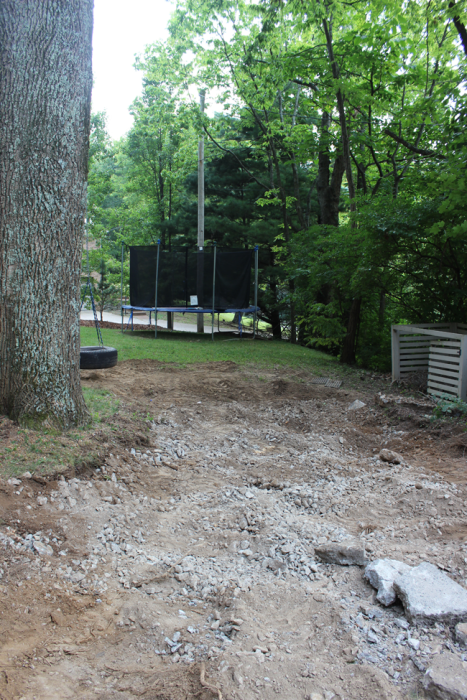
After the curbs, phase 3 is the permeable paver installation- another DIY. We are going to lay down this stuff between the base of the 2 trees behind it. There used to be a concrete pad there as overflow parking for the driveway, but it was hard on the roots of the big ash tree. Hopefully this solution will be friendlier to the tree while giving us the extra parking we need.
Modfrugal driveway

It is a roll out grid that is filled with either gravel or soil and grass/groundcover that allows water to pass through the cells, yet is strong enough to be driven on. Our plan is to seed grass since it is also at the base of the tire swing. Hopefully it will be a significant benefit for both the trees, and stormwater runoff.

Phase 4 will be to put a slatted fence behind the curbs to make those parking and turning around up there feel more secure, and a few years down the road, I guess we will add more sections of driveable grass to accommodate MORE DRIVERS in the household. GULP.

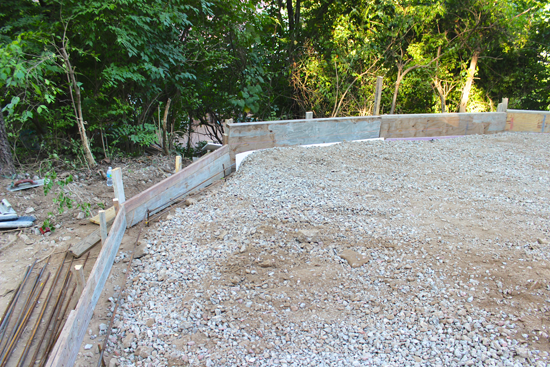
Stay tuned for the paver installation, We have 6 tons of gravel to create the base being delivered Tuesday, so it will be a lot of shoveling and trips up the driveway with the lawn tractor.

WHY you ask?  Because the brainiacs here didn’t think to have it delivered/dumped in place BEFORE the new slab was poured. No trucks on the new slab for 6 months minimum. I’m usually a good renovation planner in terms of sequence, and this was an embarrassing miss. I guess it’s a good work out though….
Pantry Done!

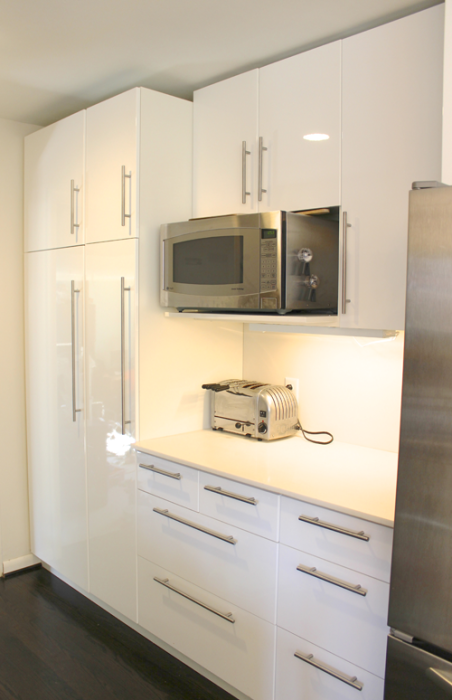
modfrugal pantry reno

This has been one of our more embarrassing renovations time-wise. It’s taken over 5 years to get this done, but it’s FINALLY off the list. To see all posts related to the pantry, click here.
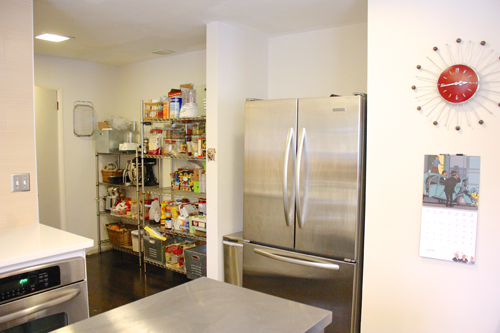
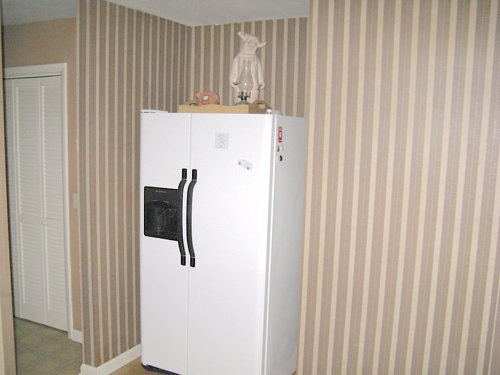
To recap in brief, we gutted and rebuilt our kitchen when we closed on the house 5 years ago, but left the other side of the kitchen like this, thinking we’d get to it within a year. That didn’t happen.

modfrugal pantry reno

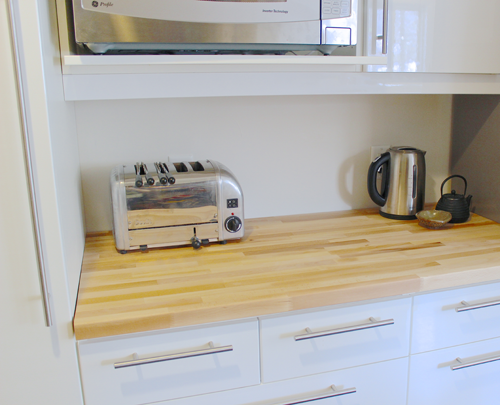
Over Spring break 2013, we finally got it going and were making great time to finish within a couple of weeks, BUT…we ran into a snag with the countertop, the overhead lighting had to be changed around, and there needed to be yet another trip to Atlanta for some finishing strips, and eventually, a slab of butcher block. So we got to this point, it functioned, and we came to a screeching halt.

modfrugal pantryUntil we could figure out what we wanted to do, we used the Corian counter top that was in the original kitchen. We had saved it, and had been using it in the basement workshop the past few years. The photo above doesn’t look bad, I have to say, but this one below better shows the color situation.

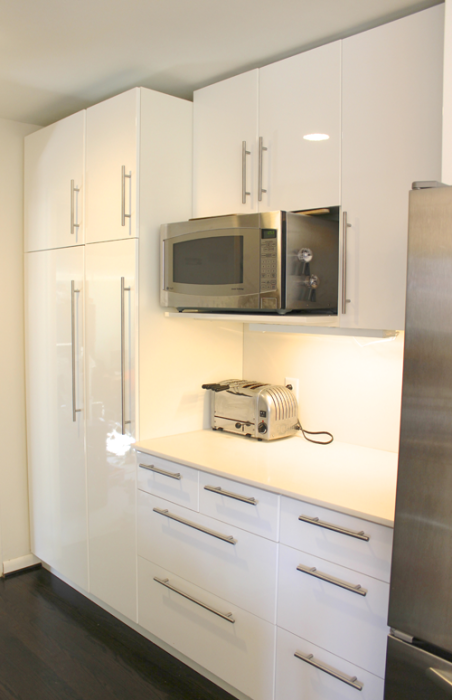
modfrugal pantry renovationCompared to the crisp white Abstrakt cabinets, the Corian was yellowish. We could have sanded down the Corian, but if we were going with something other than the quartz from the main kitchen, wood seemed the most appealing and least expensive choice. We discussed our options, Summer came and went, and life rolled along with nothing happening in the kitchen for the next 5-6 months.

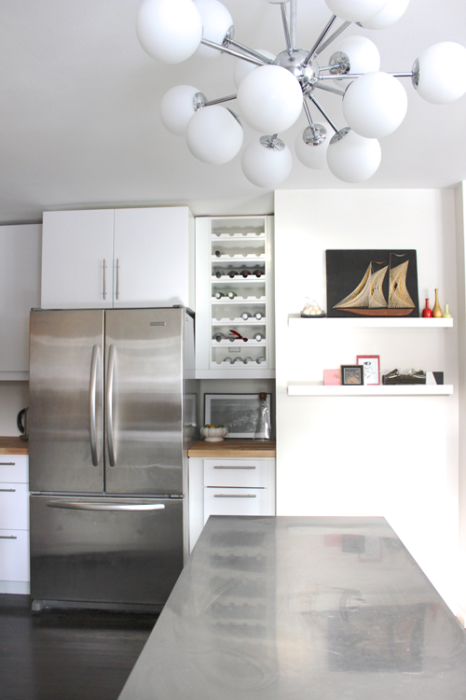
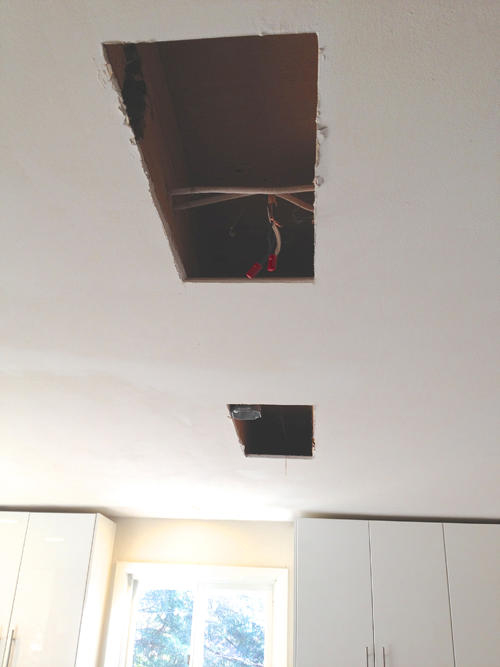
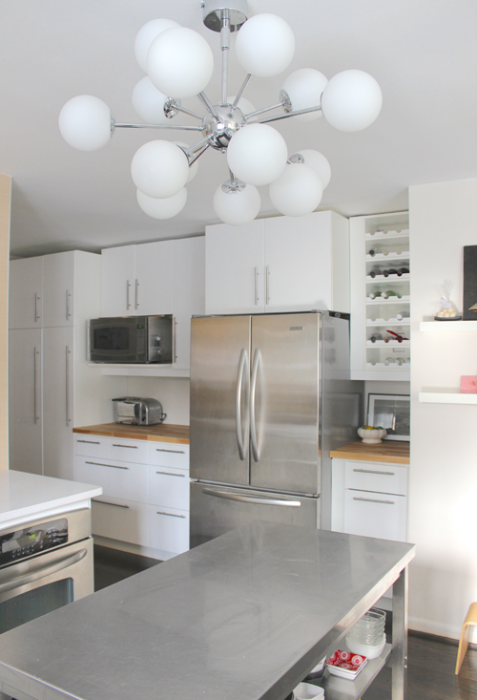
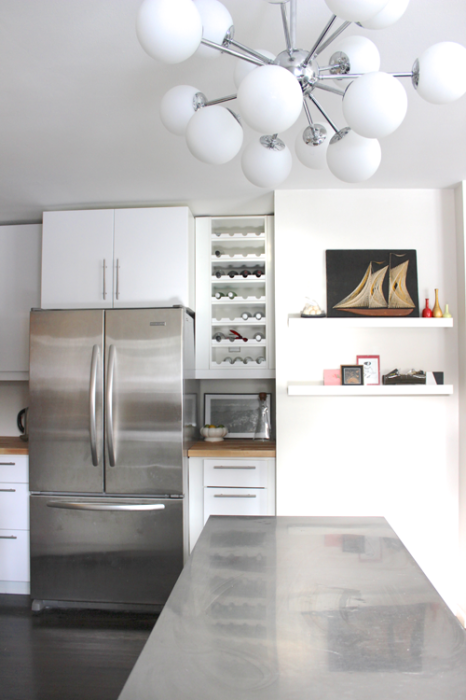
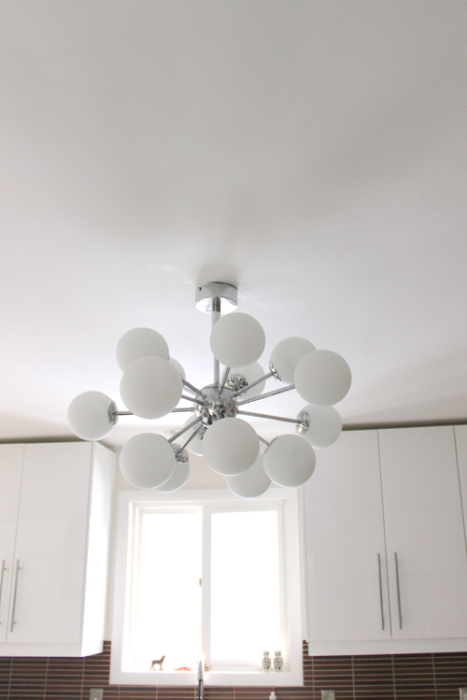
Over Fall break, the CC tackled the beast of the lighting situation himself, which was not an easy task. We still had 3 of the original square recessed lights left in the kitchen and 3 new cans from the main kitchen renovation. I never felt we had enough light over the island/table for prep, and it looked bad to boot. I had always planned to move the sputnik over the island as it is too big to hang in a walkway, but there it was, bumping the heads of our over six foot high friends as they walked in from the back deck. On top of that, we had never finished painting the ceiling in the kitchen because we were going to be tearing it up again any day…5 years later. Of course it wasn’t just a simple swap of fixtures, the depths were different between the 2 styles of recessed lights, so it took awhile and a lot of sheetrock dust.

modfrugal pantry renovation

I can’t even begin to tell you what a difference changing the lighting has made in this kitchen. Lighting is like paint – often underestimated, transforming a space to such a degree you can’t understand why you didn’t do it earlier. We had to repaint the whole kitchen ceiling afterwards, but that’s the price you pay for waiting so long!

But it was worth the wait. We have it on a dimmer, and every time I’m chopping at the table, I am grateful for how much better I can see.

Modfrugal Kitchen Sptutnik

So, now the kitchen is almost done!

Pantry cabinets and counters are in, lights changed. All that’s left is a bit of caulking and some more trim around the desk area. I’ll re-shoot the whole kitchen once that is done….and when all that glassware on the brass etagère gets dusted…gulp.


modfrugal pantry reno

modfrugal pantry renovation kitchenWe left the fridge sides exposed so we could use it as a bulletin board for our conversion charts, important phone numbers, etc… This counter is now toast, tea and lunch making central. It has really helped the flow in the main “U” to have these stations moved over.

IMG_1003

Since we moved the wine rack over, the tiny area to the right of the fridge is now a mini-bar kind of set up.

IMG_0979

So here’s the progression…..previous homeowner to today.

IMG_0569.JPGmodfrugal kitchen reno

modfrugal pantry reno IMG_0976 modfrugal pantry reno

modfrugal pantry reno

Thanks for your patience! Off to boil some water for a piping hot beverage because Nashvillians can’t hack 12 degrees for a high. Brrrrr…