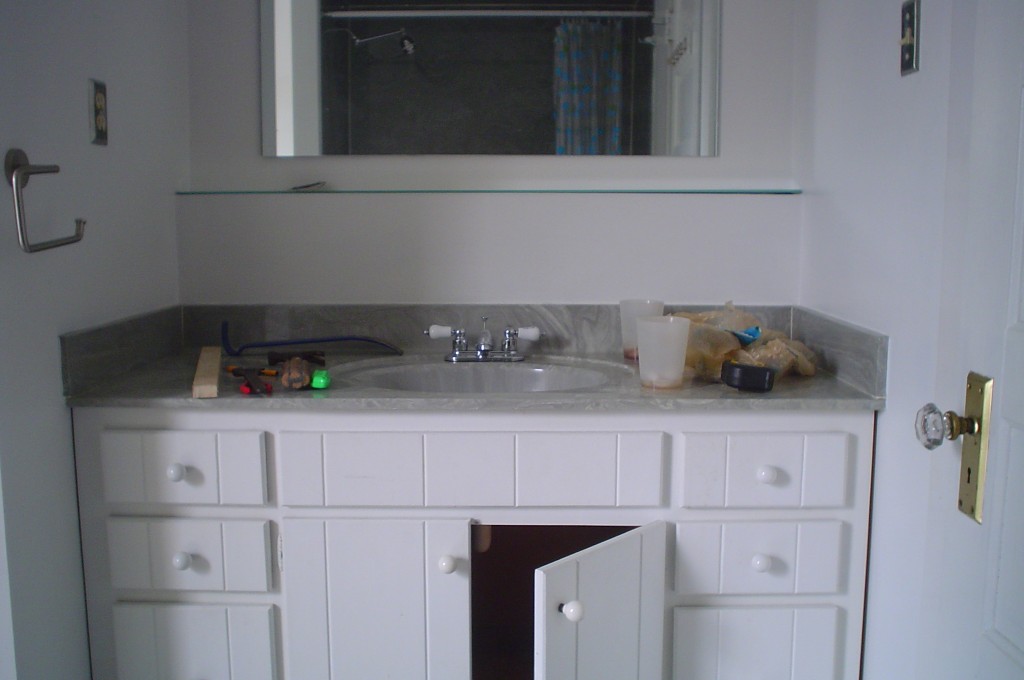
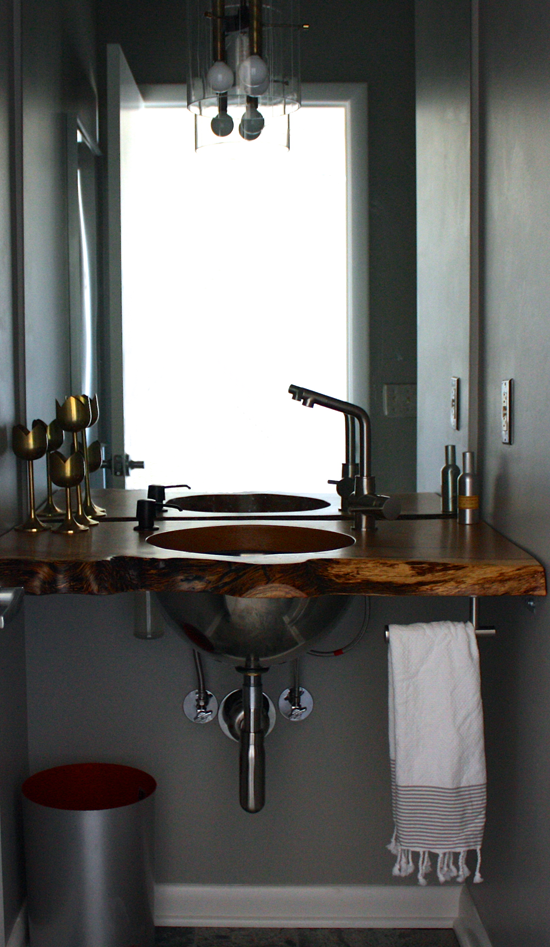
I looked at tons of too big/too small hooks and bars of all shapes and sizes for a hand towel in here. It finally occurred to me that maybe all I needed was another toilet roll bar under mounted, and out of the way visually. I hate it when obvious stuff seems to come so slowly. $19 price tag helped too.
Tag: modern diy vanity
E-bay, Sweat and Patience
NOTE:Â This renovation was done in our last house and completed about 3 months before we found out we were getting transferred and moving. So, unfortunately, I can’t take any more pics! We got such good feedback on it that we decided to include it here anyway. Â Apologies for photo quality.
It was time to redo the bathroom, so of course I start looking for ways to trim the budget so this can actually happen. How much do I love Kohler’s Purist series wall mount faucets, but at $500 each (I needed 2) that was eating a lot into my budget - I had to replace the countertop, sinks, mirrors and floors too! Enter my old friend e-bay. I found really good knock-offs for $99 each (faucets_outlet). So the rest of the renovation now revolved around them.
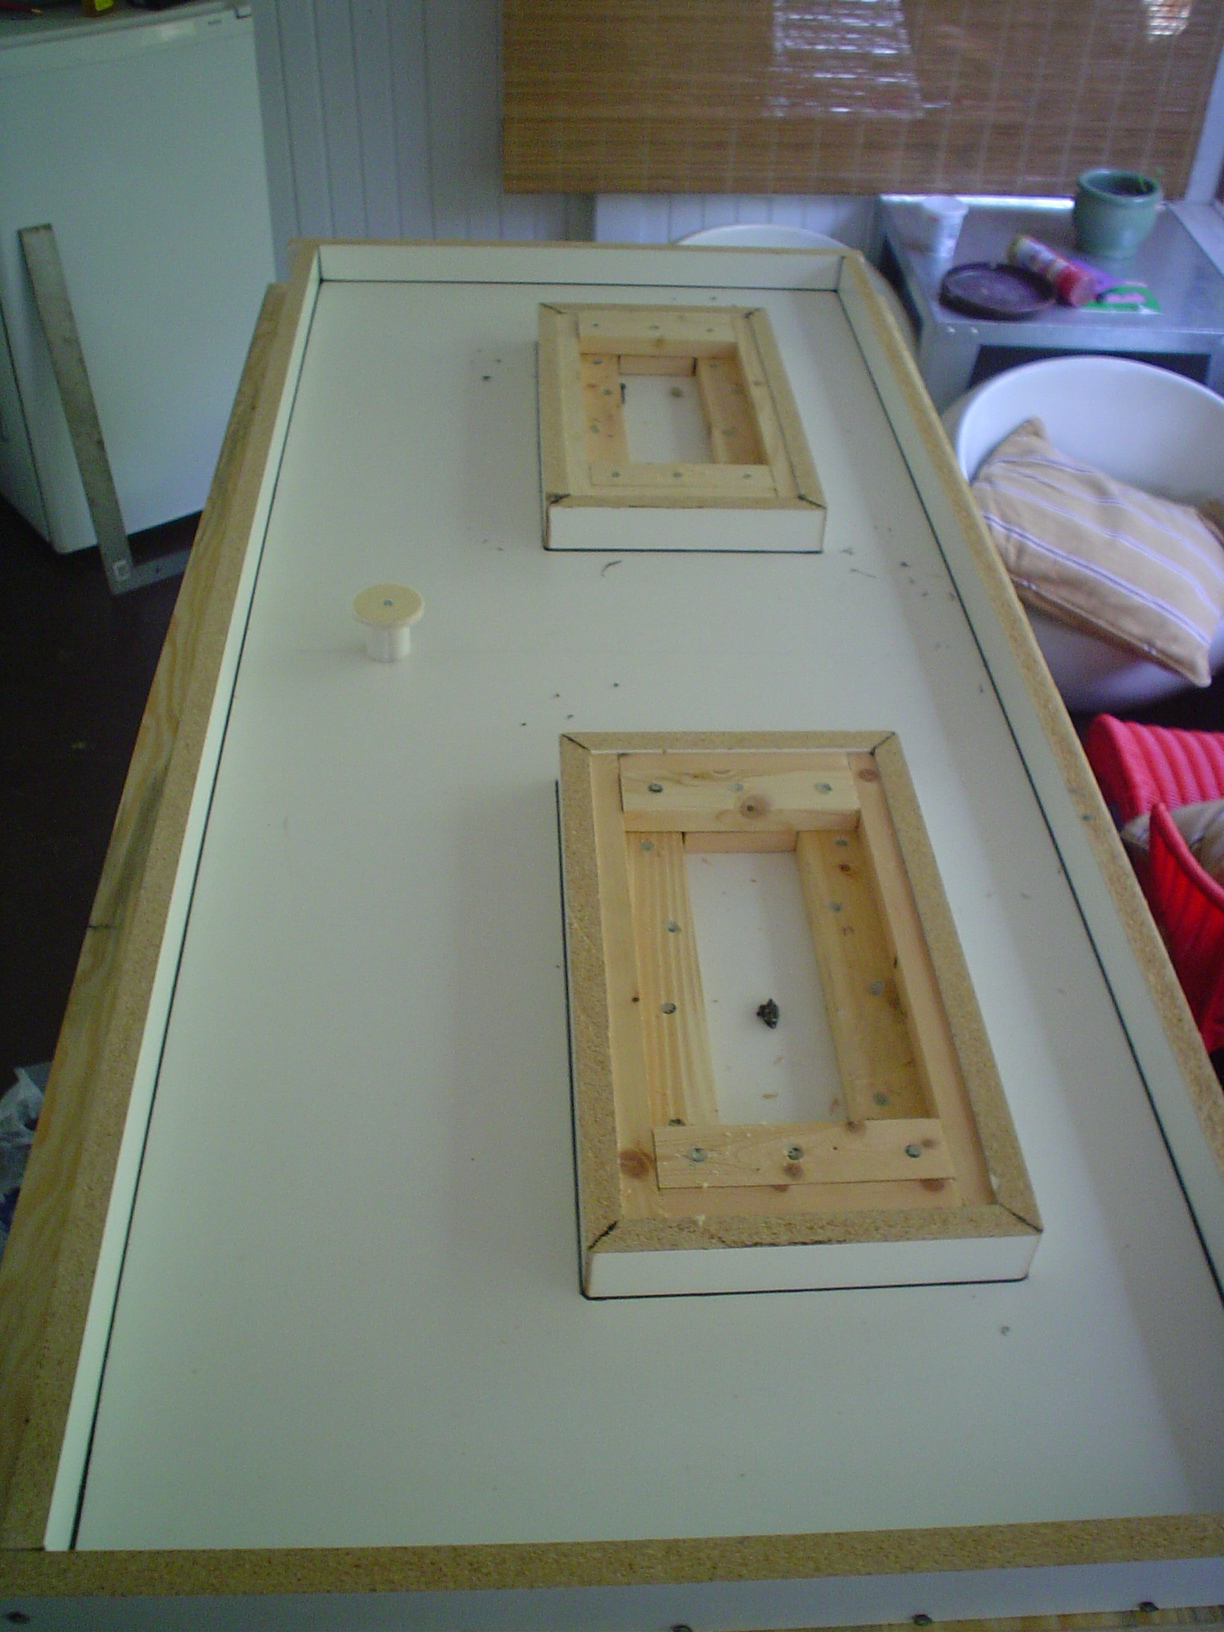
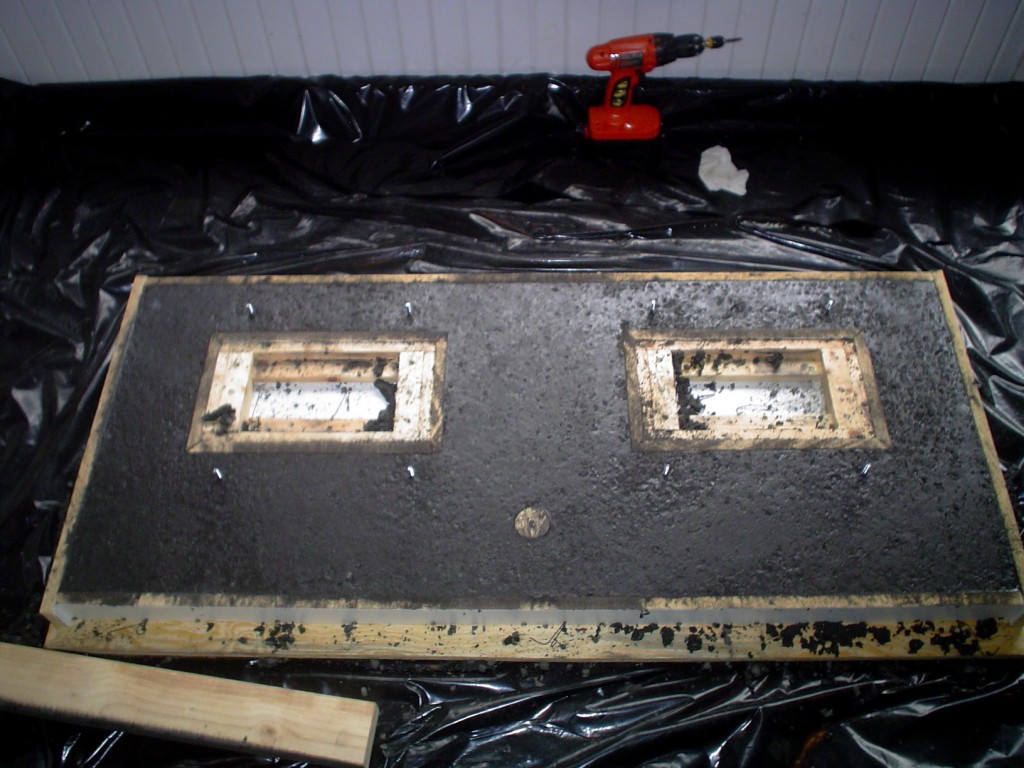
My better half had been chomping at the bit for a concrete project and here was his chance. He did a bang-up job building the form and pouring the countertop and then we had to wait a month for it to cure. The agony! Details on his process are in the comments below. All told, we pulled off everything you see in the photo of the complete vanity area for about $550. The paldao veneer for the plywood box housing the faucet connections was one of the bigger splurges at $100. The undermount sinks (scottybsports) were also purchased on e-bay for about $50 each.
Here is how my crafty counterpart describes the countertop process:
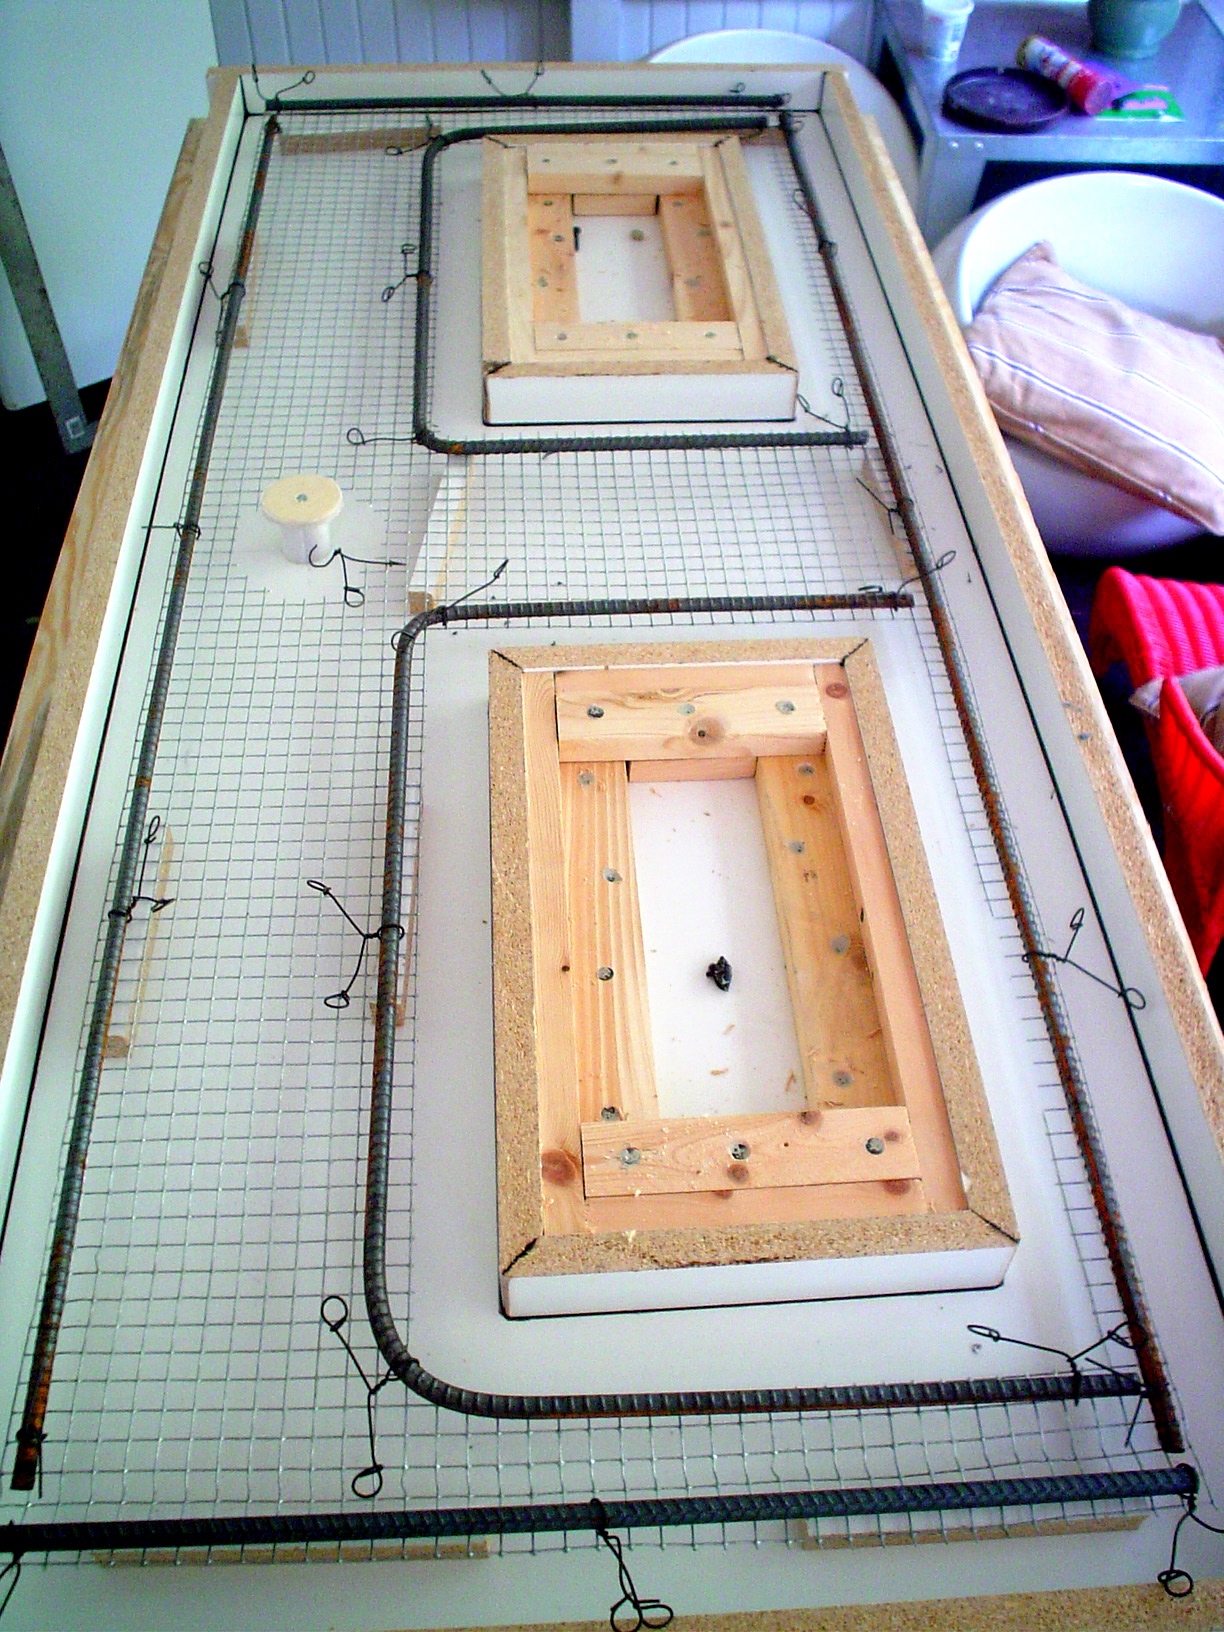
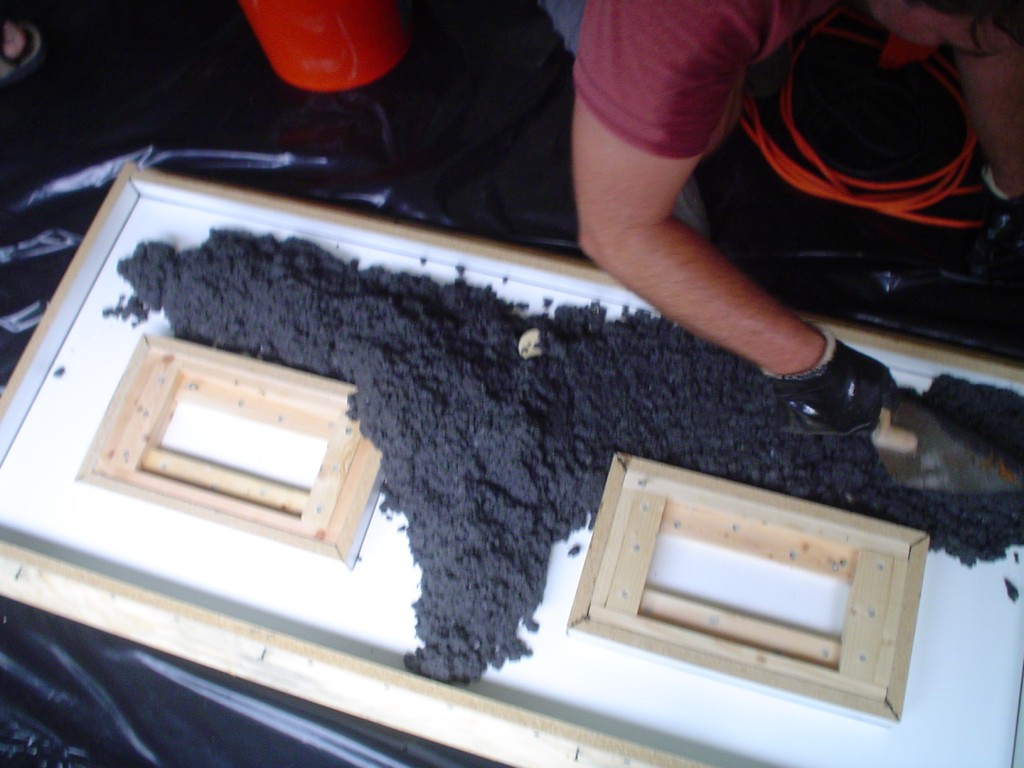
“Used Quickrete 5000 concrete. Used super plasticizer, latex additive, powder pigment (use max pigment % weight allowed for the weight of concrete, if you want dark/black color). Used 3/8 rebar around edges, tied to sheet of 1/2″ hardware cloth with wire ties. Suspended the rebar/cloth from the top of mold with wire ties until after the thumping to release air bubbles…or it would have sunk to the bottom of the concrete and you want it in the middle.
Got supplies off ebay…from seller ‘concrete-fabricator’. Superplasticizer and latex additive help reduce the amount of water needed to mix the concrete. Less water = good for the concrete mix. Do a slump test – you want to make sure the mix is the right consistency. Mixing concrete with shovel is not fun…rent a mixer.
Used a palm sander with no sandpaper/cling film to release the air bubbles. Thump long time.
When cured and unmolded, filled holes with pigment/cement slurry (same pigment % by weight to cement as main batch). Grind/polished with diamond discs and a wet grinder. Wore a contractor bag with slits cut for arms and head…dirty water gets everywhere when wet grinding.
Sealed with concrete sealer, a few coats. Then beeswaxed to a beautiful hone.â€
