To Do: Outdoor Furniture

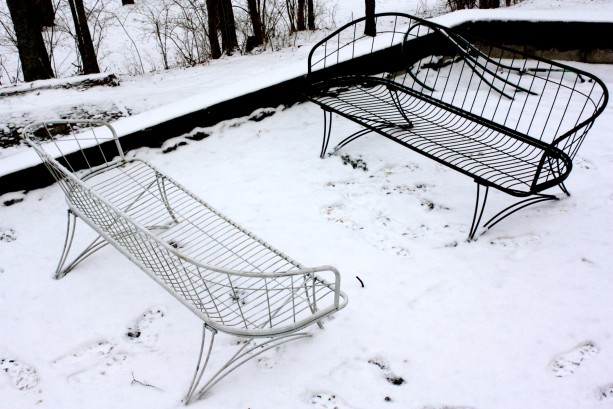
Well, in addition to finishing the gravel patio and staining the new deck/stairs.   All of which are STILL covered with ice/snow so I can’t make progress there until the temps are much warmer.  I CAN, however, put on a coat and use the sandblasting attachment to clean up and prep my collection of aging vintage patio furniture.  Once the weather cooperates, I’ll be ready to paint and can knock it out.

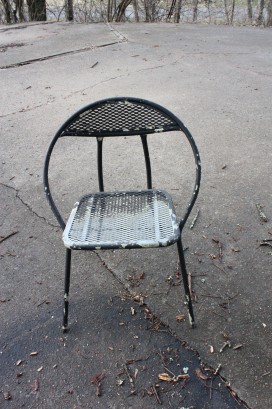
On a freakishly mild day before “snowmageddon”, I tested out a chair and was pleased with the results.  Sometimes the paint isn’t paint, but old, flaking powder coating and that’s tougher to deal with.  This just has lots of layers of paint.  Easy peasy.

Just a few passes with the sandblaster took that paint right off.  Now if it would just stop snowing, I can finish the set!!! (I never thought I’d say that living in Nashville.)

I’m also trying to find a deal on some swank outdoor fabric for these benches.

My HOPE was that when those fabulous Trina Turk fabrics came out last year, I could get them at a serious discount THIS year.  I’ve been trolling E-bay and I’ve come up empty thus far.  Has anyone used LA Design Concepts?   20% over wholesale sounds good….I’ve requested pricing, but I’m not holding my breath that it will still be affordable enough.

All 3 are Schumacher, bottom 2 are Trina Turk’s 2009 line.  Don’t you think that crazy Peacock is just meant for the Regal Beagle?  The CC also has that bit of welding he promised for our Woodard pieces….
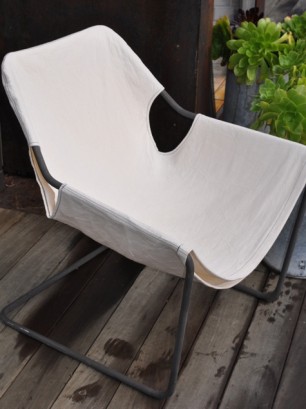
Paulistano

The DIY Paulistano post on Remodelista was a good copycat, but still out of reach for me.  I too, have always LOVED the look of these chairs…but $700 for the frame alone isn’t going to cut it…even if I use a $23 dollar dropcloth to finish it.

One of the commenters had a GREAT idea to make it a complete DIY…..using rebar to make your own frame.  Cool eh?  The texture of the rebar could make it very interesting with an industrial vibe…I likey.

Canvas DIY version via Remodelista

Friday Flea Part 2

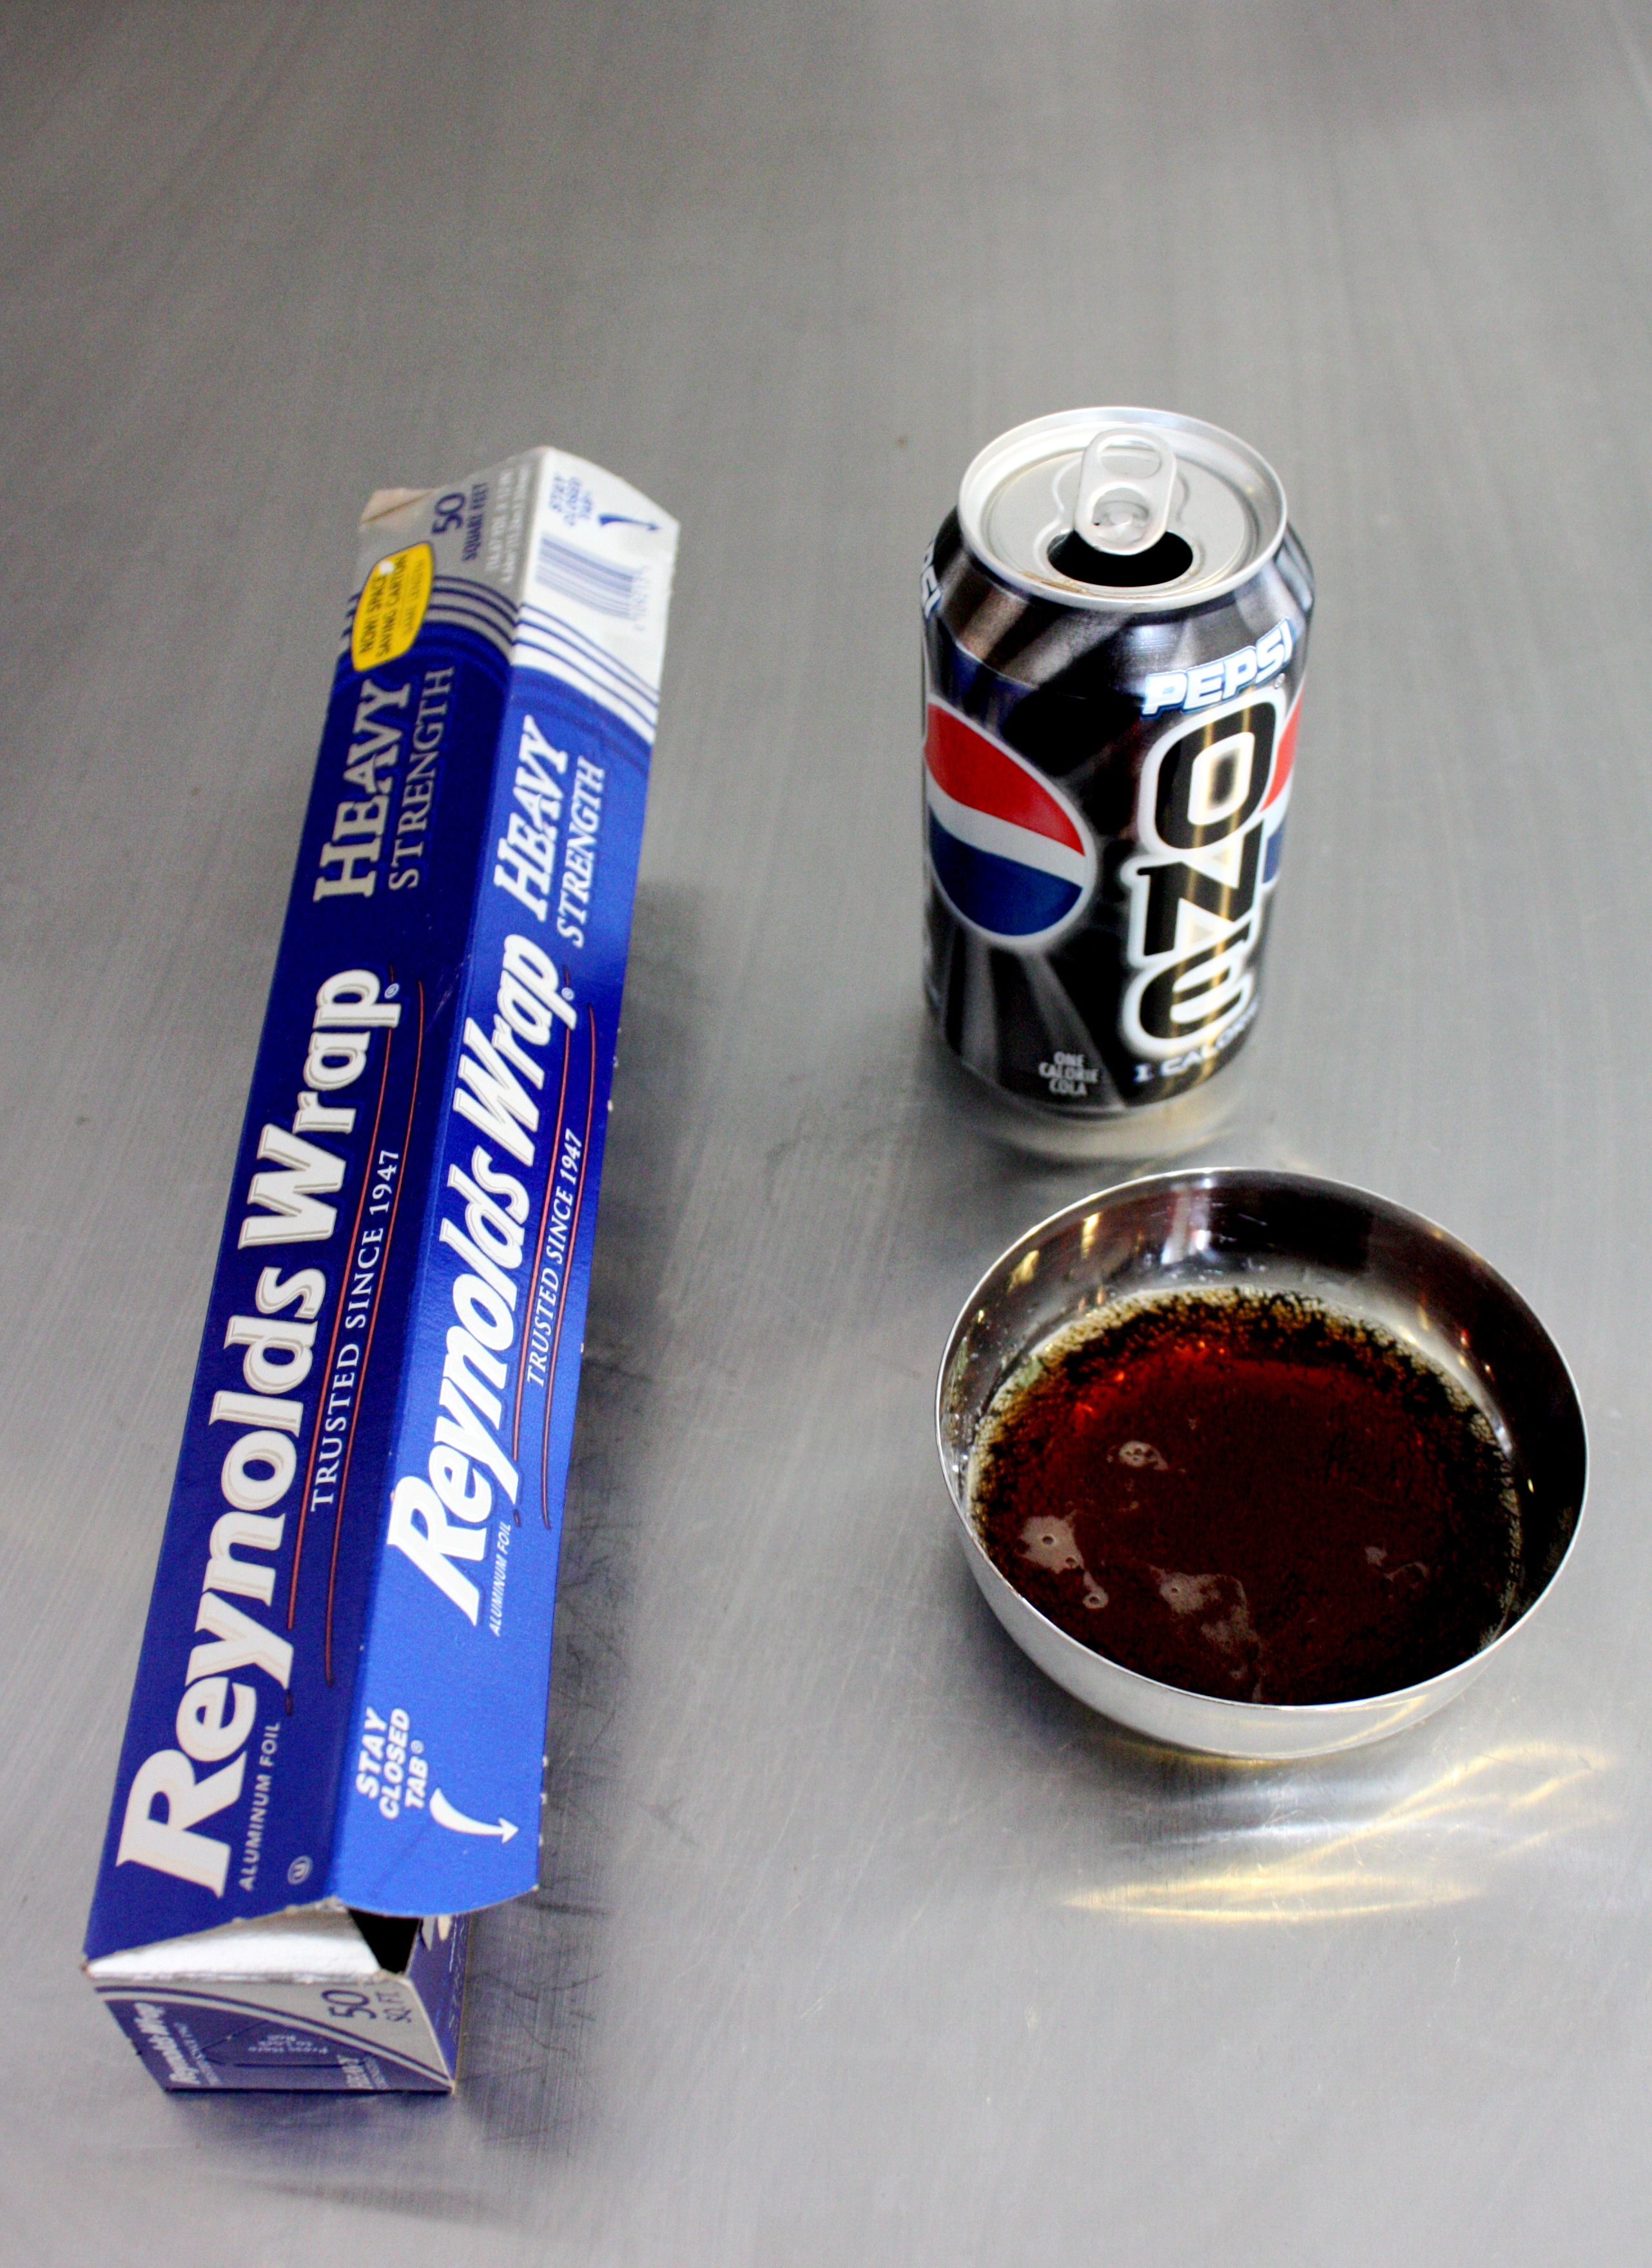
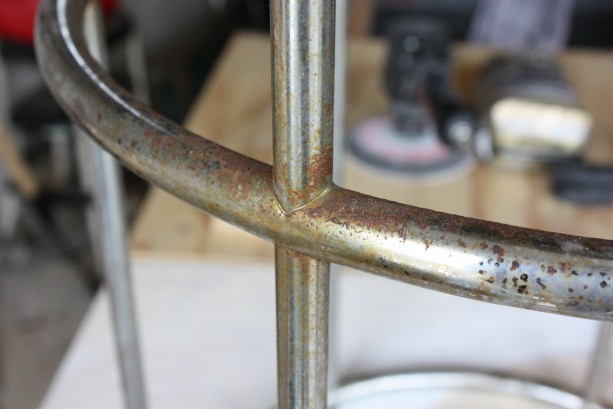
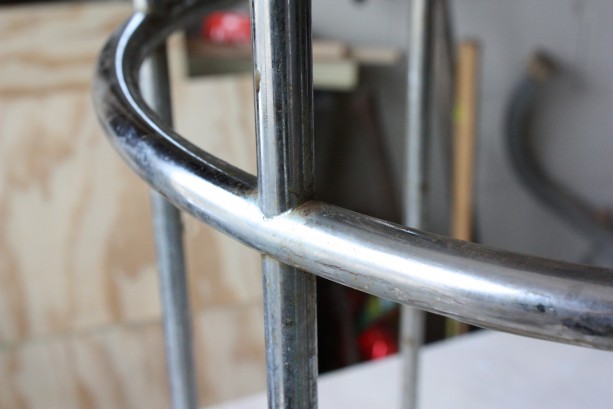
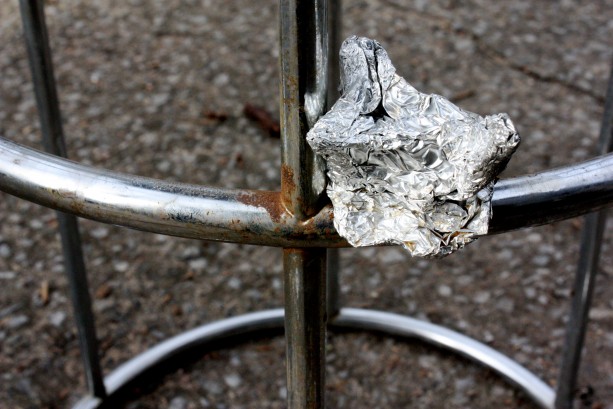
Well, after surfing and polling some wise peeps, I gained a renewed hope for ditching the remaining rust spots on the chrome of my flea market stools.  Cola applied with wadded up aluminum foil is the choice of car enthusiasts on the net..so I figure, why not give it a whirl?

People, can I just TELL you how thrilling, yet horrifying this was?  It works.  I mean really works.  I knew I should give up my once daily diet soda, but I don’t think that will be a problem now.  I can’t believe I’ve been ingesting RUST DISSOLVER. Not cool.  At all.

There were a couple of areas I knew were beyond saving since it had penetrated the chrome, but all the other spots I couldn’t get with the Noxon?  WOW.  Check it out.

before and after

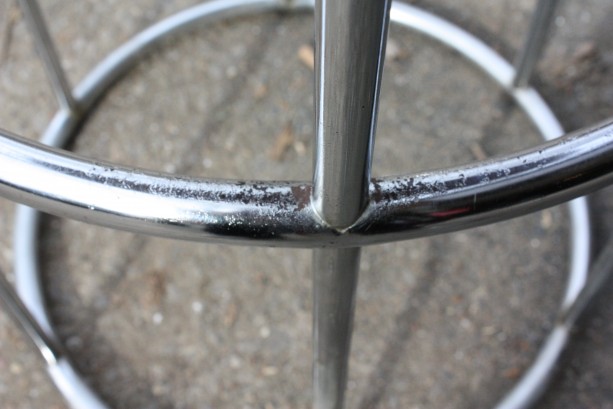
and another before and after

You can see where the chrome is pitted here…but still WAY better than before.

Then, I went back and polished up all over with the Noxon again and…Tah Dah!!!!!

one of the good spots…

It took a lot longer than I expected, but it was well worth it.  They aren’t perfect, but they are miles ahead of where they were, and I lurv them.

Caning

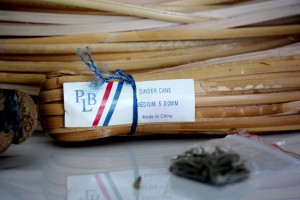
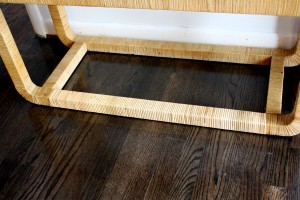
No, not Singapore’s solution to misdemeanors..I’m talking basket weaving cane.  Remember the new bookshelf?  I managed to find the cane to re-wrap the damaged areas….a decent sized roll for $30…bringing my bookshelf total up to $130.  I’m quite pleased since I couldn’t even get the CB2 Hancock bookcase I had considered for that much.

Not knowing jack about weaving or caning…a little research turns up a few tips and we’re on our way. The CC took the lead on this one…he thought it looked like a lot more fun than organizing the workshop in below freezing temps, so I stepped back to simply document the process.

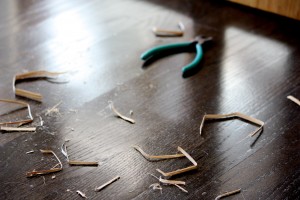
First, we soak the cane for 4 hours in warm water…while it was soaking, he removed the old torn bits and scraped off the old glue.  He saved the tacks so we could re-use them…and then it was wrapping time. We were out of Gorilla Glue, which we love, so he decided to use plain old white glue. Tack the end and start wrapping until you finish the strip, Tack and repeat.  Linseed oil or tung oil should be rubbed on it to prevent cracking etc.. so if you have dry cane on anything..a little oiling can save it…so say the wise weavers of the net.

There is a color variation between the new and old cane, but not too bad.  My hope is that with repeated applications of the linseed oil, the color will even out.  All in all, I think it was a success, and I have enough cane leftover to do something else down the line.

Vote Time

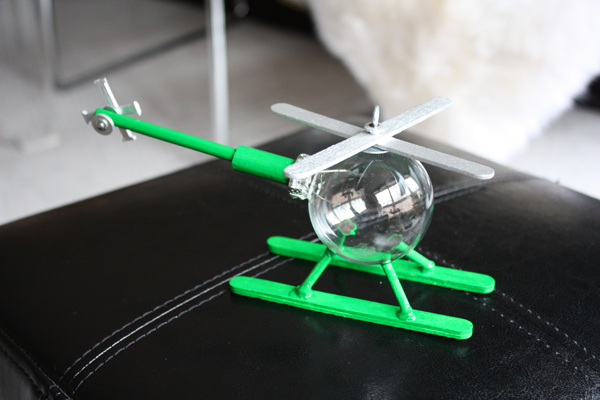
Shameless support for my man….Time to vote if you are registered with Instructables.  The Crafty Counterpart ‘s ornaments are in the competition for some magic wand thingy remote that is supposedly so nerdy, it’s cool. Click on the link for each ornament to vote.  Thanks!

Airplane from cigar tube Instructable found here.

Helicopter Instructable found here.

The Brick House Does Adelman

The Brick House seriously rocked it this weekend by completing the DIY of Lindsey Adelman, adored previously here.

I had no idea Adelman had posted DIY instructions on her website!  Her work is so beautiful..it is really generous of her to take pity on those of us who can’t afford her!

I’m super impressed with the results.  To see more photos of The Brick House’s DIY go here.

Photo by The Brick House