Snausages!

Gloomy, rainy Sundays are made for cooking, so we decided this particular weekend, we would dive into the world of home made sausage.  I will warn you now that there is some graphic content, so unless you want to have “the talk” with the wee ones, read this all by your lonely.

Because we are nerds, I got something very exciting (to me) for my birthday awhile back.  A meat grinding attachment and a sausage stuffing attachment for the stand mixer.  I know, some gals get excited about a pair of Louboutins for their birthday, and I get excited about meat processing.  We are a high class crew over here.

Modern Thrifter sent me this apropos vid that I had forgotten about completely.  Perfecto!  If I can only have Kramer’s flair whilst grinding meat, I will have achieved great success in life.

I’m a Ruhlman fan, so there wasn’t any way I wanted to tackle my first snausage without his input.  While we didn’t have the fancy commercial gear he has, we soldiered on.  He’s got more about it here. The second book is also highly recommended and it’s pretty serious.  Meat dudes in the know.  The CC is suitably impressed with them and their scientific approach.

BTW, you can’t work in volume for this stuff, you’ll need to have a scale to measure ingredients by weight.  Sausage making and pastry actually have more in common than you’d think.

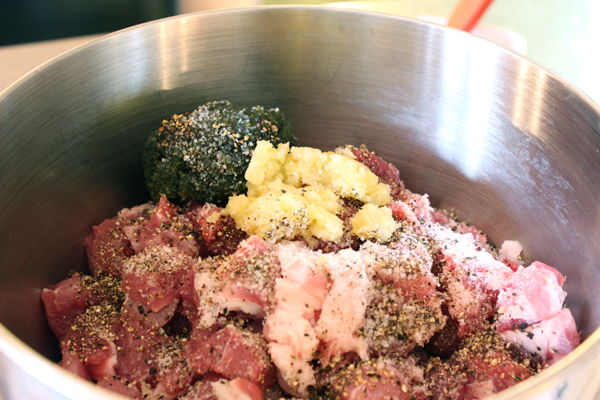
For our first attempt, we decided on a pork and sage pesto sausage.  In looking at recipe ideas, a classic pork/sage sausage and a simple garlic sausage recipe were combined by using my sage pesto which has garlic, sage, almond and salt.

We used this recipe as our guide.

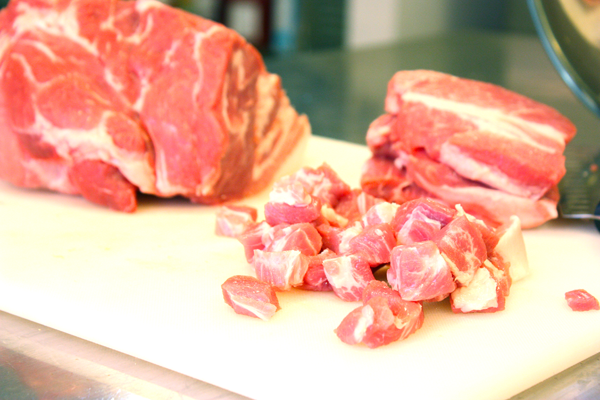
Everything we’d read told us how incredibly important it is to keep the ingredients cold.  We chilled the garlic and pesto and chopped the meat while a tad bit frozen, and then returned to the freezer for further chilling. The white wine stayed chilled before adding as well.

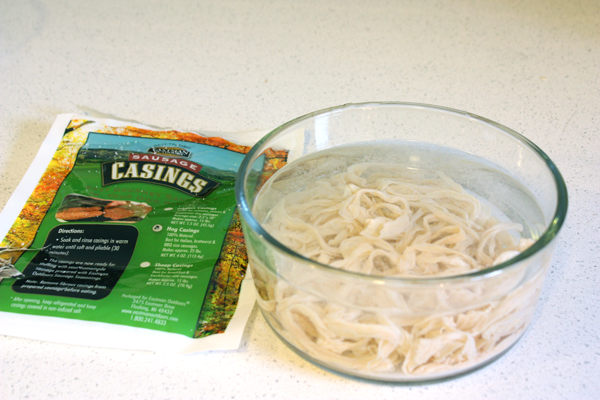
While the seasoned meat was chilling, we had our casings soaking (these were hog).  Then we rinsed them through.

Then we ground the meat into a chilled bowl.  Despite attempts to remove sinew while chopping, we had to stop and clean the blade about 4 times to remove the clogging sinew.  Maybe there’s an art to avoiding the issue we rookies need to look into.

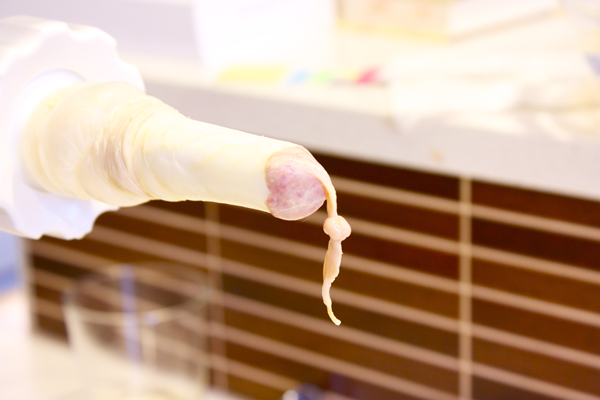
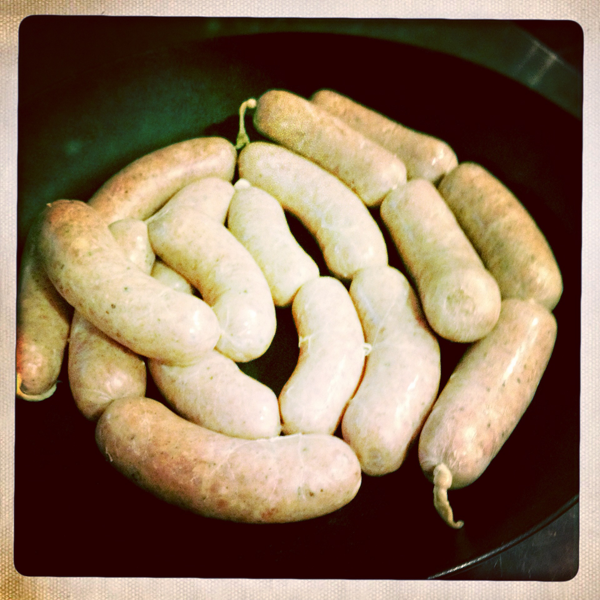
Then the ground meat is mixed with the paddle blade of the stand mixer and put back to chill.  Once chilled, add your liquid (we used sauvingnon blanc) and chill again. Then it’s time to stuff!  Beware: the following photos can be offensive.

Food Porn!!  I did warn you.


My camera battery started to wane so I used the phone to finish up the process.

We sauteed one to see how it would hold up (raining out, so no grilling).

That is one. ugly. chubby.

But, a tasty one!  The Things loved it too, so we cooked up some more for dinner!

While these were not perfect, we felt good about our first try. I think I could get more aggressive with the other seasonings, but the salt ratio was perfect.  Our snags were a bit chubby, which is a common rookie thing, so we’ll have to get the hang of feeding through a slimmer sausage. When they are overstuffed, the skins don’t hold up to cooking so well, obvs.  But the freshness and smooth texture was unlike anything we’ve ever bought.  No more crumbly, dry sausage!  I wonder how they will hold up to freezing.  Time will tell.

I can’t wait to make all sorts of other varieties.  Next up, I’ve promised the things an apple and maple breakfast sausage.  We reserved some of the sausage un-stuffed to use for our Thanksgiving dressing.  I’m thinking of adapting the Pioneer Woman’s dressing using our sausage in place of the Italian sausage.

Lots to cook this week for the holiday, so if I don’t make it back…Happy Thanksgiving!

When You Gotta Go

Since the arrival of Otto, we’ve been struggling a bit with all the gear needed to take him outside.  We’ve started clicker training, and the yard can be really dark, and if he doesn’t go in his designated woods spot, we have to scoop/bag etc..

What’s been happening is a mad scrambling and stuffing of pockets, “Oh, I don’t have any/enough/big enough pockets to get all these accessories into!” and when he’s sniffing and circling, there isn’t time for that sort of flapping about. I decided to make us a couple of aprons prepacked with anything we might need for an outing.


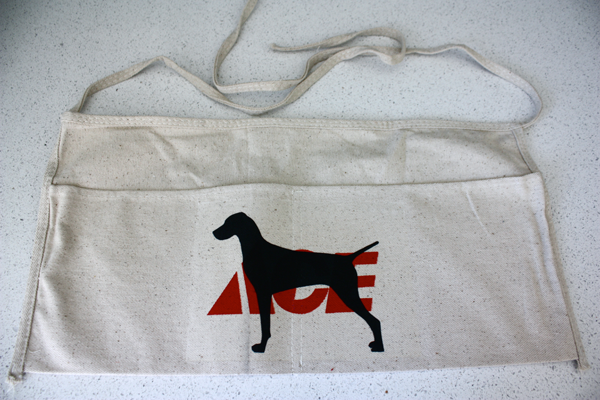
I picked up these contractor aprons to use at the Sale.  I think they are $1.99?  Not that I have anything against Ace hardware, but I thought it might be more fun to make it a bit personalized.  I printed a Vizsla silhouette onto t-shirt transfer paper and ironed it on.  I mistakenly thought that the background was a creamy color, but it was just on the screen and the image was clipped.  Instead of totally covering the Ace logo, I just ended up with the silhouette on top of it…Oops!

But, I decided I actually liked it.  It stays for now…I’ll consider it a happy accident!

Ready and waiting for little bladders on the move.  Wanna see him again?

Crafty Time: Caged Birds

About 6 weeks ago, I saw an ad on Craigslist that got my attention.  A former flea seller was looking to unload a few boxes full of primed rattan/wicker birdcages.  Boxes full?  Really?!  When I asked how many he had left, he said he’d sell me the remaining 29 for $40.  He was clearly over it.  Dealio.

So first things first, I had to lose the matte primed finish, so I decided on glossy black and gold.

So what am I going to do with these, you ask?  Well, you know that I’m a crazy bird lady, so that’s a given.  I have a few feathered ravens, but those peeps ain’t cheap, and I have many cages to fill.

Time for paper crafts (again).  I downloaded some clip art (my favorites came from here) and printed off some creatures on a vellum cardstock.  By printing them on vellum, the translucence of the paper allows the image to ghost through to the other side, so you can still get the idea from almost any angle of view.  It was the best way I could think of to make a 2-D figure work.

Once trimmed out, they look like this.

Then I threaded some fishing line through them and hung them from the top of the cage.


I think these guys are going to be a fun addition to the forest,  as well as the buffet table.  I might explore snakes and rats and bats…but for now, I’m liking my birds.

Crafty Time: Tatooine for Halloween

It’s that time of year!  For long time readers, we will indeed be doing the Haunted Forest again this year, bigger and better, of course.  By the time the Things are in college, it will be epic, then no one will care.  Anyway, I created a tag for all DIY, etc… related to the Haunted Forest preparations here.

Last year we cobbled together a lighting situation that I am determined to improve upon for round two. We thought we’d have installed some low voltage lighting on the trail by this year, but the treehouse kinda sucked all the energy and resources for such a project.  I saw this project below and wanted to do something kinda like it, but with a slight twist.

via eighteen25


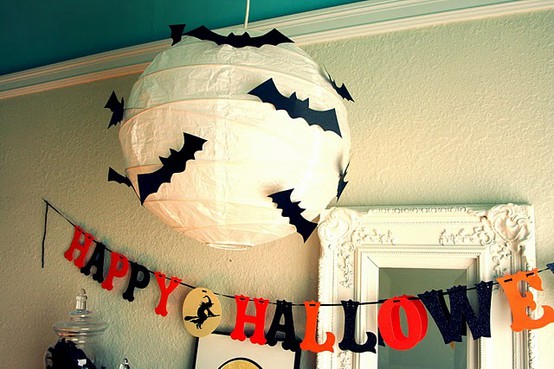
I loved the idea of creating a big “moon” in the forest with bats affixed to it.  When I discussed this brilliant plan with the Things, I was immediately shot down as Thing One said, “But there’s already a moon.  It will look like Tatooine.”   I countered that it might be cloudy, and wondered since when has a touch of Star Wars EVER been a problem around here?!  For proof, go here.  They relented.

I ordered a 24″ yellow paper lantern to act as the moon and I already had some of these LED battery powered mini-lights.  The less extension cords out there, the better, so I’m hoping if I group a few of the lights in the big lantern, it will give off enough light for impact.

 via Just Artifacts

To test my crafty plan, I happened to have both a small yellow and a white paper lantern up in the attic.  They are a little worse for wear, but at least I could get an idea of how it will look before the big one comes.  I can use them in other parts of the party as long as they are high enough to hide their flaws.

I used a bat template from Country Living, but it was too big for a folded piece of 8 1/2″ x 11″ paper, so I ended up freehanding them, and just looking at the template for reference.  I used 80# black card stock.

Here are the “test lanterns.”  I’m excited about how the big one will look in the forest…I think it’s gonna work!  As you can tell, the dining room is officially, Halloween central.  I think we’ll be eating at the breakfast bar, or outside for the rest of the month….

Sale Preview

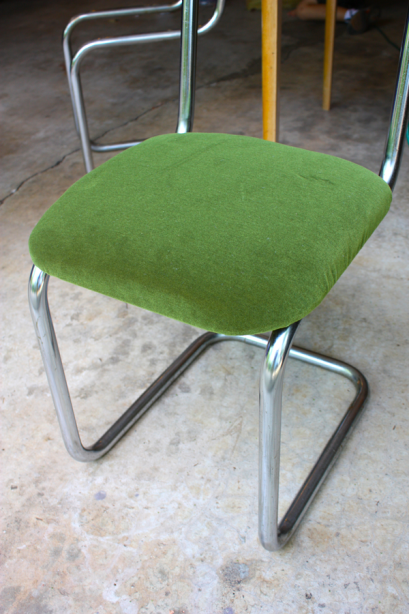
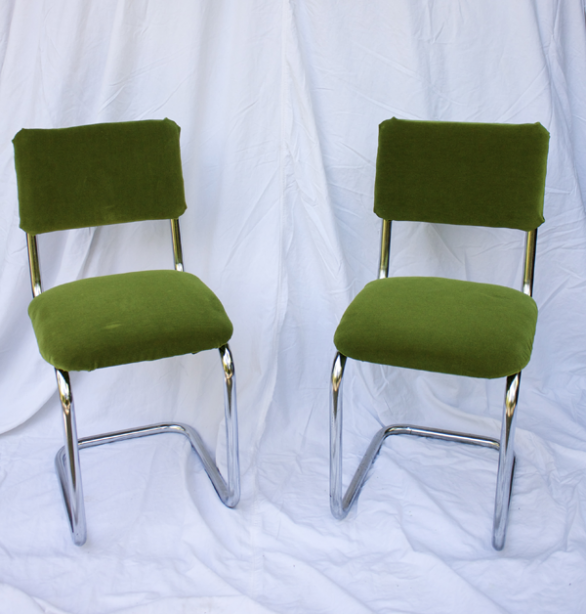
I thought I’d drag out a few things this week to show what will be at the Sale on Saturday.  First up..a little chair pair DIY.  You guys remember these?

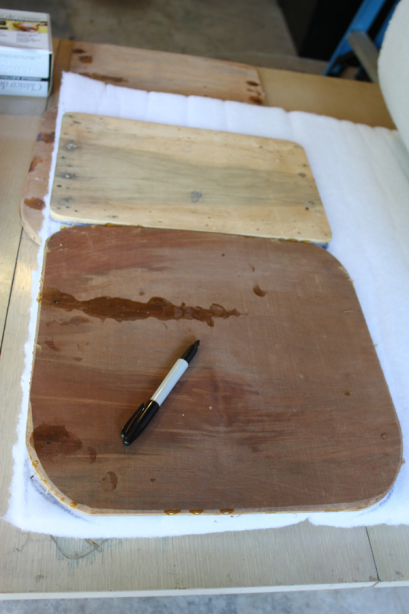
The cushions were not cushions anymore and had dry rotted….ew.

I had some green velvet that I liked with the chrome…so it was showtime.  I had to start from scratch with the cushions.  Nothing salvageable there.


And now they will be available for someone to enjoy.

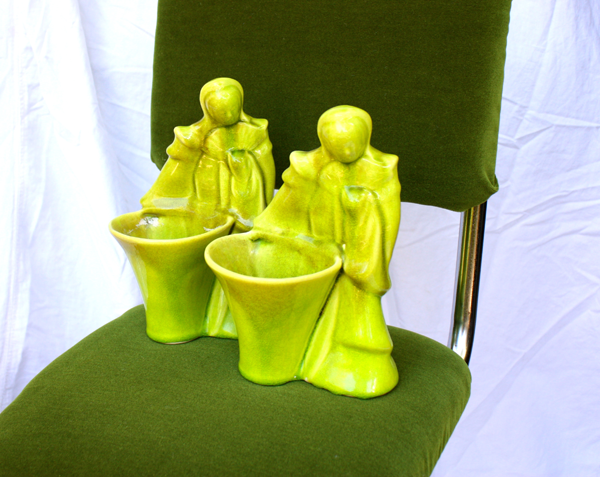
and just a few other items that will be available….

That’s all for today…I hope some of you can make it!  Looks like the weather will be outstanding..phew!

Treehouse Update

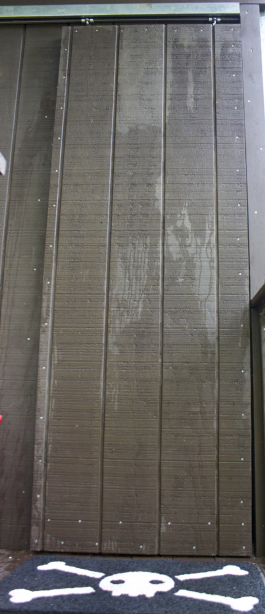
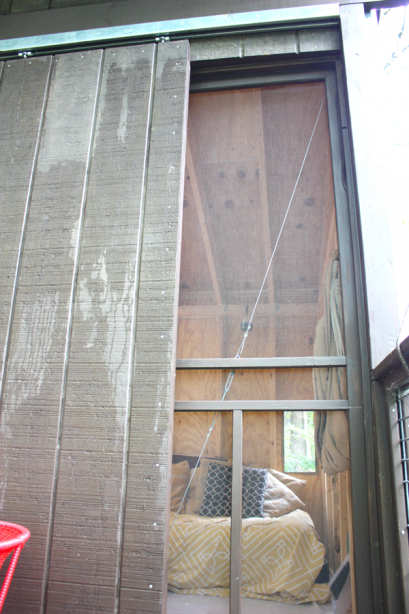
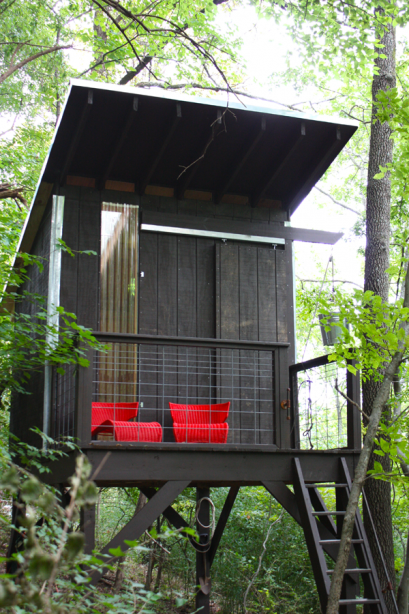
I believe I might have mentioned a barn door recently? Well, we didn’t do all that well documenting the door construction, but you’ll get the gist. We did get the Tractor Supply hardware we had mentioned before.

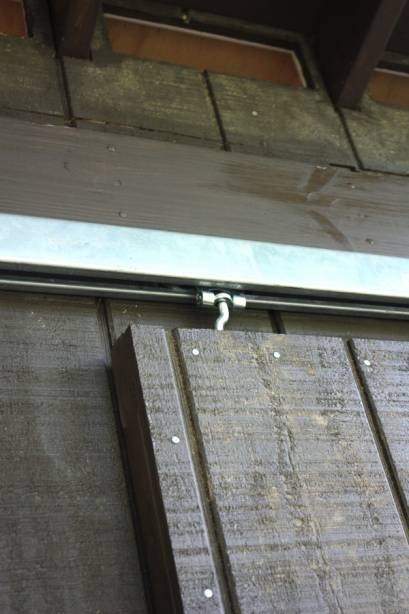
The CC basically took the same siding used on the treehouse and nailed it to a frame he built to size, so that when the door is open, it won’t cover the window strip.  Instead of using the brackets that came with the door hardware to hang the box rail, we mounted it onto our cantilevered beam that houses the bucket pulley.

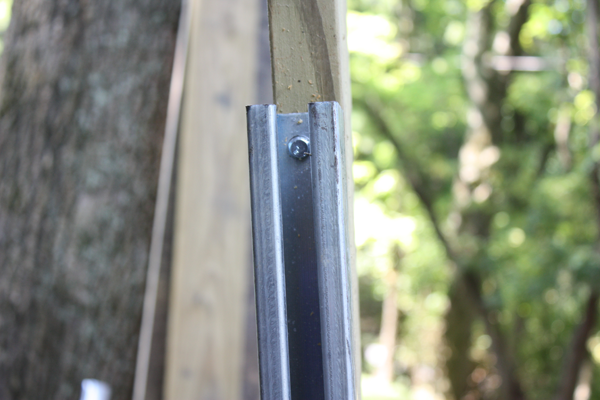
The CC nailed up a couple of temporary support brackets to aid in installing the big beam that will house the hardware.

We mounted stops to keep it from sliding off into the forest….

We are still deciding about floor guides.

Having a proper door makes it feel much more cozy and homey inside…paint coming soon I hope!

Bad shot.  Inside view…a handle to slide it shut and the bottom beam wrapped in flashing….

We’ve been starting to add some more minor details to the lair……

Ahoy!!

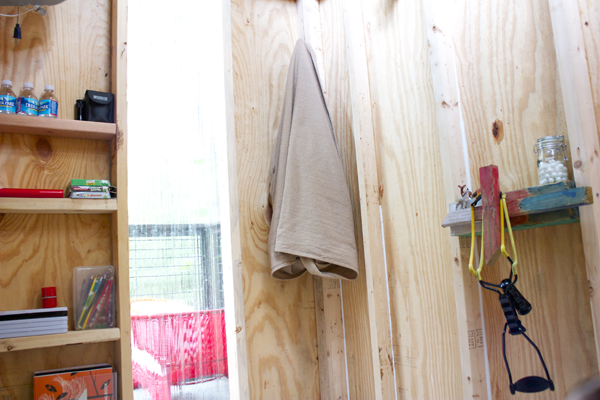
Thing Two made his own sculpture that he wanted to incorporate into the treehouse, and by pure luck, it fit perfectly between the beams as a shelf.

Which now is home to his slingshots and ammo….

When the hammocks aren’t in use, they hang up in the corners.

We are slowly adding shelves to gain some much needed storage for the stuff they want up here.  We can’t let them keep snacks up here b/c the raccoons would break in and trash the place (our raccoons can remove bungee cords from garbage cans-crazy skills).  Bottles of water are OK though.  Games and other activities now have a place.  The fans hangs up high when not in use to keep it out of the way.

It always helps to keep track of time.

We are resisting any outer hardware for the barn door to give it more of a “secret door” feel…by putting your fingers in the grooves, you can pull open the door without hardware.

More shelves are going up, and hopefully we have time to paint inside soon before the weather turns cold.  For new readers, previous posts on the treehouse can be found here.