I’ve bemoaned my current outdoor living situation…or really, the lack thereof, before. Until now…we only had 4 small chairs and 2 of my water heater tables on the small deck outside the kitchen. We hadn’t reassembled the back deck yet since Phil/lipa is STILL on the prowl (don’t EVEN get me started.) The point is, we had ample space, but nothing organized for outdoor entertaining. I had houseguests coming for a week and the weather here was unseasonably pleasant for late August/early September. We HAD to have a place for us all to hang comfortably outside and I only had a few days to get it figured out.
Since we were not yet sporting a new deck or patio…I needed to make one…fast and cheap, because anything I do will be bulldozed when the real landscaping begins. There was a flat area just beyond the deck off the kitchen that was nothing more than mud and stones with a few weeds thrown in. This, was the perfect spot for my poor man’s patio.
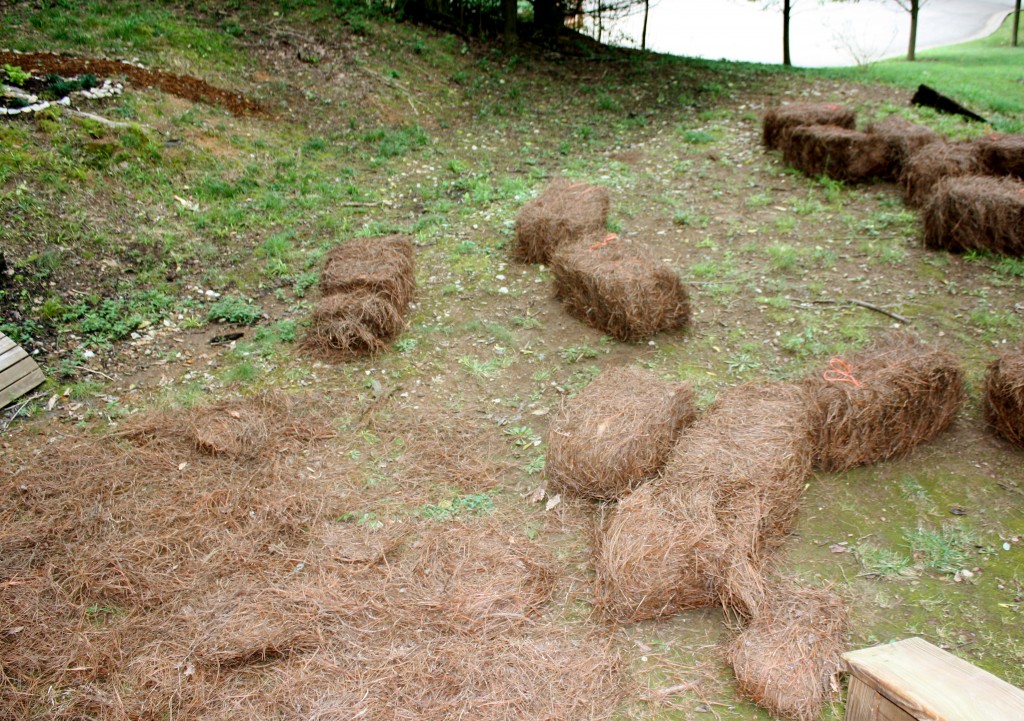
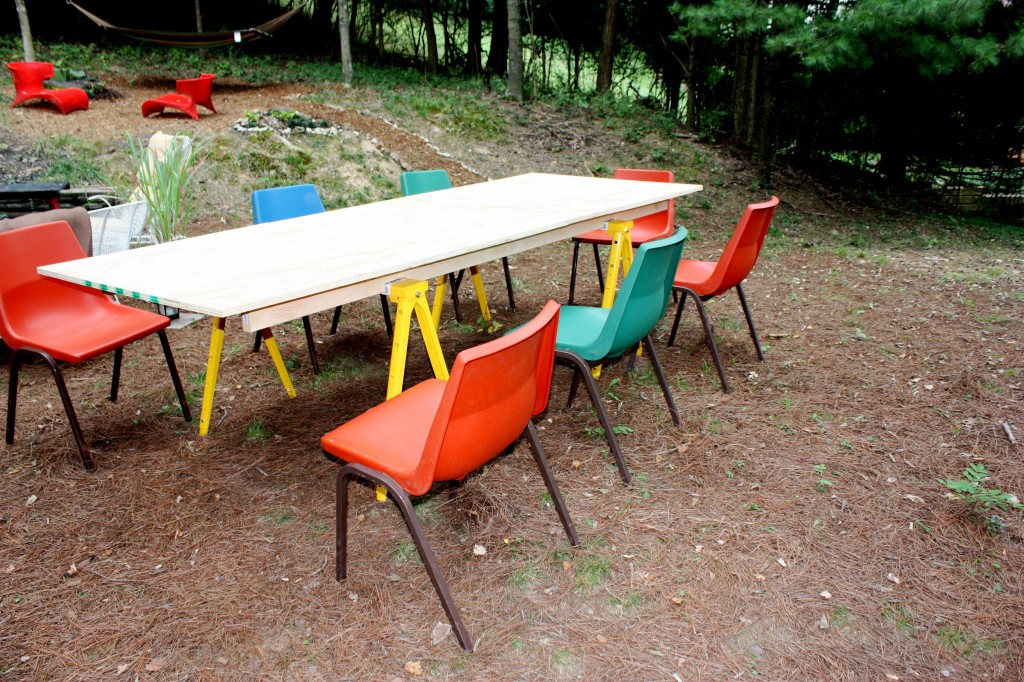
I bought 15 bales of pine straw for about $65 and started spreading it around to create the floor of my “patio”. I sprayed some weed killer before I put it down (and it needs another round already.) I loved it. It kept the mud from getting tracked in, and made a kind of “soft” floor for us to enjoy. I didn’t have an outdoor dining table anymore and we were adamant that we dine a-fresco in the glorious weather. I figured it was time to go for the industrial approach.  Material list – very simple: Powder coated metal sawhorses ($25 each-adjustable height legs a MUST) and plywood picked up from Home Depot. My Crafty Counterpart connected 3 pieces of plywood together to get the length we wanted and bolted it down to the sawhorses for stability – they come undone just as quickly for disassembly.
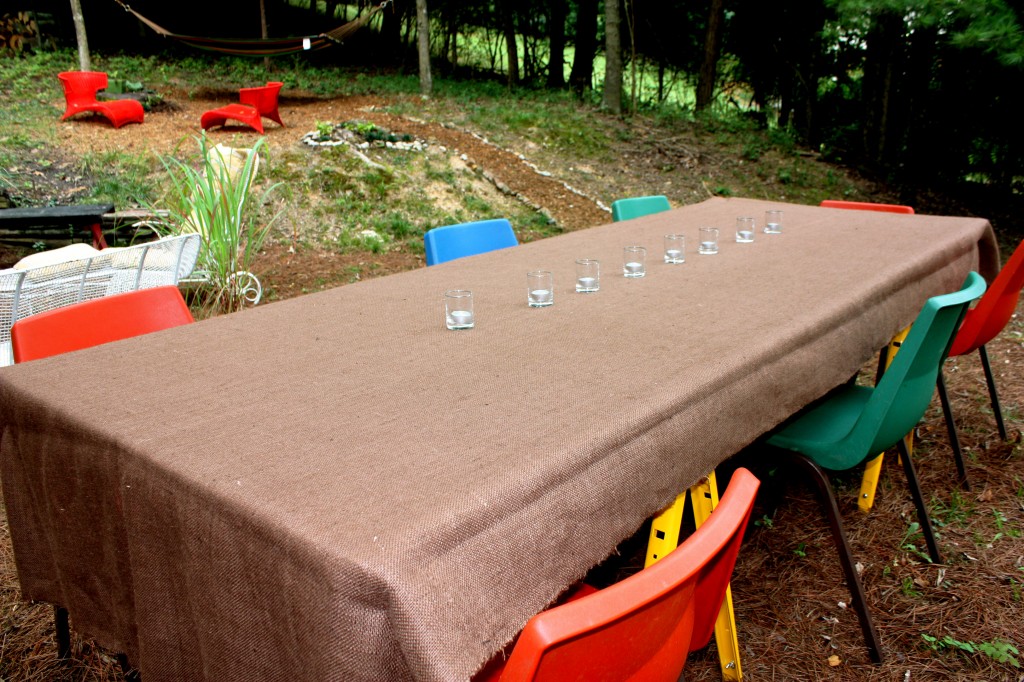
In order to hide the lovely plywood, I get a big roll of chocolate brown burlap from JoAnn Fabrics and Crafts. I’ve been using burlap for outdoor table coverings for years…cheap, easy and customizable. If you buy a bolt of it ($3.00/yard) then it doesn’t matter how long your table is…just keep rolling it out and cut to size. If you want to get fancy, fray your edges by pulling out the last few rows of thread..it gives it a much more finished look. I ran out of time, so no fancy for me this round.
I found some chairs at the flea market last spring for $7 each and they’ve been sitting in the garage, waiting for their debut. They came from a church in Evansville, Indiana and they were perfect for the Regal Beagle’s yard. Plastic seats, metal legs and surprisingly comfortable – SOLD. I bought all 11 he had. Some have paint spatters, but luckily, I didn’t need that many right now so I could save that project for another day. That’s it. Instant dining area.
I had some furniture that needed work, but was still usable with a few cushions. I scrounged in the attic to find some old cushions to throw on the broken metal Woodards and then, we were ready to chillax in the yard. And chillax we did, while watching our friends the owls do a little evening hunting. It’s not pretty…it’s more like the Regal Beagle goes Redneck, but it was just the ticket. Sometimes function simply must trump form. As we sat out in the moonlight, listening to the cicadas in the forest, I didn’t care how ugly it was…and neither did my guests.


