Camp Vågö

While we still plan to create a proper patio area outside the kitchen, as discussed here, I wanted to implement something we could use this year…and before it gets too hot. (Impatient much?)

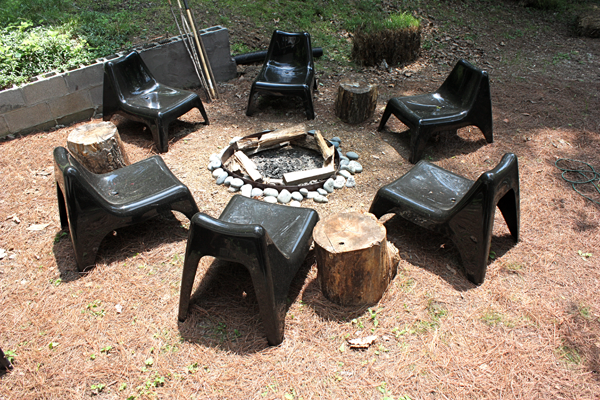
Enter Camp Vågö.

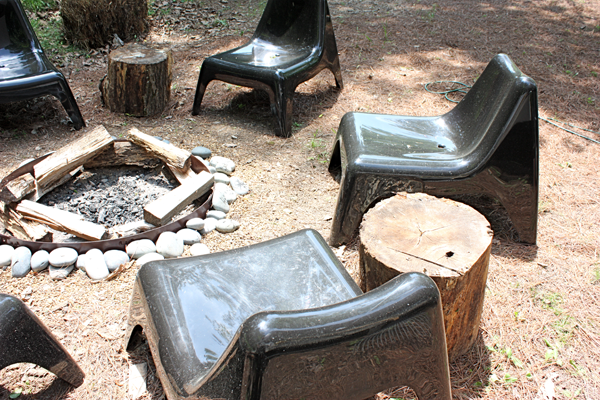
When word got out this winter that the Ikea Vågö would be re-issued, I knew our outdoor firepit situation (version 1.0) was settled.  $25 each?  DONE and DONE.

An Atlanta trip was not in my game plan given our treehouse commitments, so we enlisted the dudes at ModernNash to do it for us.  Locals who may not be aware of this amazing service..take note…totally worth it.

While I still have visions of the CC casting a beautiful round firepit in concrete, that’s not happening right now, so a metal tree ring kit from Home Depot will have to do.  They come in sections..I got 3 to make a three foot wide ring.

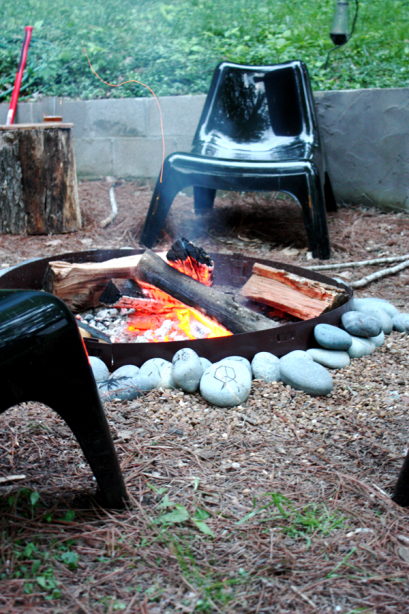
I didn’t want to actually SEE this ring, so after digging out the pit, I piled river rock around the outside of it.  Since we burned through all the nice dry split wood in our log holder this winter, and we haven’t built a firewood shelter yet, (on the list) the wood that’s left is getting rained on, so we have to ring the fire with logs to dry them out a bit. At least now the ring is disguised inside and out.

Like the Things ash graffiti?

Camp VÃ¥gö was a huge hit with the whole family.  The deer came surprisingly close while we were chillin’ by the fire…we’re STILL waiting for the owl babes.  Lots of hooting, but no sighting yet.

While this area still leaves a lot to be desired….plans are to cover the fugly concrete wall with a custom built firewood wall, plus patio and pit upgrade…this was just the ticket for now, and we don’t have to wait another year to cook s’mores and the like over our crackling fire.

Cost Breakdown:

6 Ikea Vågö chairs $150

Tree Ring $19

River Rock $34

Stump Tables  FREE


Treehouse Mini-Update

The weather here has not been exactly conducive to treehouse progress.  You might have heard our neighbors had a very rough week?!  There’s a really good round-up of venues for donating to tornado victim relief here.

The camo cloak held on through all the storms and winds..yeah, we were surprised too!

The sun did appear briefly Saturday giving us just enough time to put the front siding and window on.

First the flashing had to be installed between the house and the porch flooring.

Then, the polycarbonate window needed to be attached before the wood panels could go on.

First a bead of silicone caulk.

Then, once pilot holes are drilled so as not to split the polycarbonate, the wood panel is attached to secure the window into place.

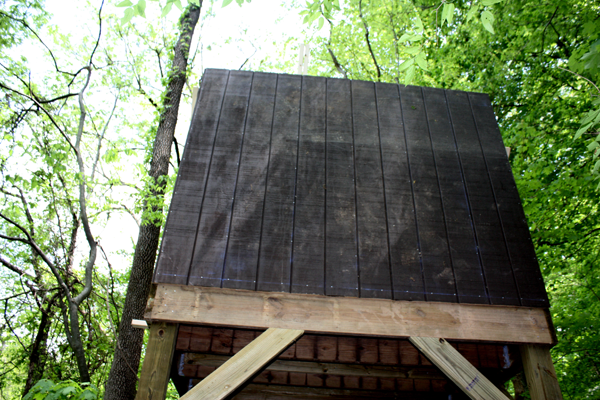
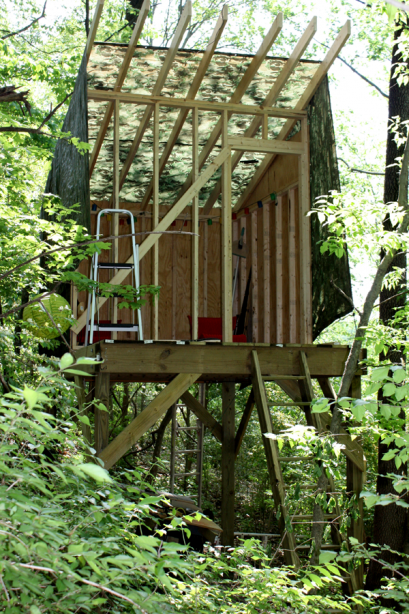
We also got some plywood up on the roof, but did not have time to finish before the rain came again.  BTW, that plywood on the roof bit?  Biggest pain so far.  Climbing up and balancing yourself on the slant while trying to hammer?  Just plain annoying.  Almost done though.

Next steps?  After the plywood is in, there will be a layer of tar paper, then the corrugated metal roof with a polycarbonate skylight.  We are still deciding on screened window placement.  They will be installed differently, so can be done later.

I created a treehouse category, so if you’re new, you can catch up on the previous steps to this project here.

Treehouse Update

For a full overview of the treehouse build, go here (under the TOUR header.)


It was an epic weekend of hard-assed work.  The CC had a game plan that I thought was a bit ambitious – we do have kids after all, but we managed it...just.

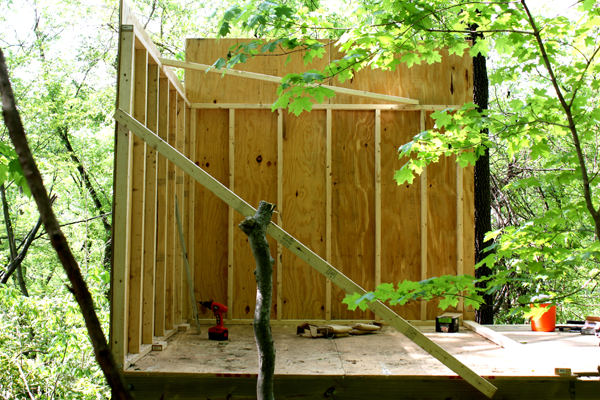
We started the weekend with our platform.  Now we needed walls…and a roof because there is more rain forecast, of COURSE.

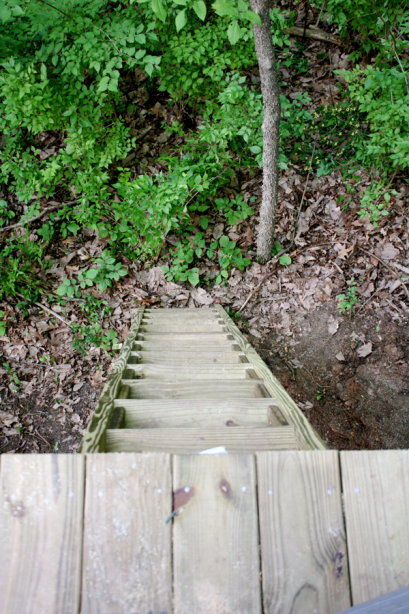
Long way up..and down…

The walls were built on top of the platform, then tilted up and fastened/braced into place…barn-raising style.  Kinda made me feel like I should wear a funny hat and go churn some butter.

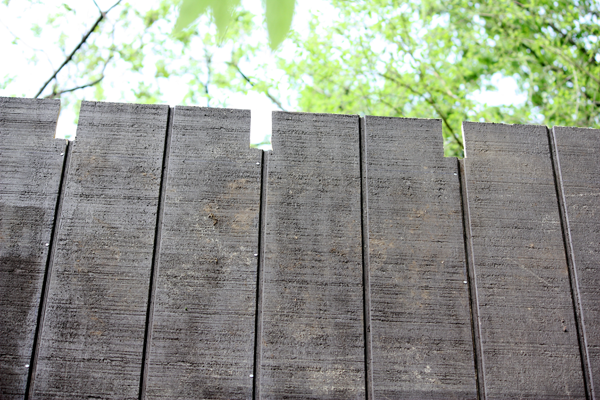
The Things stained the panels in the driveway, then we hauled them up to the platform to be nailed into the frame.  Twas a family affair.

and then there were two…..

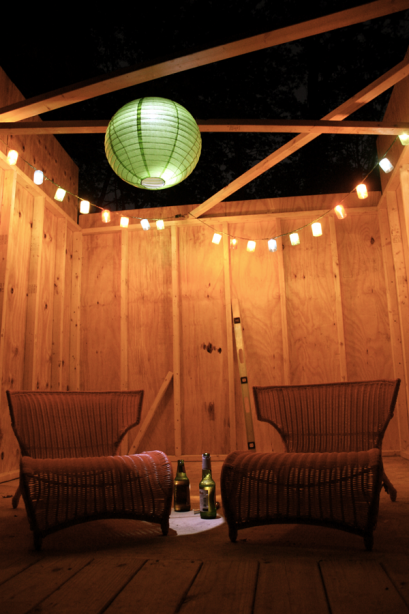
..then three!!!  We got the third wall up Saturday afternoon late, and after the Things were asleep, we decided to have a little party for two out there, knowing we probably won’t be invited in much once it’s finished DESERVE it.

After egg hunting and other such activities, it was back to work…we needed a nice meal that wouldn’t require anyone to be in the kitchen all day, so we brought the kitchen out to us for dinner….

Now it’s time for the fourth wall, rafters, and a roof.  At least the fourth wall can have its panels nailed up vertically since we can stand on the porch section.  The frame for this last wall was assembled on the ground and hauled up.

Sorry, I can’t get good shots from a distance.  Everyday, the trees are leafing out more and more….

Then we ran out of time, so we secured a gigantic camo tarp over the whole structure to protect from the rain….it’s a classy touch that I know will be the envy of millions.  The rafters are slotted in, but not secured yet, so they are still a bit wonky.  Behold the camo cloak…….

This tarp says “Modernist, shmodernist.  This is Tennessee, dammit, and I’m here to keep it real y’all!”

We are tired and sore, but very pleased.  Weather permitting, we should be in good shape to make a lot of headway next weekend.

Posts in…Ugh.

It took an entire weekend to sink the four framing posts for the treehouse.  Yes, there were birthday parties and soccer games to slow us down, but still…one entire weekend to sink four 4′ x 6′ x 12′ posts? SHAMEFUL.

Not really our fault….never is, is it?  Ha!  It’s always SOMETHING beyond your control that crops up…or, in our case, seeps in, that really makes everything just go all to hell.

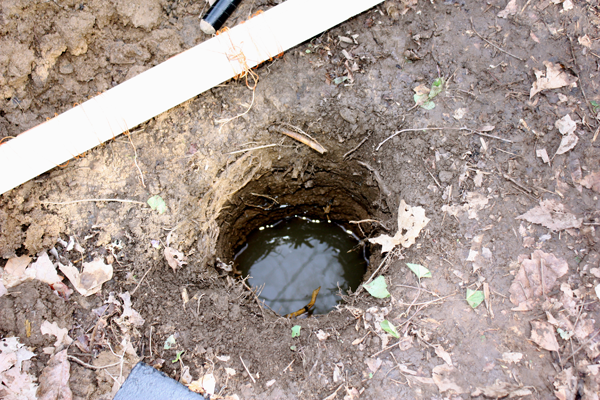
Meet our hole full of water.

The ground water runs pretty close to the surface on this hill…BUT, the good news is, we can have a well here one day and be able to dig it ourselves!  Might be a nice thing to tap into for landscaping down here where hoses won’t reach.

The CC assures me this is all going to be OK from a going forward perspective…we don’t have to change sites, it’s just going to make things a much bigger pain in the ass.  Being the clever boy that he is, he devised some quick home made water bailing devices.  Below was the workhorse…

The posts were painted with roofing cement for an extra punch of protection against water and rot.

What would we do without levels?  Working on a slope for the first time was really a challenge…nothing that was level, LOOKED level….trees all bend slightly toward the sunlight and distort your sense of plumb.

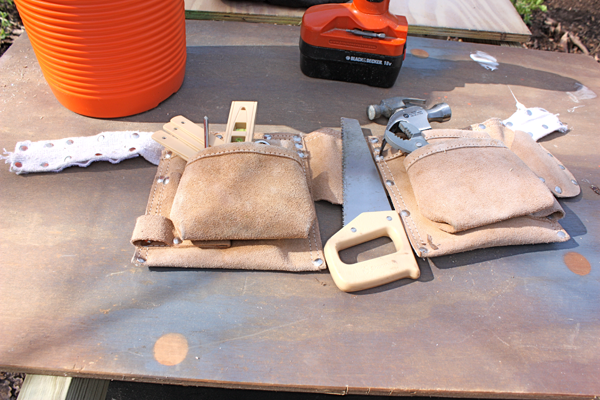
Here is the portable workstation….

…that is shared by Thing Two.  There will be VERY IMPORTANT WORK done here.

We decided given the lack of large trees in the area we wanted to build, the persimmon tree was our best bet, but we decided against using it as a support post.   We are building the house so that the Persimmon is adjacent to the front “porch area” to be used for hijinks, like alternate transportation?  Not sure yet.

The view from the front of the treehouse will be this, but higher.  It will face the State Natural Area so they will feel like they are really in the wilderness…just 100 yards from the back door of home…

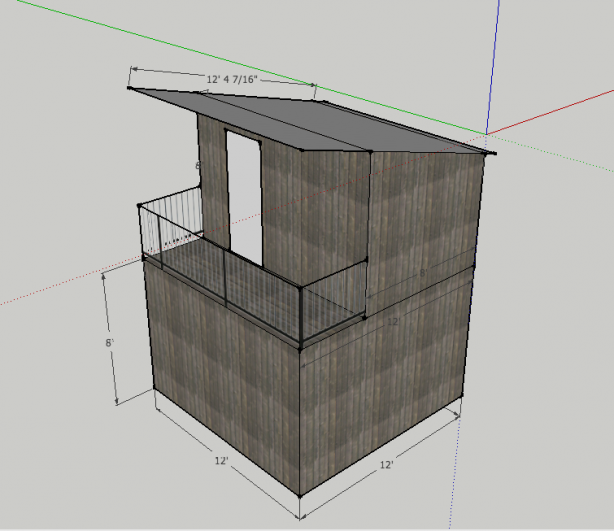
So what’s this place going to look like?  My previous ideas were restructured.  We decided that if we were going to make the effort, it needed to be something we could enjoy together.  Translation=adult height ceilings, and when the Things are off in college, maybe we can convert it to a pottery studio…SURELY I’ll have mastered the wheel by then!

I can only preface these images with a profuse apology.  I tried to learn Sketch Up over the holidays and got annoyed and walked away.  I tried again last night with the tree house and this was the best I could pull off so far.


I need to spend days on those tutorials to learn what I’m supposed to be doing rather than trying to wing it by instinct.  So, there is no grade of the hill here, or windows/ventilation yet, but I will try and work on it…there’s just not time right now, and our crazy drawings on graph paper are getting us through.  Our cost cutting inspiration was Stephen Atkinson‘s approach to designing his parents’ cabin…all standard lengths/widths to minimize waste and cutting.

We’ll see how we go…but, IT HAS BEGUN.

To Do: Patio

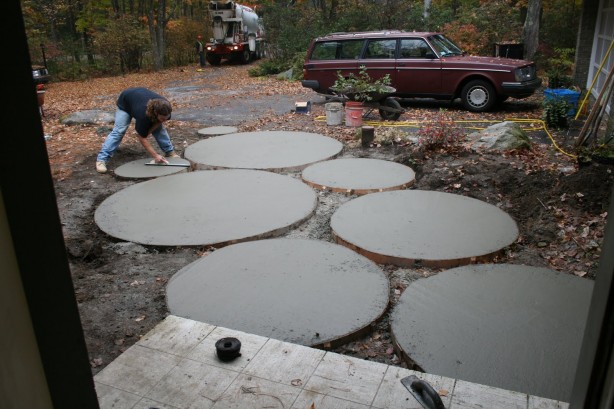
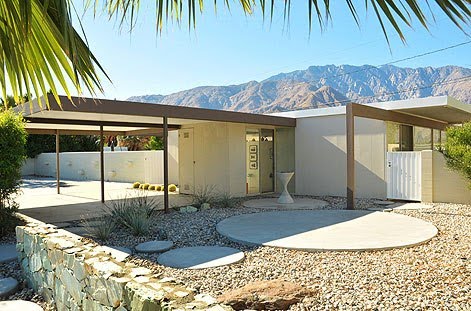
Here’s what I think I want to do with the CC’s new cement mixer.  The area known in the past as the ugly poor man’s patio, will be an oasis of concrete circles, like Jenn Ski did here.

photos via Jenn Ski

Wexler House via Housepet via PSMod

Housepet’s patio, image by Housepet

I think a circular firepit should be worked into the plan as well, no?


What do we think Billy?


Will it Go Round in Circles?

Rail

Maybe all this city paralyzing snow is a good thing for us.  Most weekend activities were canceled due to “inclement weather” (3 inches of snow..it’s the South), so we found ourselves with more time than we anticipated.  You know what that means?  Yes, hot chocolate and Monopoly, but what else?  Project time!

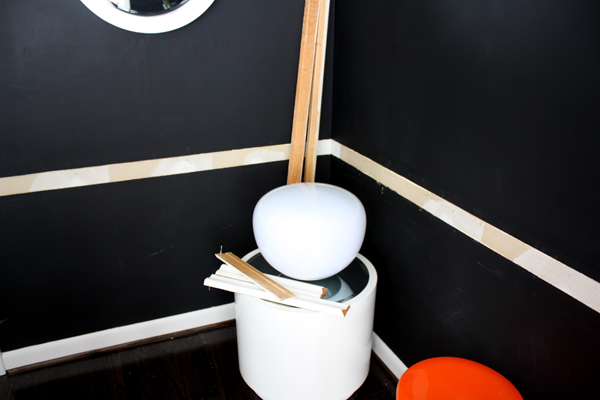
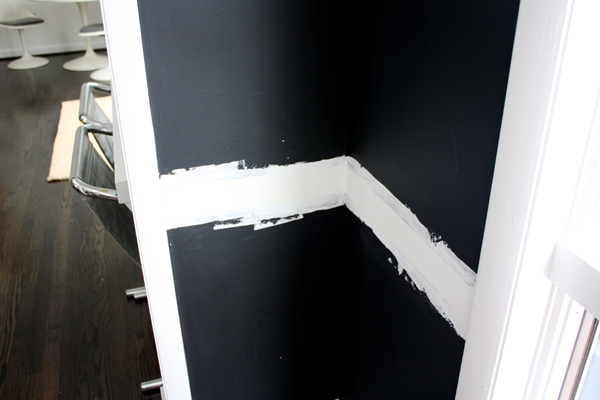
We went through the annual list reconciliation, and after examining the new 2011 to do list, we decided to tackle a small, but satisfying line item whilst cooped up.  Buh-bye dining room chair rail!


The CC popped off the rail and floated out the bumps and ridges left behind.

Thing Two and I painted and then we were finished and having Sunday dinner in here.  It is hard (for me) to photograph right now since it has been gloomy and gray with more snow forecast.  I’ll update the DR tour when we get some light back.

The 2011 to do list is no smaller this year…still 2 pages and going strong.  Highlights to come.