Sneak Peek

Things are really boring around here since all our projects are mid-stream. On the upholstery front, I haven’t started my new chairs, although I’m dying to, until I can finish these chairs to sell. This is what all that mess was from.

We forgot to take pics of the chairs before taking them down to the frames, so I tried to dig up a few snaps of them from days of yore.


They had button tufting on the back. Yikes… my dining room when we first moved in! Ew!


Terrible shots, but you get the idea…a pair of upholstered tufted klismos style chairs from the 40’s-50’s I’d guess. The only ones I found like them online are attributed to Parzinger, here.
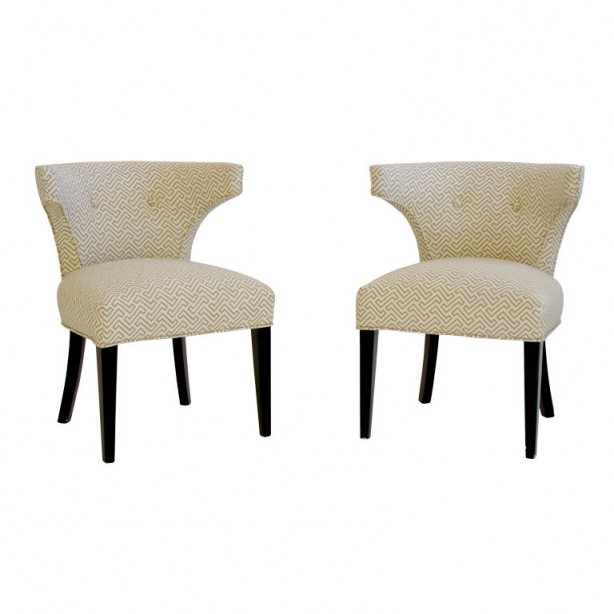
So, the Things were a little rough with them, and the frame snapped on one, so up to the attic they went to await repair. I had planned to reupholster them anyway, but knew we’d have to fix the frame first. Once we got them stripped down, both frames actually needed some structural repair.


The CC likes the woodworking repair aspect…*yawn* and now that he’s almost done, it’s time for me to get to work and sand down the legs, paint them and start upholstering them. I’ve decided to go a little crazy, OK a LOT crazy with these chairs.

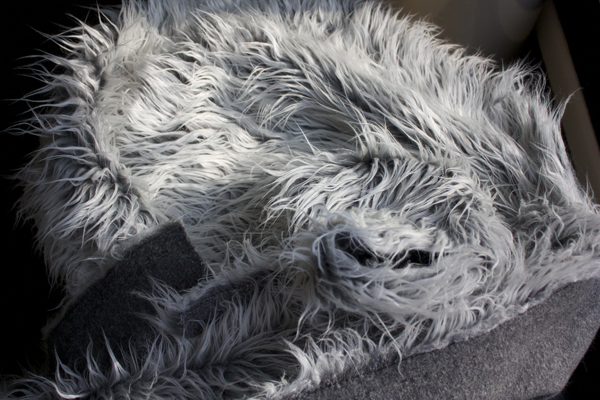
Behold what I plan to cover them with….


Scary, huh? That’s several yards of faux grey and white Mongolian fur, and if it ends up looking like a pair of ugly trolls, I can just redo it. THIS is the fun part of trying to tackle this on my own-the risks aren’t so risky. Would I do this if I were paying someone else to do it? Probably not, I’d go with something “safer”.

So that’s one of the many unfinished things happening around the house…I’m hoping for a full reveal sooner rather than later.

Switcheroo: Ninja Edition

My Facebook and Twitter followers might have heard me bemoan the fact that I might have to get rid of my faux lacquer asian tables.  The very ones that went on to become famous.  I’ve moved them around quite a bit, but they are kind of large to go just anywhere.  They were not working out as night table storage because we are people who need drawers.  Too messy..no one needs to see lip balm and melatonin, right?!  TMI.

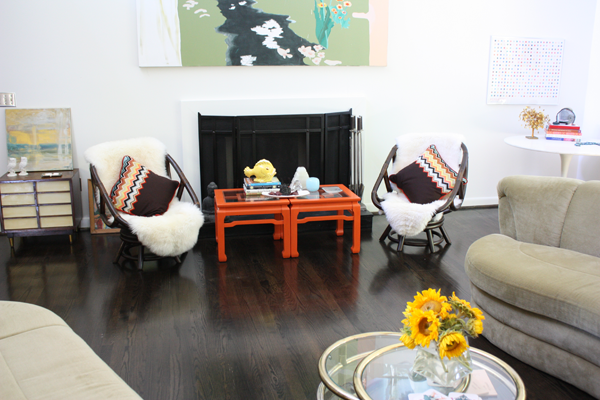
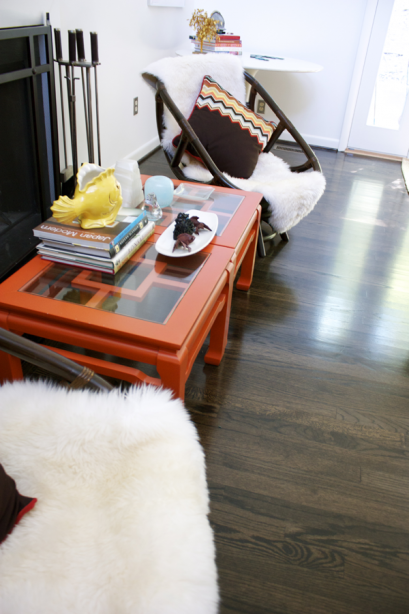
So…. when I scored some bedside tables on Craigslist last week, the asian tables were back in flux, and with the sale approaching, I started to worry the CC might push the subject of selling them.  I simply wasn’t ready for that.  My solution?  Find a place in the house for them QUICKLIKE.  I became a rearranging ninja, and after many room redos, I managed to save them…for now. They are pushed together to serve as a long table between the rattan at the fireplace.


So they are safe…. for the moment.  The next time a favorite household item is threatened, I will quietly emerge from the walls….

via cellardoor

via 8wayrun

…and will silently and stealthily rescue the defenseless.

Switcheroo

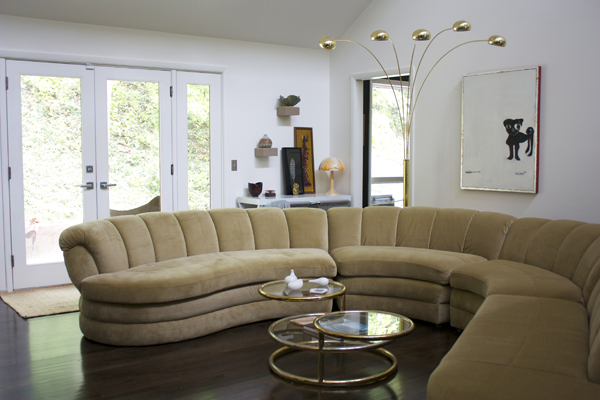
I’ve been mixing some things up around here and forgetting to share.  Remember how I knew there was too much tulip going on in the living room?  I think I might have solved that little problem.

That’s right, he SWIVELS his layers….shall we call him the Swinger?

I also found a place for the Sexophone…..

Oh, and remember my pair of vintage chairs that I love love love so much? Turns out they are a bit dangerous in the house.

Yup.  Those front support bars blend in with the dark floors and had become a huge maiming hazard.  I can’t have pretty chairs that hurt my people, so they moved out and we have enjoyed them on the deck where we can see those bars better.
In their place is a pair of swiveling rattan chairs that had been in Thing Two’s bedroom.  Not as pretty as the others, but far friendlier on the toes and way more practical for the upcoming fire season.  Now we can swivel towards the flames, or the couch…flames, couch…

So, I think that’s it for now.  I’ve updated the tour with the latest changes.

Tush Cush

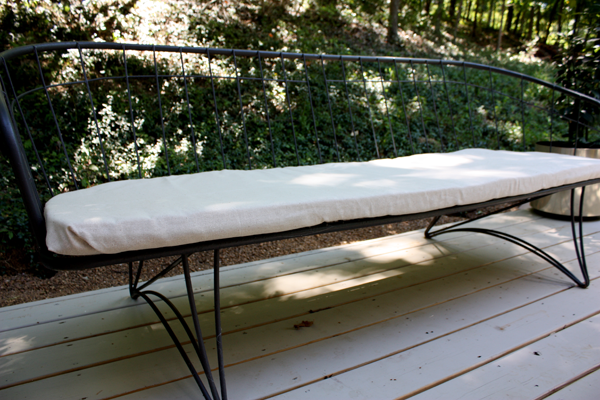
Remember how I wanted some fancy outdoor fabric for my patio furniture here?  And how I wanted to sew them myself to save the ludicrous expense here?

Well, neither of those things happened.

What I did manage was a no-sew fabric origami contraption that is the most unprofessional DIY ever, so don’t blame me if you do this and get laughed out of your neighborhood…K?  Just sayin’.

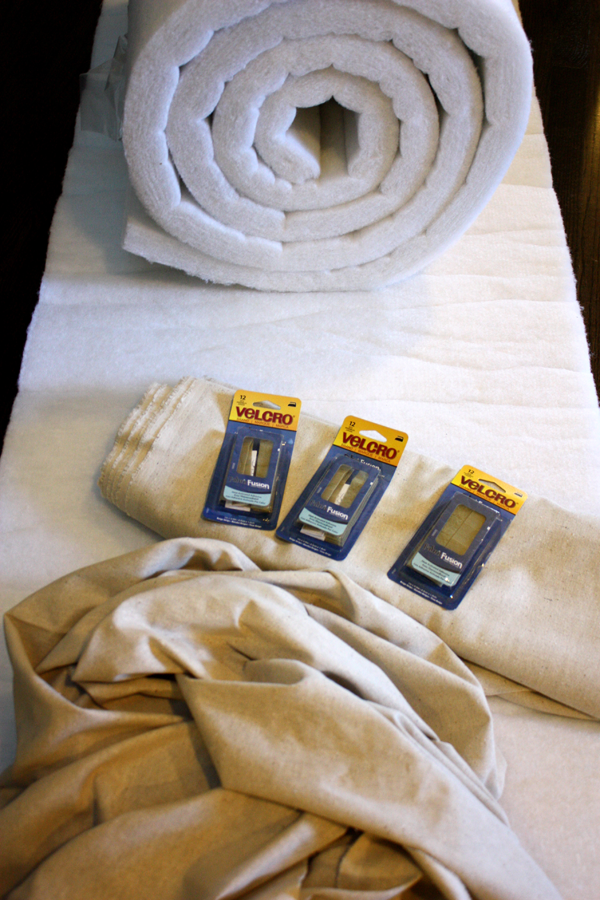
Joann was having a 50% upholstery foam sale, so I knew it was time.  Just as well I got there early too, since the cutting table was 6 deep with peeps and foam.  I got 2 inch Nu-Foam for boats and outdoors along with some iron on velcro, and my cheap fabric.

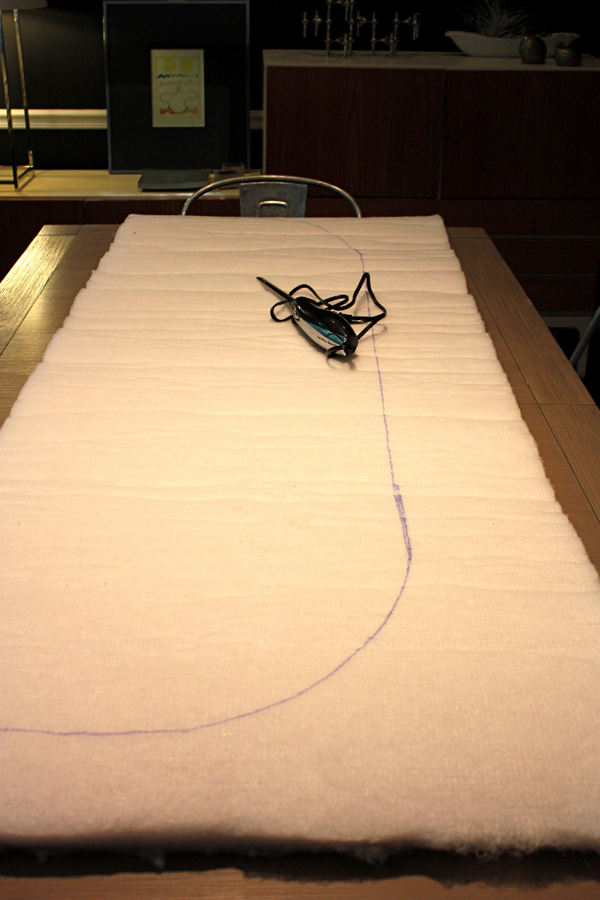
Rather than cramp my hand for life attempting to cut the stuff, I splashed out on a $20 electric knife…trust me on this…you need it if you have foam to cut…period.

So…now it’s cardboard template and cutting time….

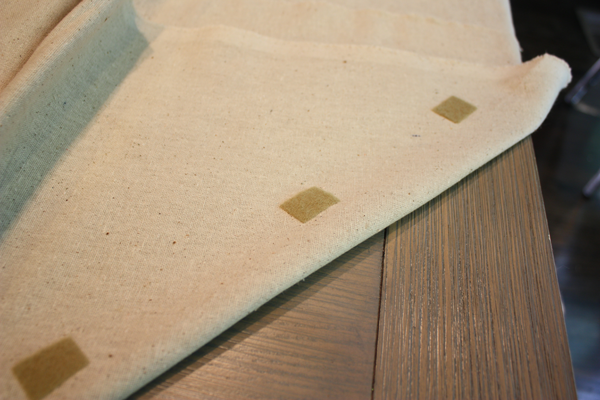
Then comes some tricky folding of the fabric to make it look as neat as possible…..then attach the velcro to your key places.

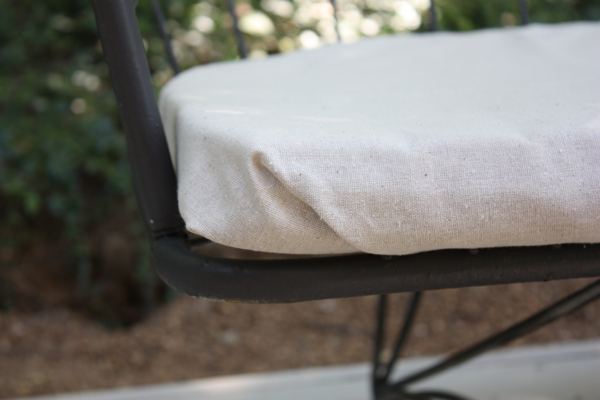
Then you’re done…all told, materials cost was $58 for foam and velcro (I got enough foam for 2 long sofas and I have 2 yards left-6 yards total) $12 for fabric and $20 for the knife.  $90 total.

You won’t wow anyone with this ramshackle upholstery job, but your tush will have some cush that’s inexpensive and easy to wash.  Down the road, we’ll get something done right, but the weather is glorious and un-saunaesque so it’s time to enjoy the deck…NOW.

Faux Lacquer for Lazies

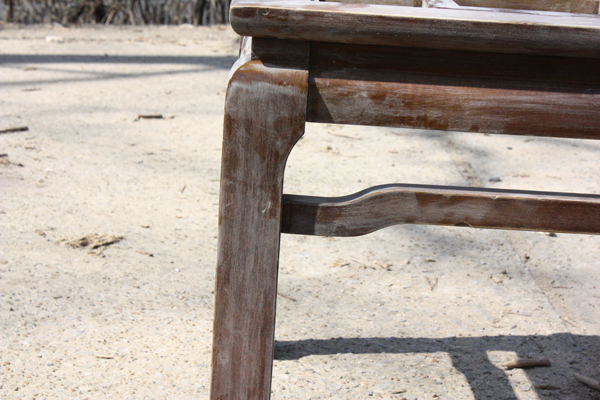
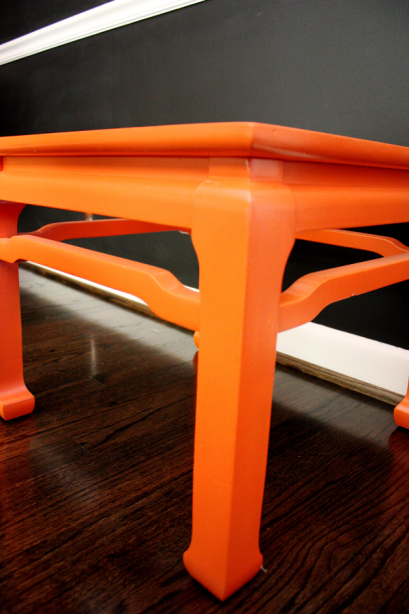
Well, as is the way most projects are going lately…these babies have taken awhile to get done.  Remember them when they first came home?

Their humble beginnings seemed to cry for a bit of orange lacquer, but that’s too much work for an impatient one like myself.  Let’s start sanding!

I decided to cheat and use spray primer instead of brushing it on because of all the thin areas…and because I’m lazy.

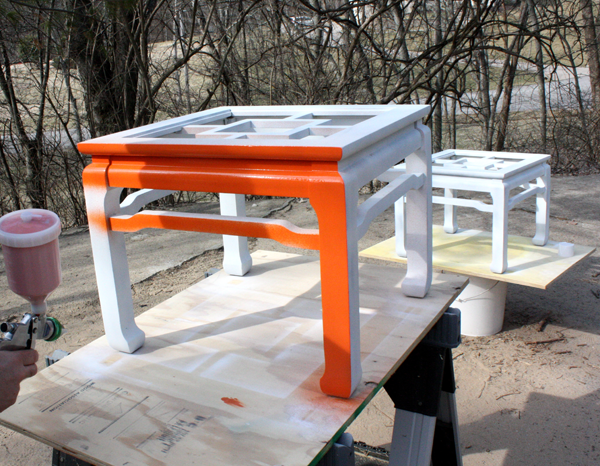
Then, it was paint time!  We have an HPLV (high pressure, low volume) spray gun attachment for the air compressor that we used for painting.  I bought a high gloss, oil based enamel (a Ralph Lauren color matched in Glidden since Ralph didn’t have high gloss enamel.)  At first we thinned the paint with paint thinner, but it was still clogging in the nozzle.  After a little research and polling of paint pros…I needed Naptha.  It was still early spring and weather made these stages go by in weeks rather than days.

Now, if we were professional-like, we’d set up a spray booth in the garage or something…but nooooo….

….So you get this…now it has to dry, and that bug has to be sanded off…crap!  At least there are multiple coats of paint so it will disappear.

Then after sitting around without glass for a couple of months..I finally got it done.  Glass inserts in…and NO WHERE TO PUT THEM.  I’m sad.  I really want to keep them, but they aren’t working anywhere right now.  If I don’t figure out a place soon, I guess they’ll have to go to the booth…which makes me sad….maybe the attic for future rearranging possibilities?

Sad…and lazy….did I mention the sad?

The 4 Month Table

Due to some insane and ridiculous series of events, it took over 4 months to transform this table.  It sat in the garage in between phases and taunted me, louder and louder with each passing month….”Finish me…Finish me…FINISH ME!”

OK!!

Here’s how I found it…$4.00 at the Goodwill Outlet.

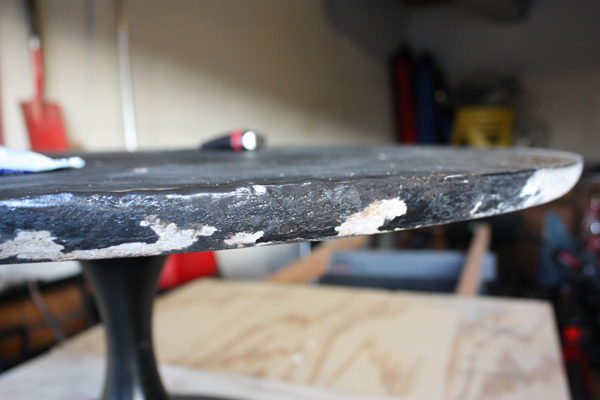
I didn’t take enough before pictures, but the top is MDF and was gouged, and even burned in a few places….I think this table’s owners had anger issues….

So the CC filled all those places with epoxy….

sand down the epoxy and old paint….

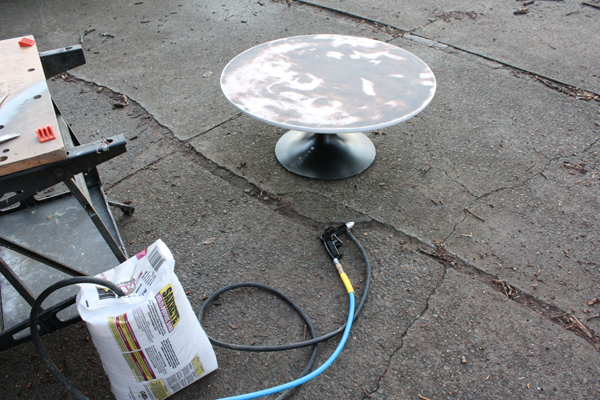
Then sandblasted the metal base when we were blasting the outdoor furniture.

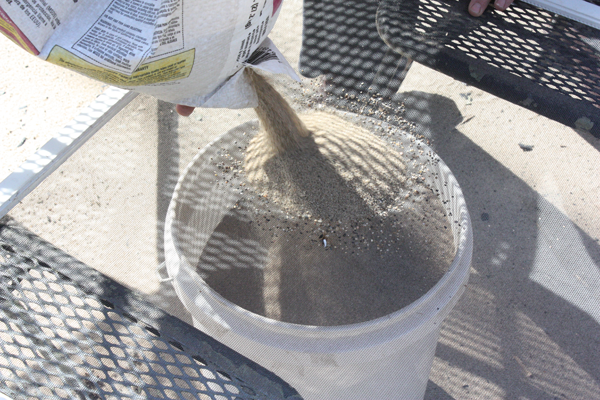
I never showed you one of the tricks we find necessary when sandblasting…sieving the sand…..

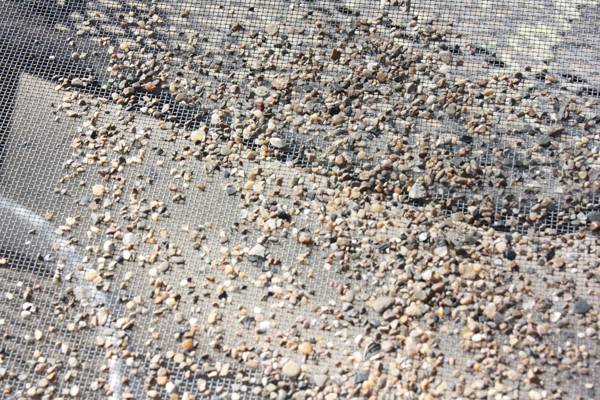
We pour the sand through a window screen to catch the coarser bits that clog up the nozzle of the blasting attachment.  It really makes all the difference!

See?  That stuff will mess you up.

Much better.

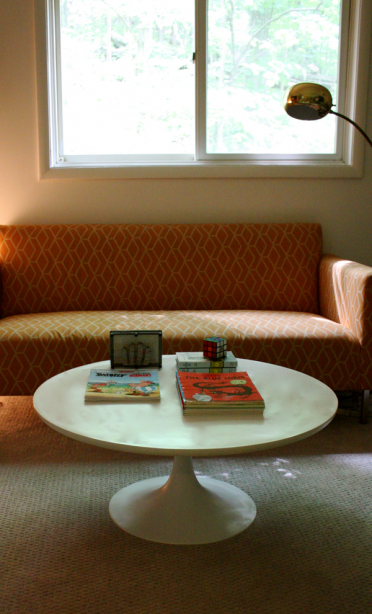
Then, prime, paint, sand, paint again…nothing exciting…just plain white.  Sorry for the crappy photos…this room is way dark with difficult angles away from the window and I had no time for styling….then again, I never do…I’m a renovator first.