Poor Man’s Patio

I’ve bemoaned my current outdoor living situation…or really, the lack thereof, before.  Until now…we only had 4 small chairs and 2 of my water heater tables on the small deck outside the kitchen.  We hadn’t reassembled the back deck yet since Phil/lipa is STILL on the prowl (don’t EVEN get me started.)  The point is, we had ample space, but nothing organized for outdoor entertaining.  I had houseguests coming for a week and the weather here was unseasonably pleasant for late August/early September.  We HAD to have a place for us all to hang comfortably outside and I only had a few days to get it figured out.

Since we were not yet sporting a new deck or patio…I needed to make one…fast and cheap, because anything I do will be bulldozed when the real landscaping begins.  There was a flat area just beyond the deck off the kitchen that was nothing more than mud and stones with a few weeds thrown in.  This, was the perfect spot for my poor man’s patio.

I bought 15 bales of pine straw for about $65 and started spreading it around to create the floor of my “patio”.  I sprayed some weed killer before I put it down (and it needs another round already.)  I loved it.  It kept the mud from getting tracked in, and made a kind of “soft” floor for us to enjoy.  I didn’t have an outdoor dining table anymore and we were adamant that we dine a-fresco in the glorious weather.  I figured it was time to go for the industrial approach.   Material list – very simple: Powder coated metal sawhorses ($25 each-adjustable height legs a MUST) and plywood picked up from Home Depot.  My Crafty Counterpart connected 3 pieces of plywood together to get the length we wanted and bolted it down to the sawhorses for stability – they come undone just as quickly for disassembly.

In order to hide the lovely plywood, I get a big roll of chocolate brown burlap from JoAnn Fabrics and Crafts.  I’ve been using burlap for outdoor table coverings for years…cheap, easy and customizable.  If you buy a bolt of it ($3.00/yard) then it doesn’t matter how long your table is…just keep rolling it out and cut to size. If you want to get fancy, fray your edges by pulling out the last few rows of thread..it gives it a much more finished look.  I ran out of time, so no fancy for me this round.

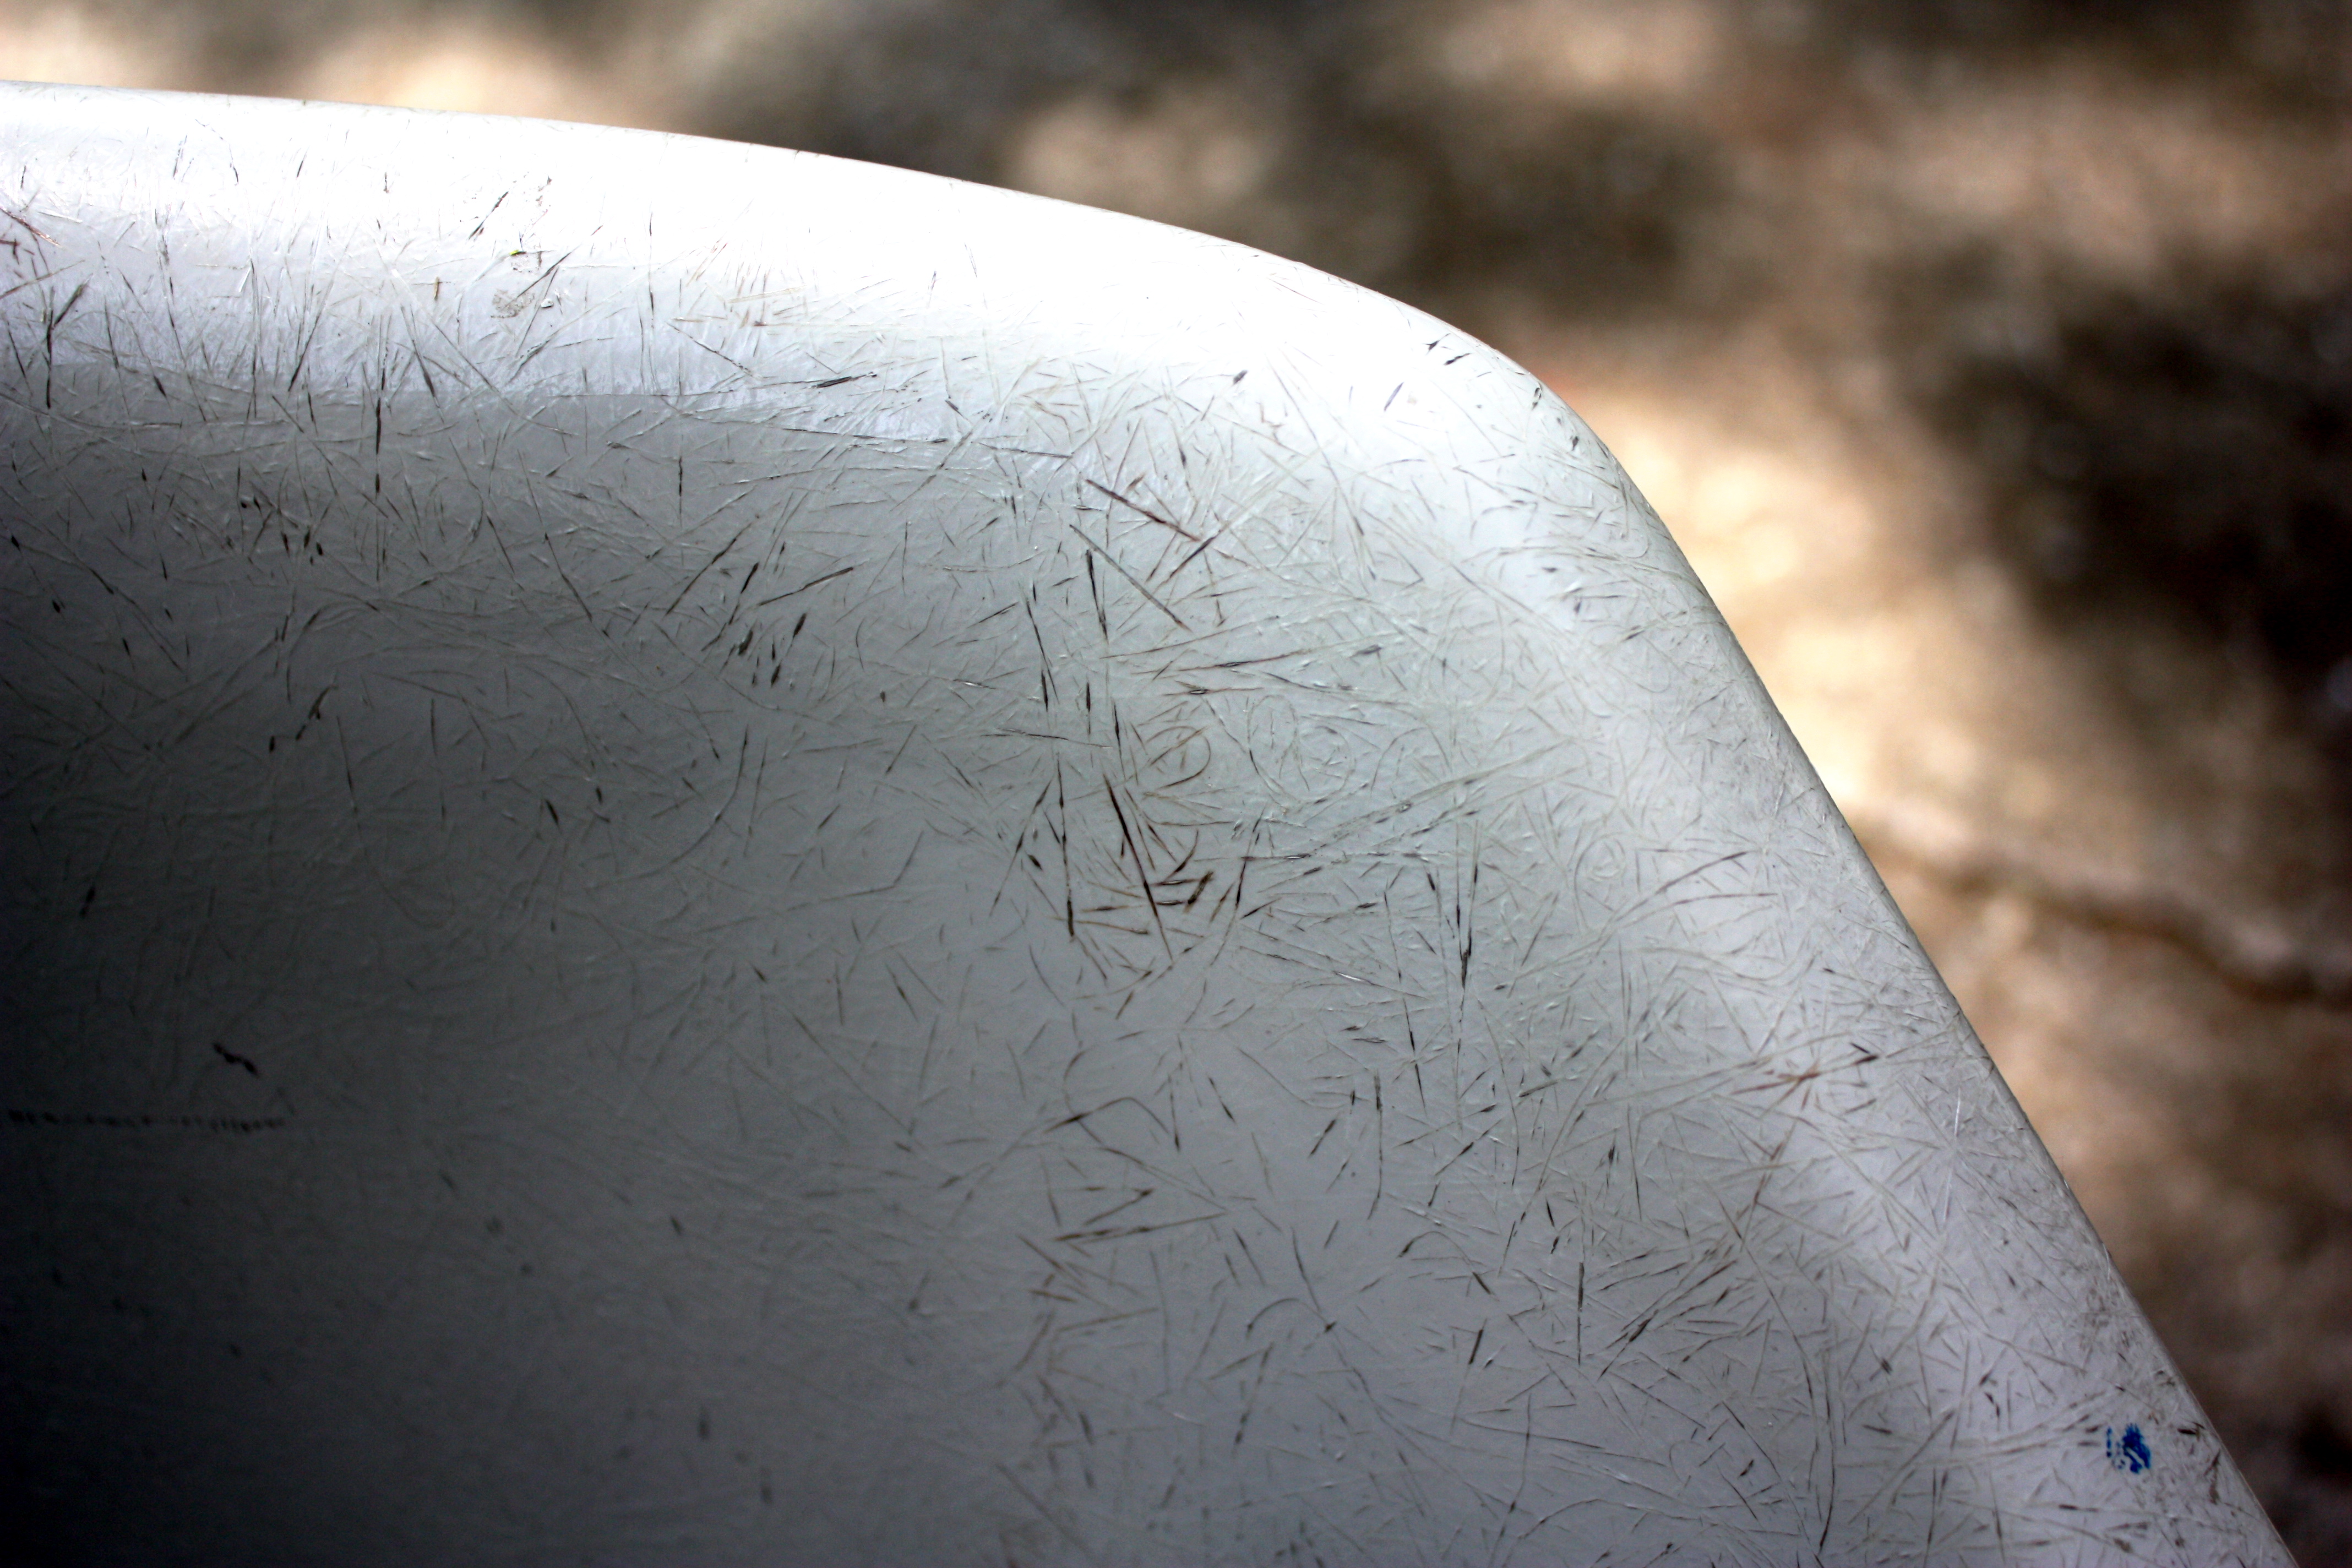
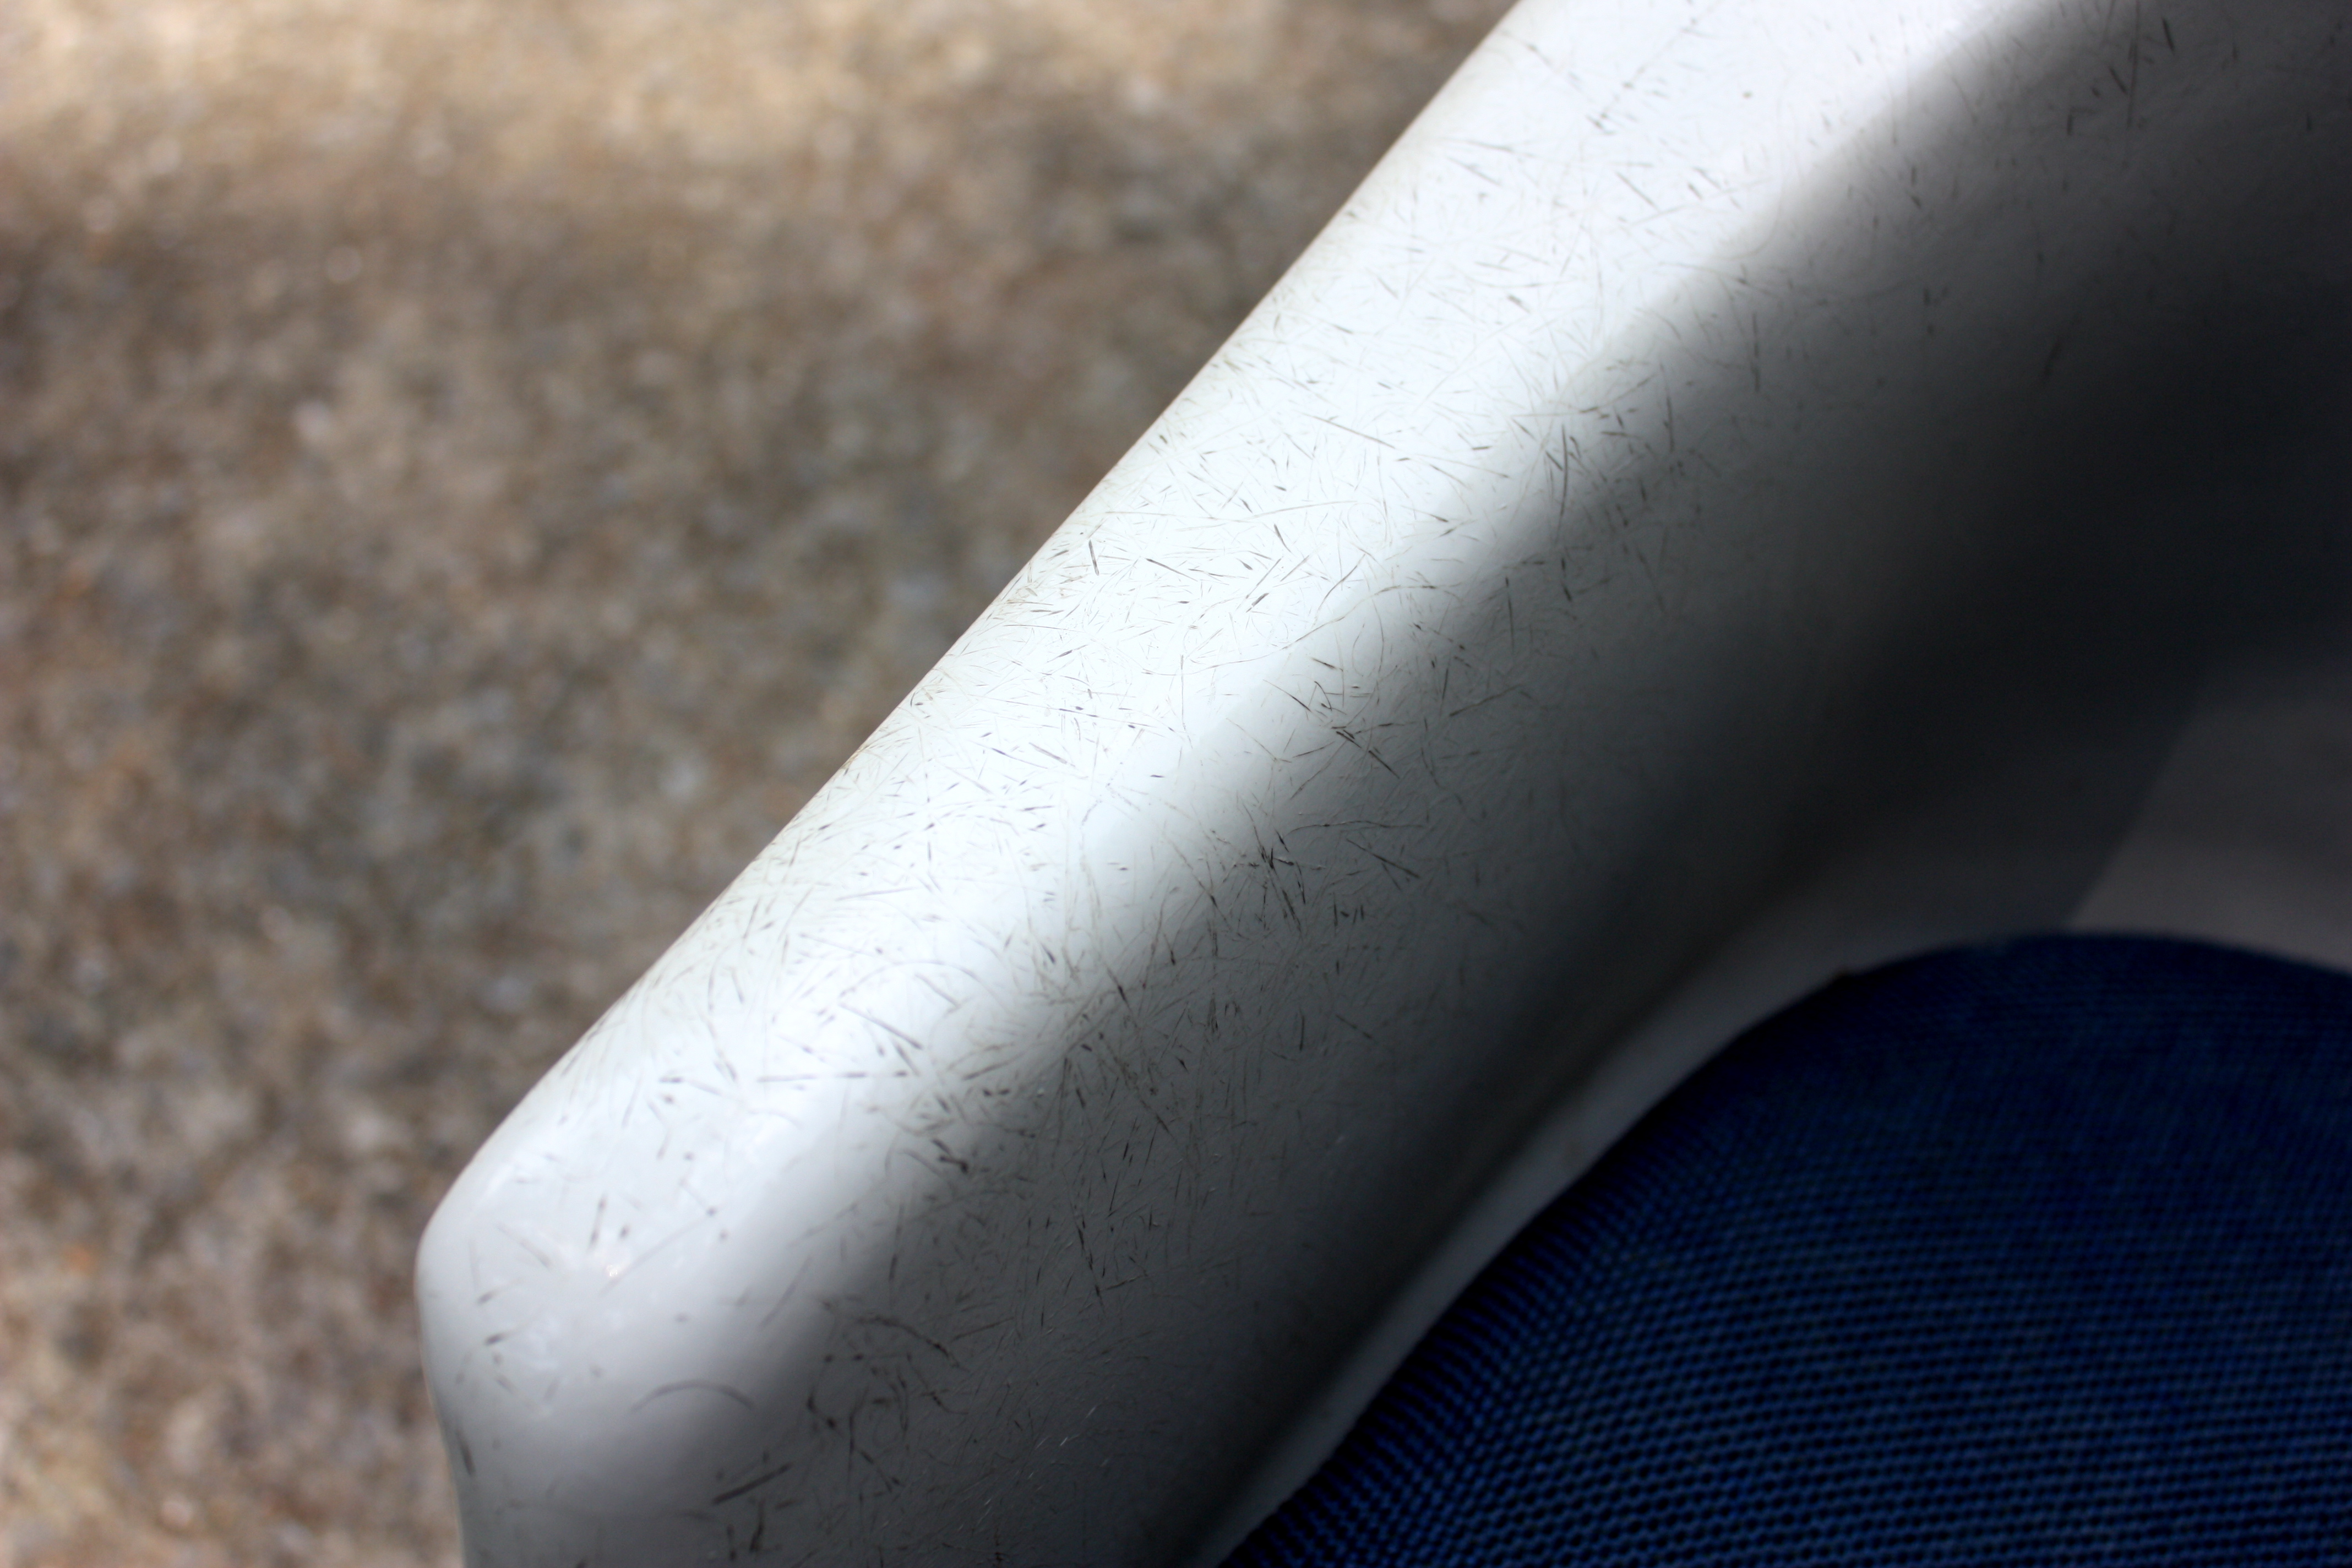
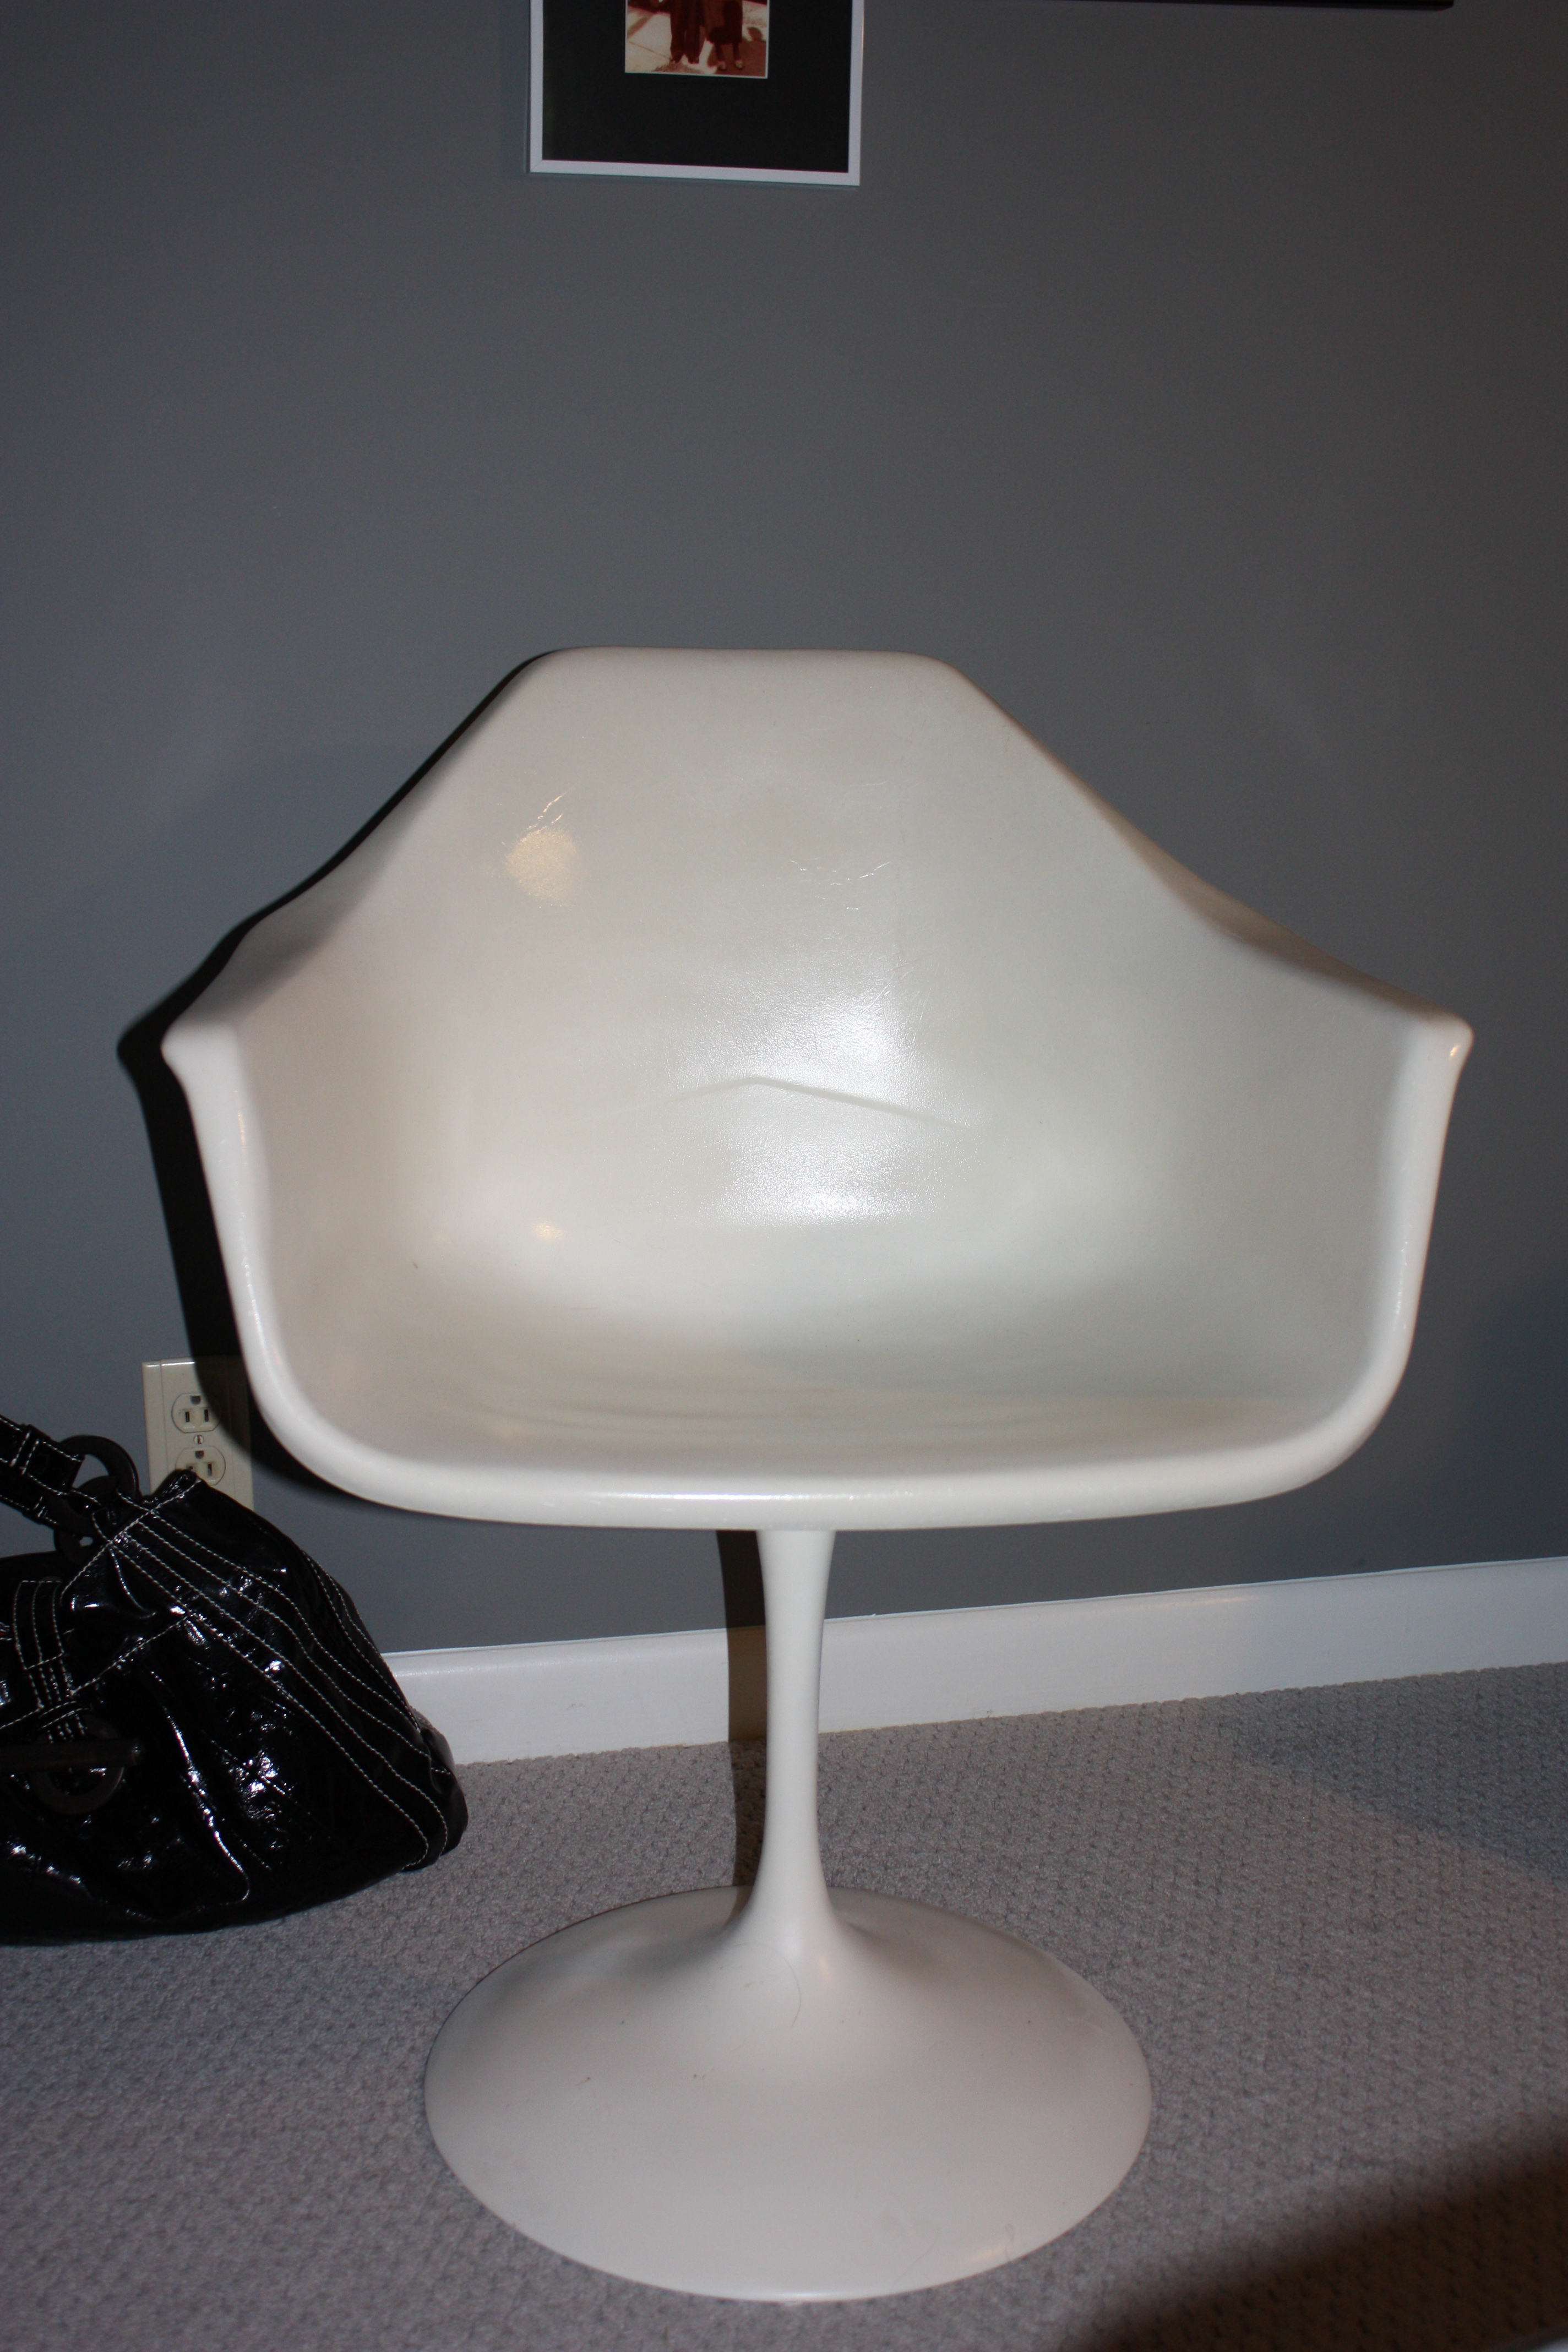
I found some chairs at the flea market last spring for $7 each and they’ve been sitting in the garage, waiting for their debut.  They came from a church in Evansville, Indiana and they were perfect for the Regal Beagle’s yard.  Plastic seats, metal legs and surprisingly comfortable – SOLD.  I bought all 11 he had.  Some have paint spatters, but luckily, I didn’t need that many right now so I could save that project for another day.  That’s it.  Instant dining area.

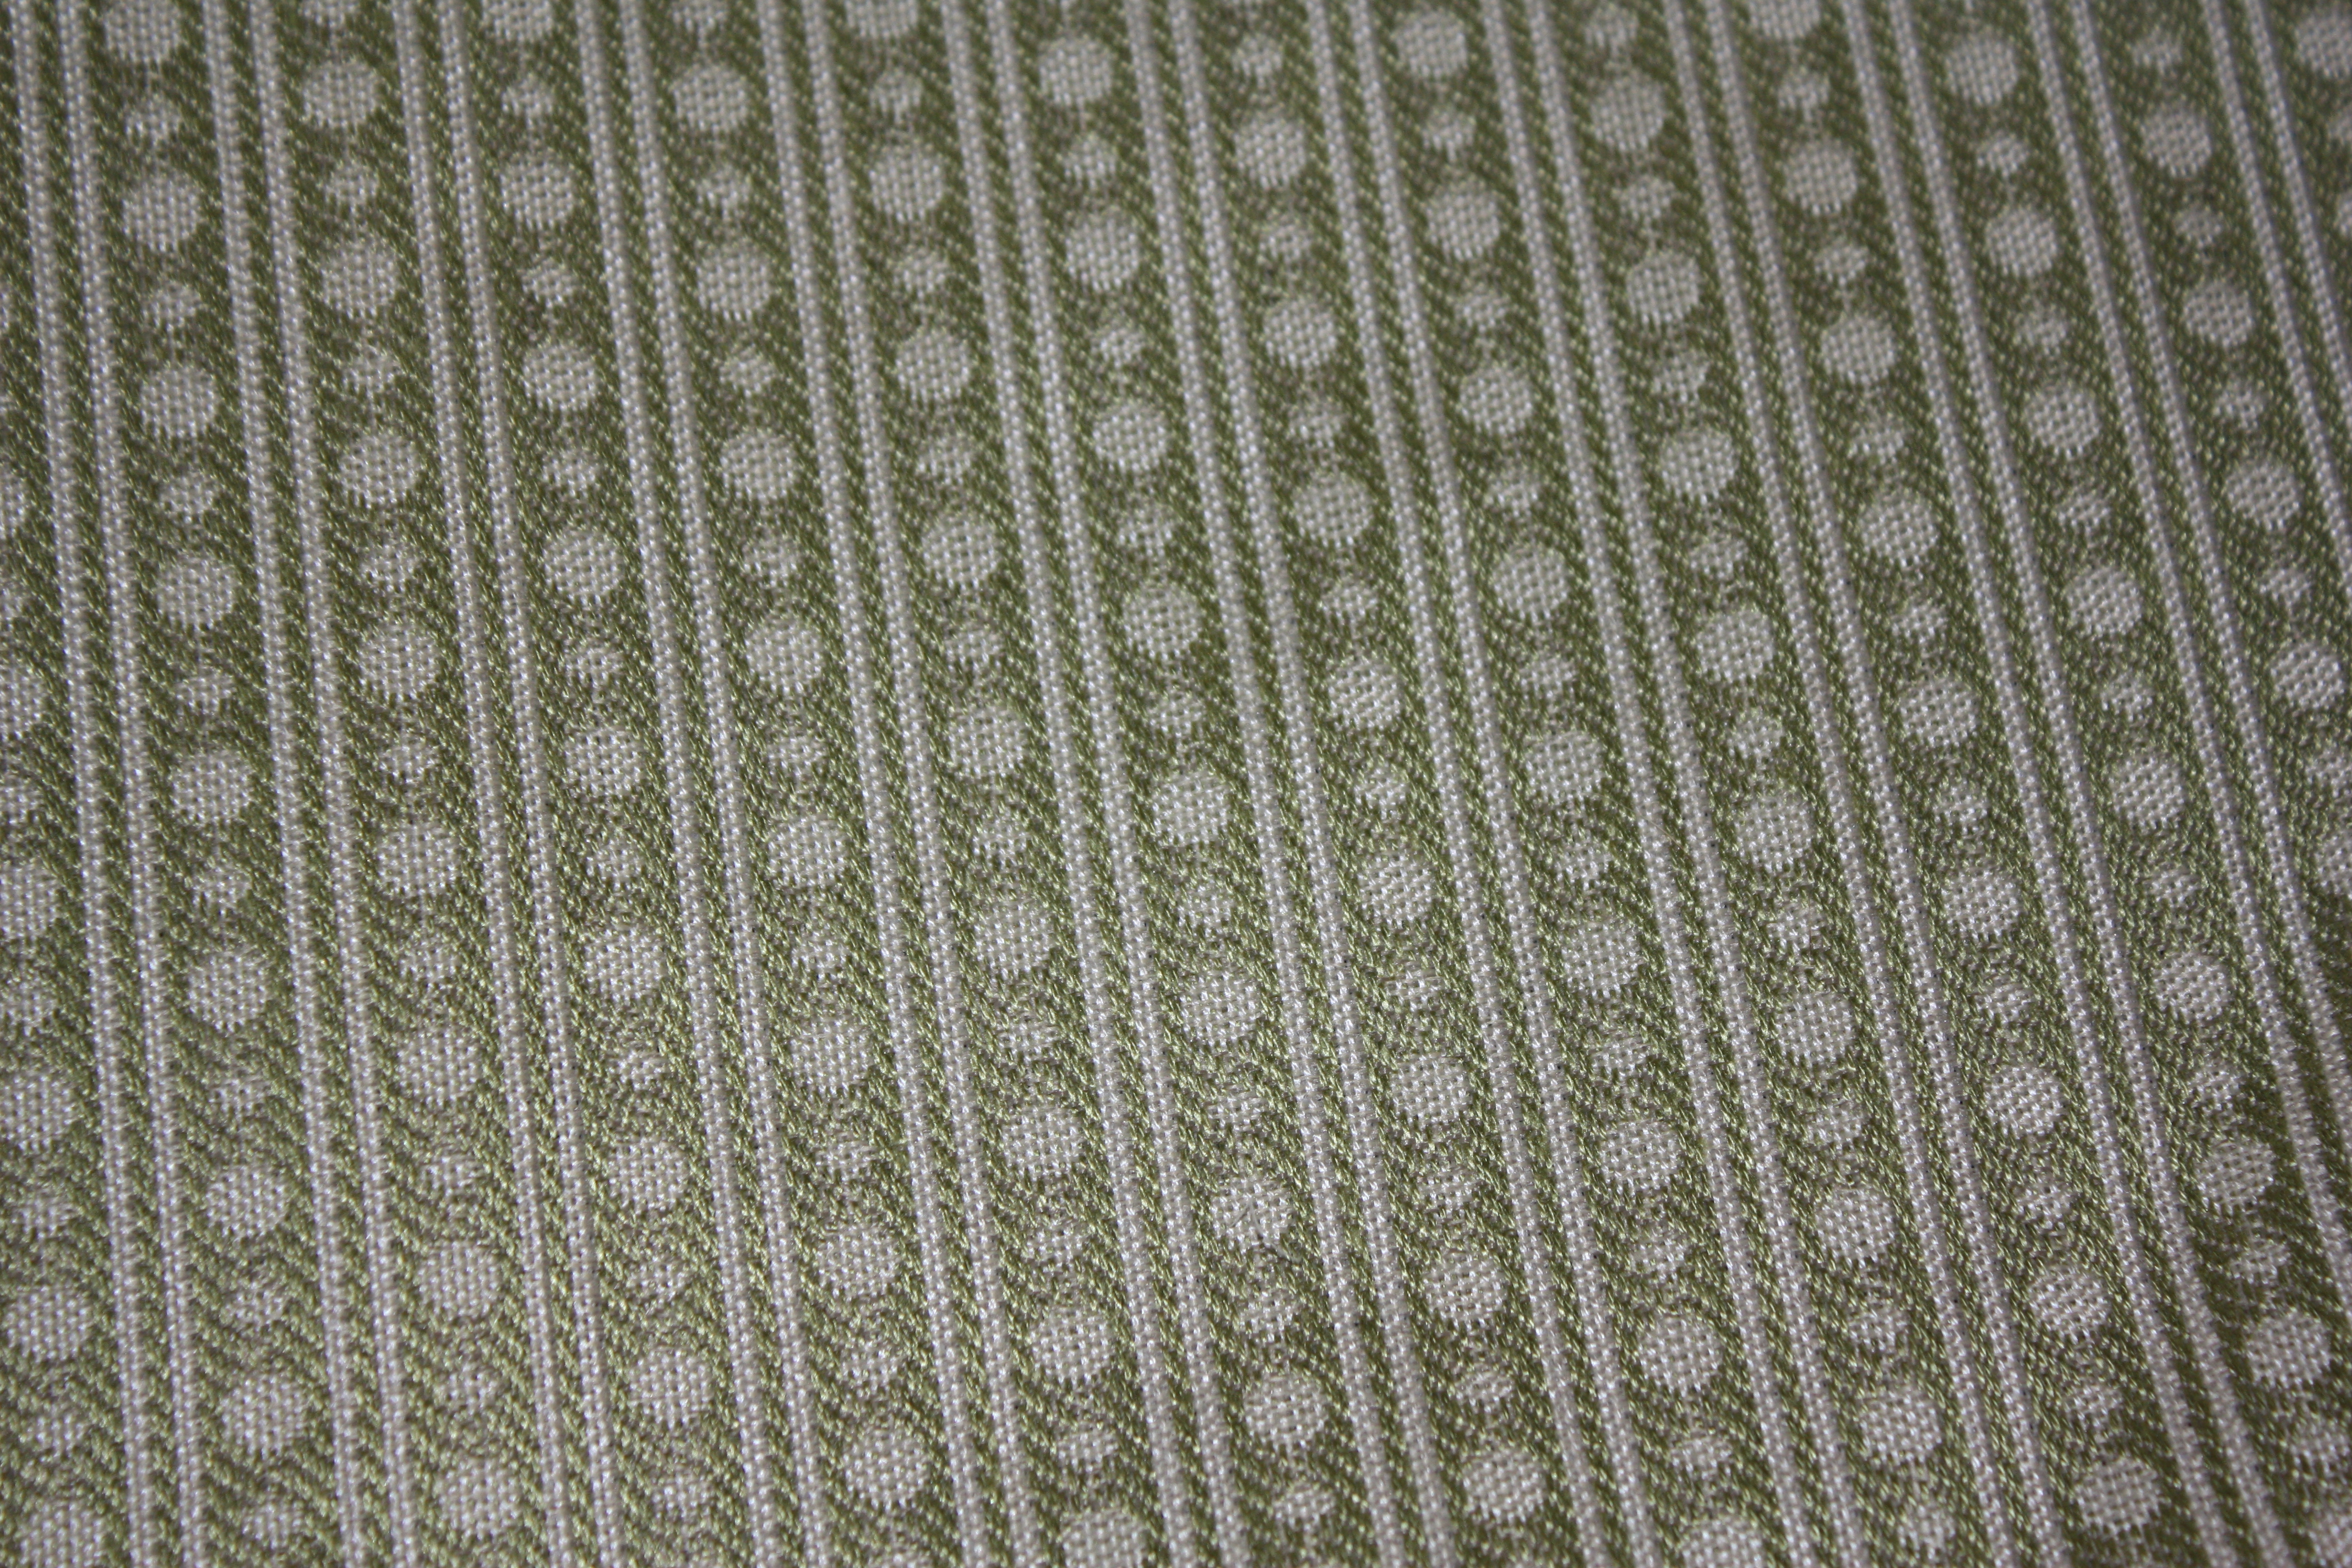
I had some furniture that needed work, but was still usable with a few cushions.  I scrounged in the attic to find some old cushions to throw on the broken metal Woodards and then, we were ready to chillax in the yard.  And chillax we did, while watching our friends the owls do a little evening hunting.  It’s not pretty…it’s more like the Regal Beagle goes Redneck, but it was just the ticket.  Sometimes function simply must trump form.  As we sat out in the moonlight, listening to the cicadas in the forest, I didn’t care how ugly it was…and neither did my guests.

small amount of seating on deck

"patio" to be right under that tree at the top
straw over mud

spreading it out
plywood and sawhorses

all secured
burlap and candles then ran out of time

instant "patio"

Regal Beagle goes Redneck

Bringing a Burke Back

One of my more recent junking expeditions yielded a nice Burke, Saarinen style tulip chair. I had just read the posts here, and here on fiberglass shell restoration so I was feeling pretty confident that the condition of the fiberglass wouldn’t be an issue. Granted, all of the posts I’d found focused on the colored Herman Miller/Eames shells, but the consensus seemed to be that white ones were easy too…just coat with a different sealer to avoid yellowing…simple enough right?

Armed with different grits of sanding sponges, I start at it…at first it looks like the dirt is coming off easily…until I realize the white grit I am sanding off is just filling in all the gouges and as soon as I wipe it clean…it’s there again.  This continues for several hours over 3 days.  Even with wet sanding..the itchy arm syndrome exists.

Finally, I realize I need to just let it go and say enough is enough…it will never be perfect and I wouldn’t have wanted it if it were, so just seal the damn thing already.  I used a spray lacquer/high gloss clear coat and it just kept sucking it in.  I had considered linseed oil, but liked the low maintenance a sprayed coating would provide.

I had a few fabric scraps in the attic I tried to picture it with…but I think at the end of the day…I want a pretty obnoxious print on here so the search continues to complete the job….

Kid’s Desk Rehab

I was out junking in Fairview, TN a couple of weeks ago and picked up a few projects…because I really don’t have enough on my plate.  BTW, I love how everyone else in the country calls it “thrifting”…sounds so much more civilized…down here, it’s just junkin’.

Anyway, this cute little kidney shaped desk was perfect for a little someone in the family who was promised their own desk this summer.  The faux bois laminate top was in perfect condition…just needed to be scrubbed and scraped of some old paint on it.  As for the body…it needed a little more TLC.  It was a LOT rougher looking in person than the photo lets on…really….I look at that photo and think…”it was nice the way it was”..and it wasn’t..I was there!

I started to strip it down…and realized it was going to take a REALLY long time.   It’s oak and paint was WAY down in those unprimed grooves.

I decided: 1)  I kinda hate oak furniture as a rule.  2) I’ve brought back enough blond wood pieces in this house….gotta stop.

Soooooo…. bringing it back to the natural wood wasn’t exactly worth the effort to me.   A  good sanding, priming, and coat of spray paint got this project done in a much more manageable time line.

The new owner is SUPER pleased which is all that really matters.

Lucite and Zebrawood Table

I really wanted a Karl Springer lucite table, but kept getting outbid by interior designers on e-bay every time a good one came around.  So I gave up that approach and started thinking about how I can finagle a new glam coffee table for no more than $200-$250.  I found the lucite base on e-bay – came with a giant glass top that made it look oh, so 80’s…but I was able to purchase just the base.

Next came making our own top….In discussions with my crafty counterpart – he decides 2 pieces of MDF glued together is the perfect base on which to apply our veneer.  I went to the local woodworkers shop and picked out a nice piece of zebrawood veneer – from there, we built the tabletop to be the exact width of the veneer so we won’t have any seams on the top. We cut small strips to use on the sides and left the underside alone. Sealed with a few coats of polyurethane and it’s done.

Lucite Base
Before Veneer
2 Pieces MDF
Unsealed Veneer On
Complete