Sneak Peek

Because I don’t listen to my own advice, I’m pleased to show you another unfinished project… getting to this point was too exciting…long time coming.

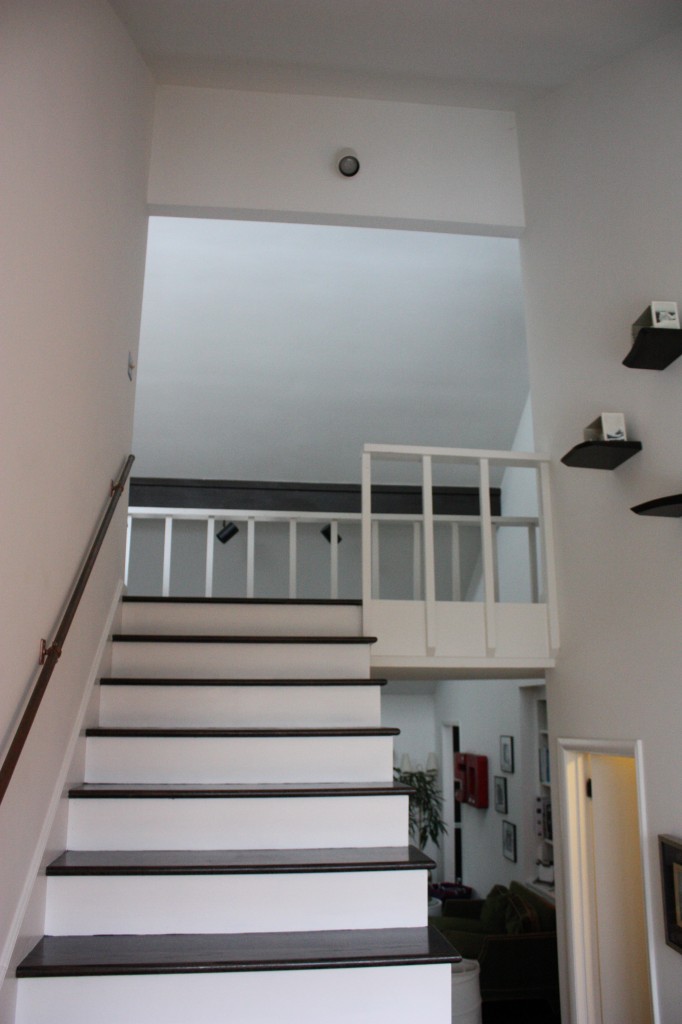
I. HAVE. STAIRS. (this is where I do a little dance, not unlike Elaine in Seinfeld)

Once I’ve stained the wood and all that jazz we’ll have a proper before and after, but this is beyond thrilling for me. The hog panels kick ass.

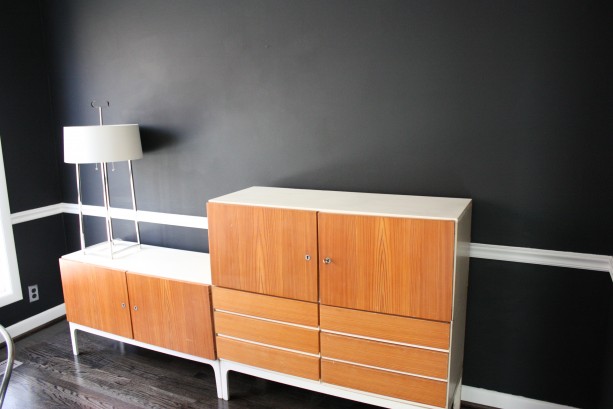
Oh, and I finally sold the 19th century buffet, so Flototto has moved in from the living room at last…big change-ups afoot here.

Friday Flea Part 2

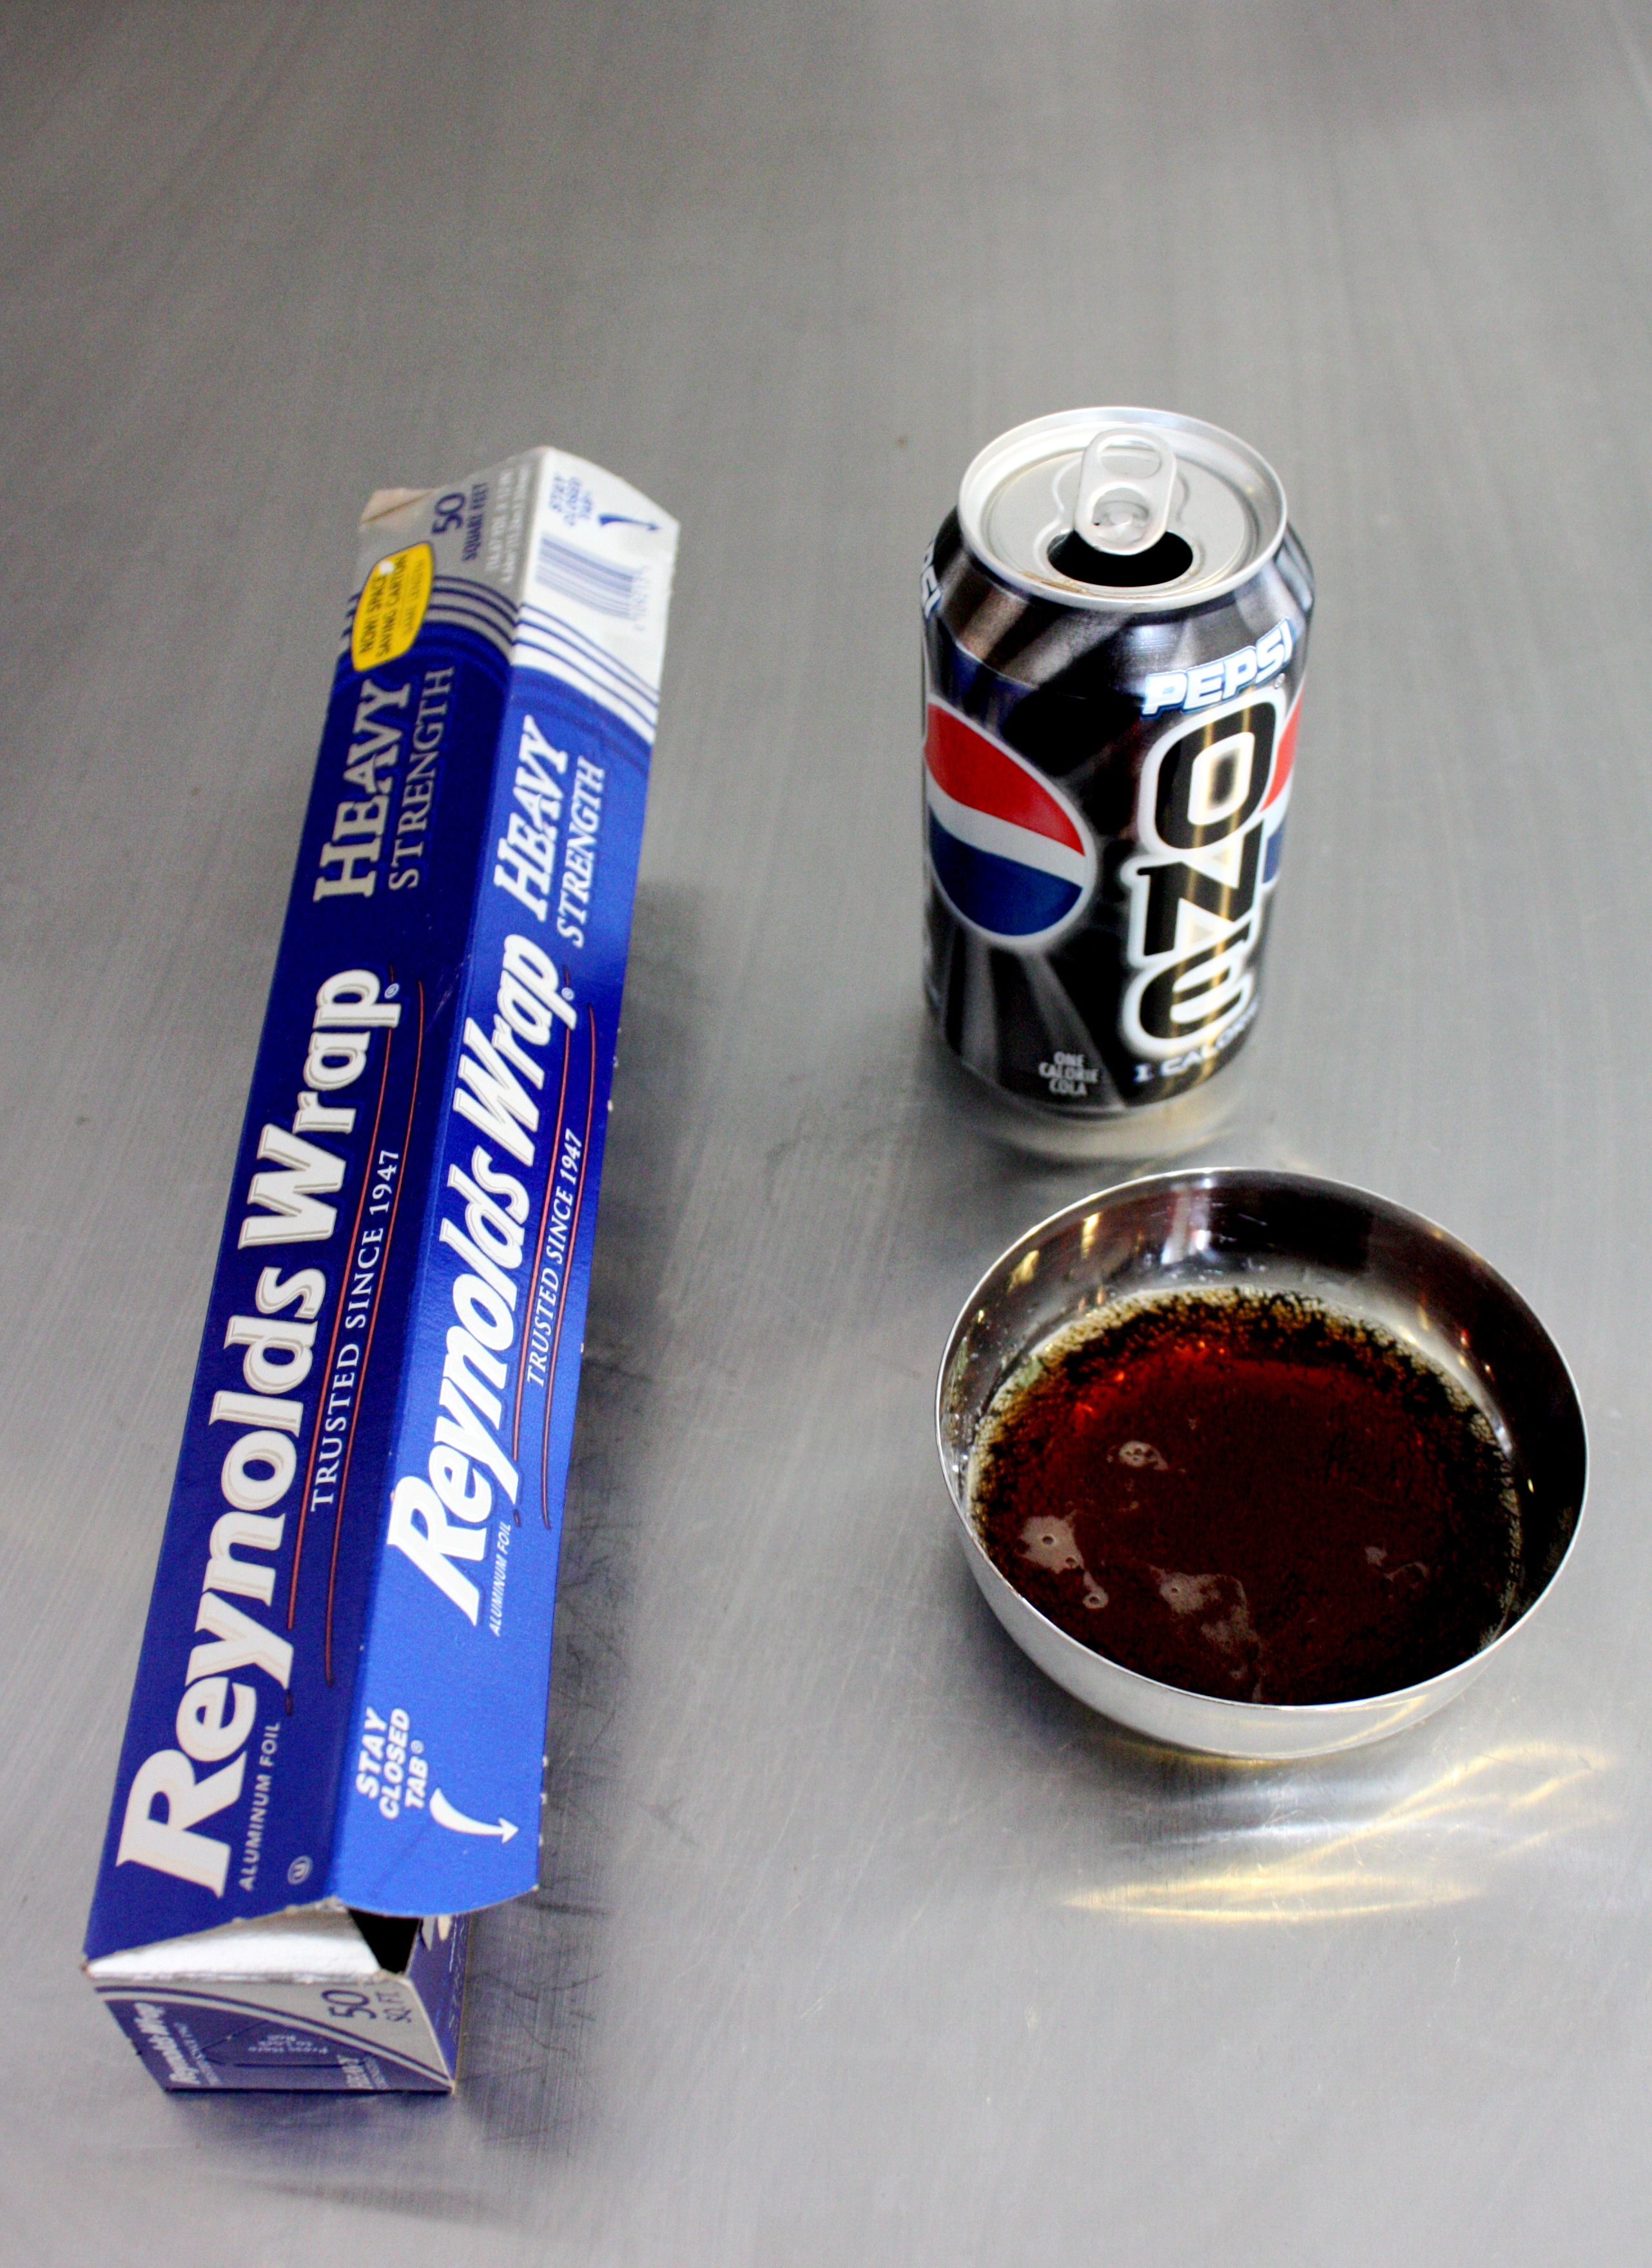
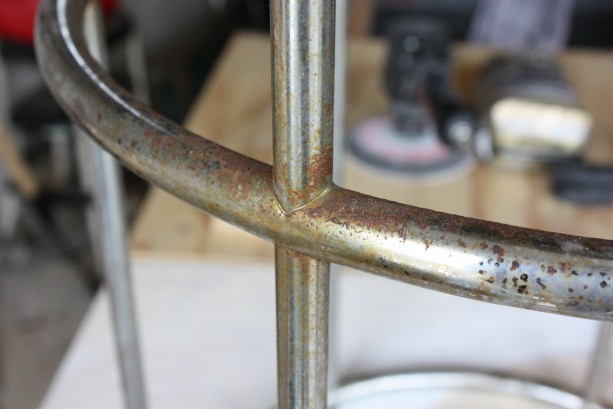
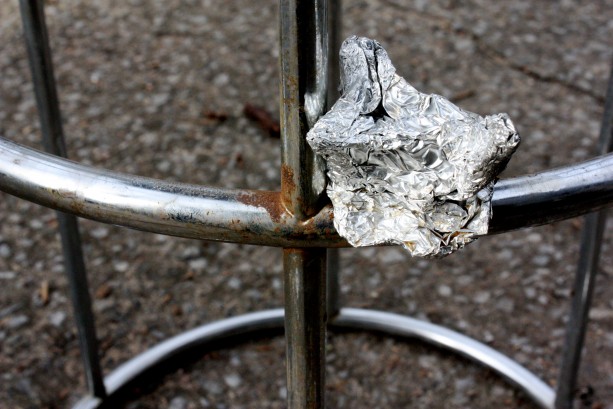
Well, after surfing and polling some wise peeps, I gained a renewed hope for ditching the remaining rust spots on the chrome of my flea market stools.  Cola applied with wadded up aluminum foil is the choice of car enthusiasts on the net..so I figure, why not give it a whirl?

People, can I just TELL you how thrilling, yet horrifying this was?  It works.  I mean really works.  I knew I should give up my once daily diet soda, but I don’t think that will be a problem now.  I can’t believe I’ve been ingesting RUST DISSOLVER. Not cool.  At all.

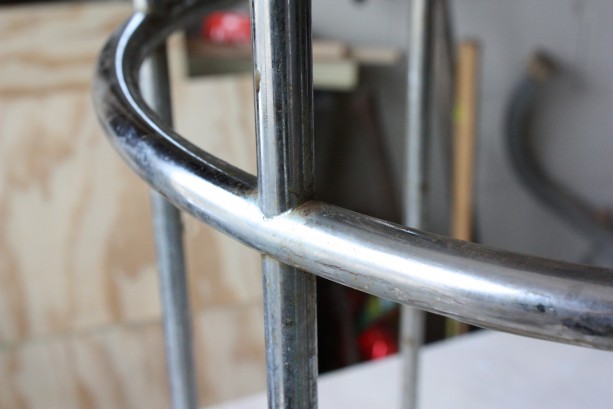
There were a couple of areas I knew were beyond saving since it had penetrated the chrome, but all the other spots I couldn’t get with the Noxon?  WOW.  Check it out.

before and after

and another before and after

You can see where the chrome is pitted here…but still WAY better than before.

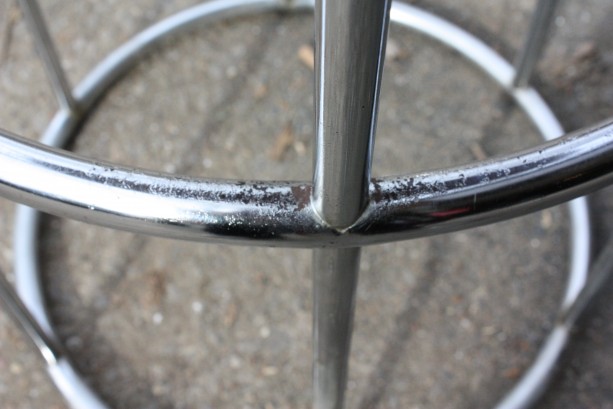
Then, I went back and polished up all over with the Noxon again and…Tah Dah!!!!!

one of the good spots…

It took a lot longer than I expected, but it was well worth it.  They aren’t perfect, but they are miles ahead of where they were, and I lurv them.

Friday Flea

So, I tried a new strategy this month and decided the hit the flea market Friday morning instead of Saturday morning.  Supposedly, they set up Thursday night, but since the weather was cold and wet, a lot of vendors were not set up yet or were in the process of unloading.  I didn’t bring my camera so it wouldn’t get wet in the drizzle.

I picked up another project from one of the dudes ready to deal.  Why is it I NEVER find anything that doesn’t need work?  Sigh.  Anyway… stopped off at the hardware store on the way home and got busy.

I have to research chroming/chrome plating…that would be valuable info for me and the stuff I’ve got.  Body shops?

I got a lot of the crud off, but some of the rust is there to stay…but, I’m OK with that for now..the pleather was in great shape…onward!  Have a great weekend..

UPDATE: I’ve conducted a poll of friends and the Interwebs:  Coca Cola and tin foil is the choice of many for those pesky rust spots…will try in morning and let you know…

To Do: Half Bath

I warned you I had some heinous bathroom action going here…and I haven’t had the guts to show the master bathroom in detail yet…it may take some time to muster the courage. The best bathroom in the house by far, was the upstairs jack and jill used by the Minors.  Probably because no one used it for the past 10 years or so.

The half bath is actually our kind of project.  This will really happen this year, because we can do it ourselves, and do it inexpensively.  The Crafty Counterpart has some pretty good plumbing skills, so that always makes it easier/cheaper. The half bath will also take priority since it’s what our guests use, and its proximity to the playroom makes it the most used bathroom in the house.  The beige potty doesn’t flush unless you hold the handle down, etc..even the Minors have been asking when we’re going to “do something about that bathroom.”   The color in here is that shade of beige that looks dirty all the time.  No matter how many magic erasers I use on the walls, it still feels dirty.

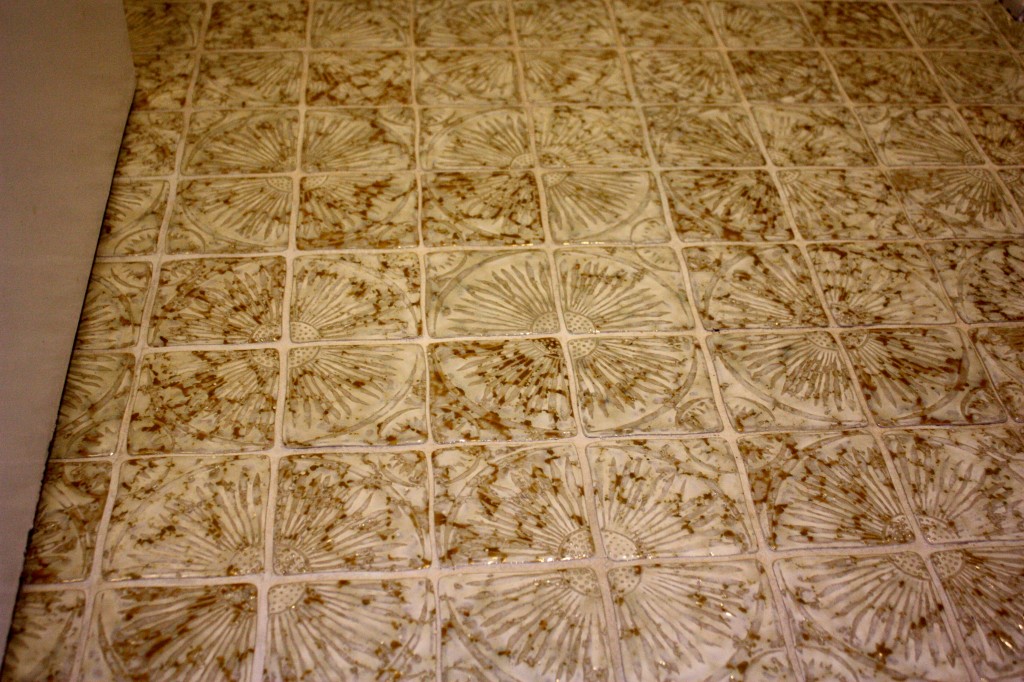
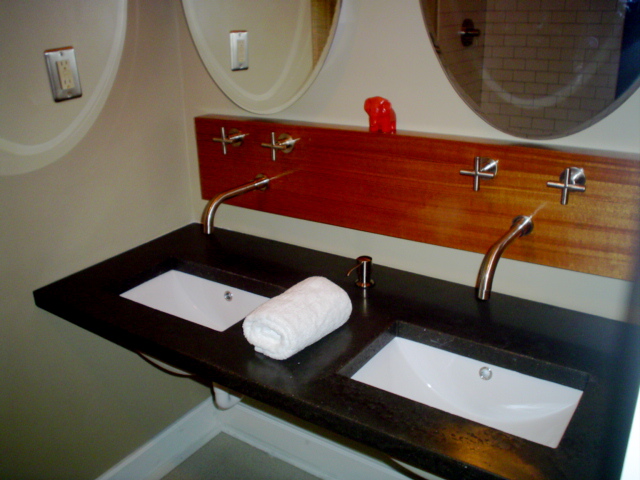
I had debated keeping the floor in here.  It’s a groovy tile, but if I keep it, that means I have to keep the vanity cabinet.  The cabinet is actually decent, paint job, new countertop and sink/fixtures…it would look great, but since it’s such a small space, my vision was to have a floating countertop with freestanding storage underneath.  It will certainly be faster and simpler to rehab the cabinet. I’ve brought home about 30 swatches and can’t find a color that I like to use with that tile. At the end of the day, busy tile means no busy walls, so methinks the tile floor goes.

For the walls, I really wanted a groovy 70’s inspired wallpaper, but I have stripped too much wallpaper in my life and I can’t do it. It’s a shame, since there are SO many beautiful papers, but I refuse to put it up in my houses.  It’s too big a commitment. (I can hear the collective gasp of horror now…sorry.)

So, my plan has been to take a page from Kellie, who I saw featured on this Design Sponge post last year.  Brilliant!  All the wallpapers I had been eyeing were metallic patterns on a rich color, so I could do something like that in the half bath! If I screw up, I paint over it and start again.  My kind of project.
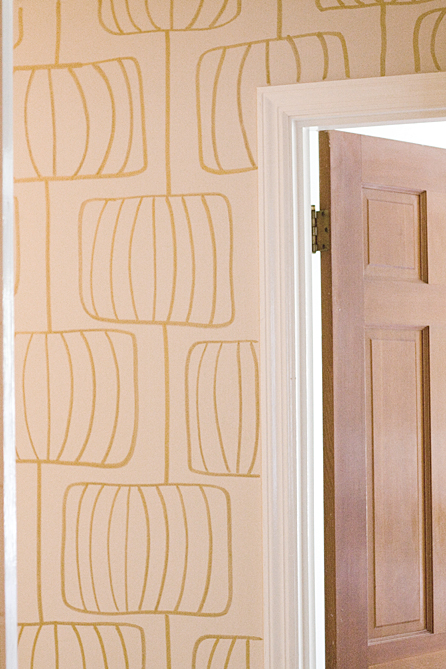
photo via Kellie/Scraplog

photo via Scraplog via Fossil catalog

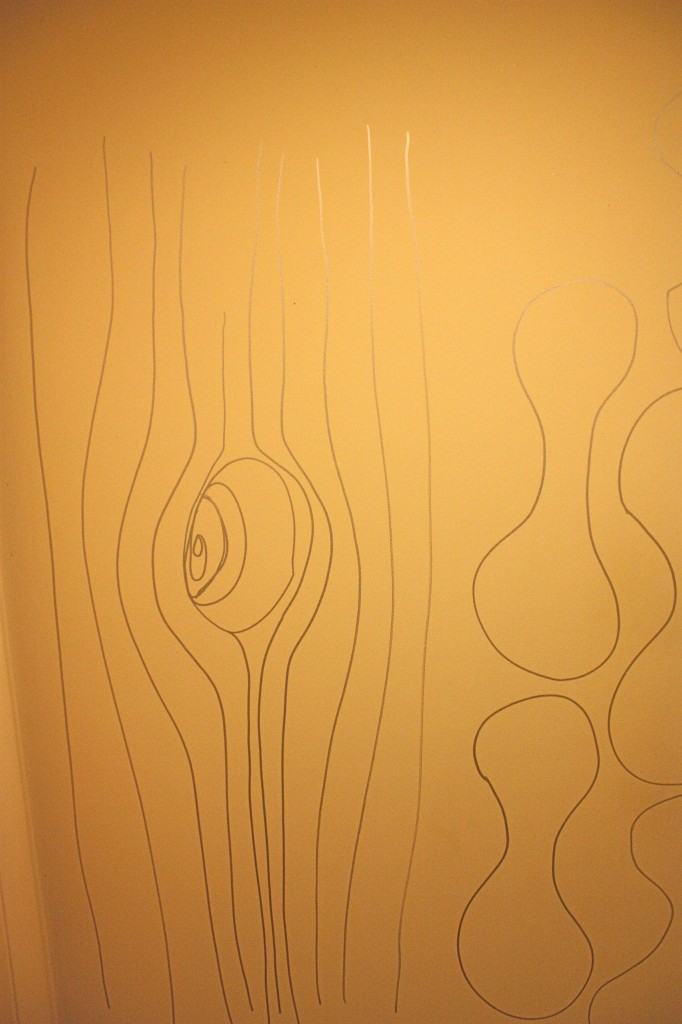
Problem is, one day this summer, when it looked like we might get started on the half bath any day, I grabbed the paint pen and started doodling on the walls.  Just testing some ideas..you know…6 months later, it’s still there.  Kind of embarrassing when guests are over, but hey…it is what it is.
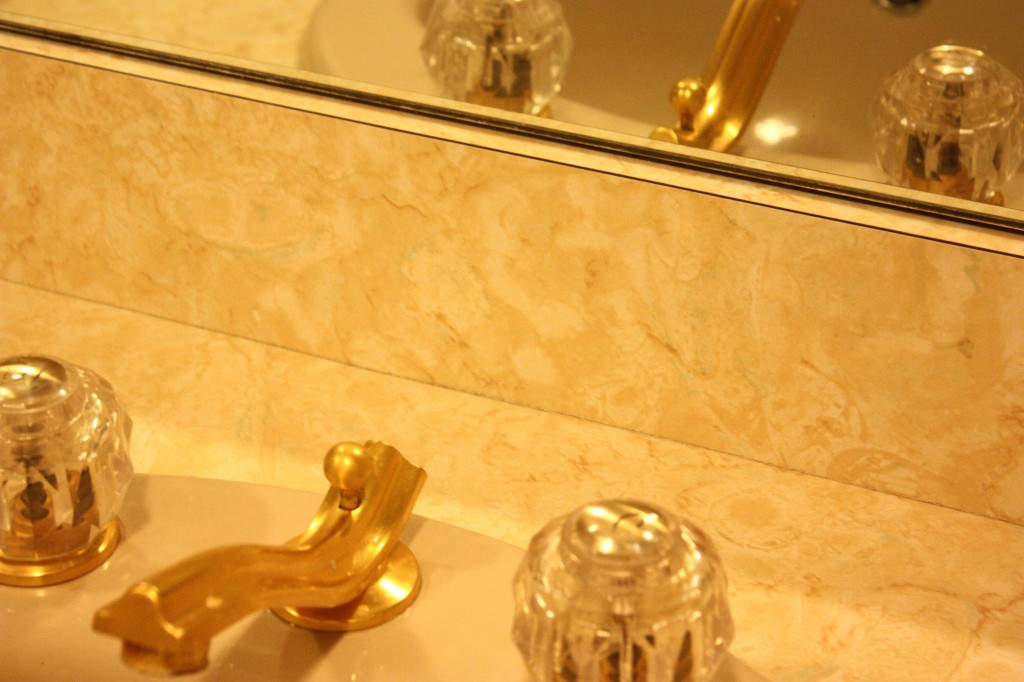
You know you’re jealous of my fancy hardware and faux marble laminate countertop.  So, should I rehab the cabinet or go floating like this one we built in our last house?
Caning

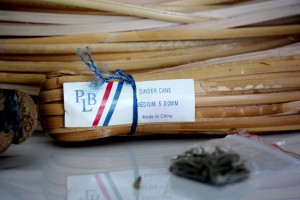
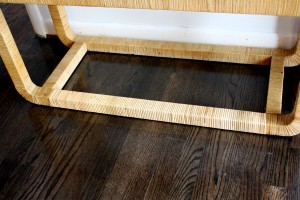
No, not Singapore’s solution to misdemeanors..I’m talking basket weaving cane.  Remember the new bookshelf?  I managed to find the cane to re-wrap the damaged areas….a decent sized roll for $30…bringing my bookshelf total up to $130.  I’m quite pleased since I couldn’t even get the CB2 Hancock bookcase I had considered for that much.

Not knowing jack about weaving or caning…a little research turns up a few tips and we’re on our way. The CC took the lead on this one…he thought it looked like a lot more fun than organizing the workshop in below freezing temps, so I stepped back to simply document the process.

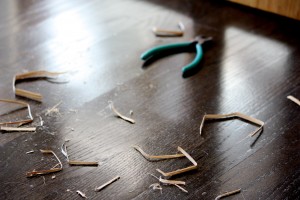
First, we soak the cane for 4 hours in warm water…while it was soaking, he removed the old torn bits and scraped off the old glue.  He saved the tacks so we could re-use them…and then it was wrapping time. We were out of Gorilla Glue, which we love, so he decided to use plain old white glue. Tack the end and start wrapping until you finish the strip, Tack and repeat.  Linseed oil or tung oil should be rubbed on it to prevent cracking etc.. so if you have dry cane on anything..a little oiling can save it…so say the wise weavers of the net.

There is a color variation between the new and old cane, but not too bad.  My hope is that with repeated applications of the linseed oil, the color will even out.  All in all, I think it was a success, and I have enough cane leftover to do something else down the line.

To Do: Interior Railings

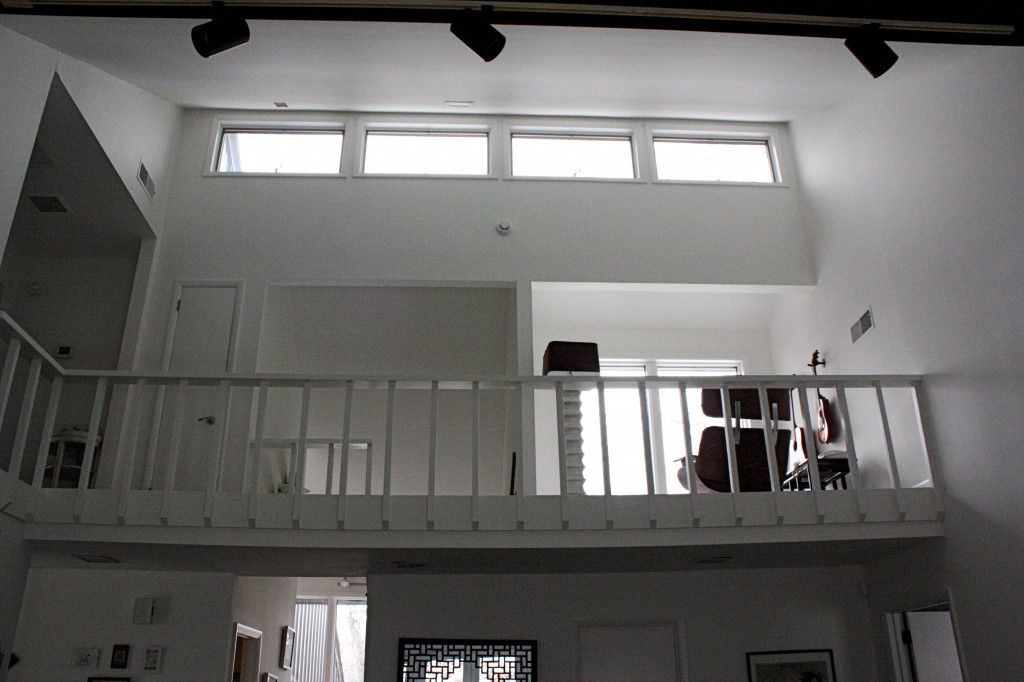
When we layed the stair treads (previously green shag over lumber) the stair railings came down, but we never put them back up, because we’d be drilling into the new hardwood treads… for a look we didn’t want to keep.  We made the copper railing immediately, but having the other side open is not very comforting to many who visit.  Not to mention..it’s against code, so we gotta deal.

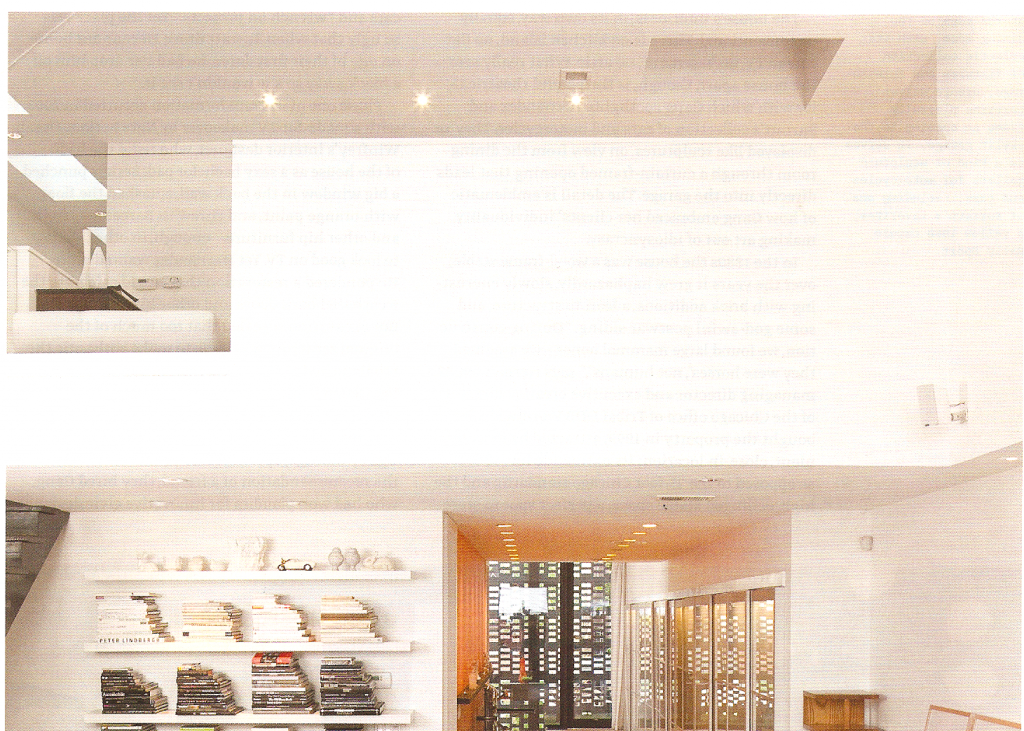
Luckily, I don’t have toddlers or this simply could not be.  We want an open airy, yet safe rail for both the stairs and the catwalk… we keep coming back to glass.  We considered cable systems, but I really want the sleekness.  I love the idea of minimally framed glass all around, but the practical/resale minded side of me is considering this glass/sheet rock hybrid.  Not having priced glass railing systems yet, I’m betting it’s a big ouch.  If we mix the wall/glass, we can DIY it for not too much money.

photo from Dwell Oct. 2009

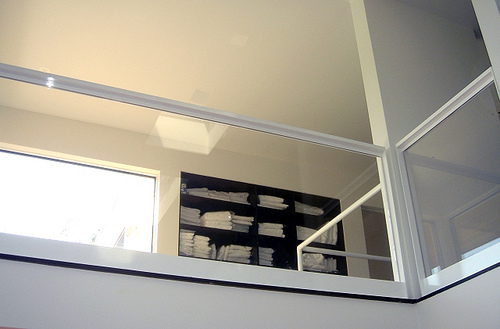
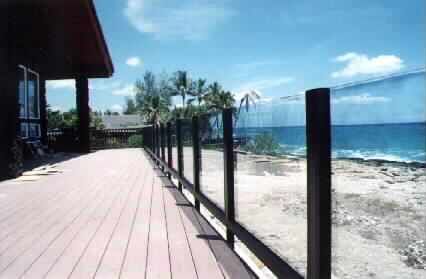
The idea is that up in the nook, where the lounger is…glass, then about a six foot section of wall, then glass at the corner, nice clean seam where the corners meet, then wall finishes it out.  The stairs will require a ton of research.  We’ll see how this idea sounds after said research.  Here are some other looks I liked…now to find out how unaffordable they are.

via Amorphous Studios Inc  on Flickr

via California Glass and Rail

via Remodelista

via Natural Elements Custom Homes on Flickr

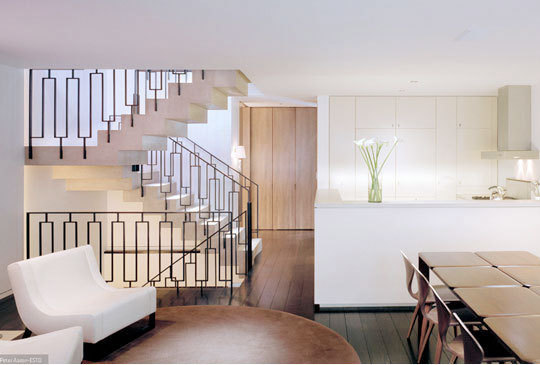
This is the only non-glass option I have in my files so far…custom ironwork…ouch.

I’m so sorry, I can’t remember where this is from and I forgot to rename it with creds.

For my eagle eyed readers (you always amaze me) who wondered what the little brass plate in the ceiling is….that’s on the List as well.  That is where I lost my mind, and the siding decision was pretty much made.  That’s the hole in the ceiling where the squirrel and I had a staredown as it tried to chew its way into the house.  Good times.