Caning

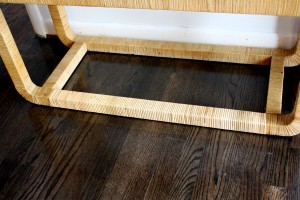
No, not Singapore’s solution to misdemeanors..I’m talking basket weaving cane.  Remember the new bookshelf?  I managed to find the cane to re-wrap the damaged areas….a decent sized roll for $30…bringing my bookshelf total up to $130.  I’m quite pleased since I couldn’t even get the CB2 Hancock bookcase I had considered for that much.

Not knowing jack about weaving or caning…a little research turns up a few tips and we’re on our way. The CC took the lead on this one…he thought it looked like a lot more fun than organizing the workshop in below freezing temps, so I stepped back to simply document the process.

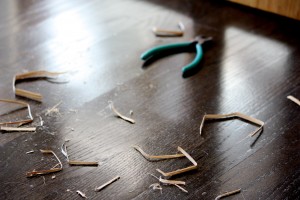
First, we soak the cane for 4 hours in warm water…while it was soaking, he removed the old torn bits and scraped off the old glue.  He saved the tacks so we could re-use them…and then it was wrapping time. We were out of Gorilla Glue, which we love, so he decided to use plain old white glue. Tack the end and start wrapping until you finish the strip, Tack and repeat.  Linseed oil or tung oil should be rubbed on it to prevent cracking etc.. so if you have dry cane on anything..a little oiling can save it…so say the wise weavers of the net.

There is a color variation between the new and old cane, but not too bad.  My hope is that with repeated applications of the linseed oil, the color will even out.  All in all, I think it was a success, and I have enough cane leftover to do something else down the line.


You Can’t Make This Stuff Up.

So, I debated whether to share this with you for fear of offending the sensibilities of some…I got over it.

We removed some cabinets from a small room off the attic over the holidays and found a little surprise.  Seems like we stumbled upon the old man’s stash.  I’m talking the inaugural Hustler Scratch and Sniff…1977.  The year the house was built.

See, renovation offers so many varied surprises, I can now list porn among them…take THAT, new construction.

To Do: Interior Railings

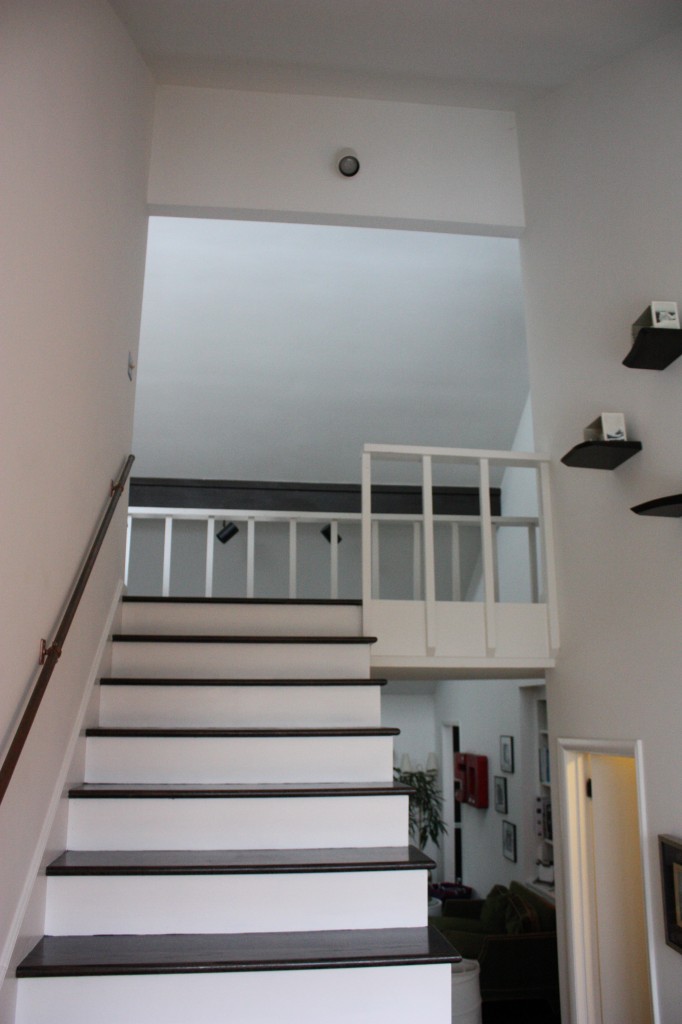
When we layed the stair treads (previously green shag over lumber) the stair railings came down, but we never put them back up, because we’d be drilling into the new hardwood treads… for a look we didn’t want to keep.  We made the copper railing immediately, but having the other side open is not very comforting to many who visit.  Not to mention..it’s against code, so we gotta deal.

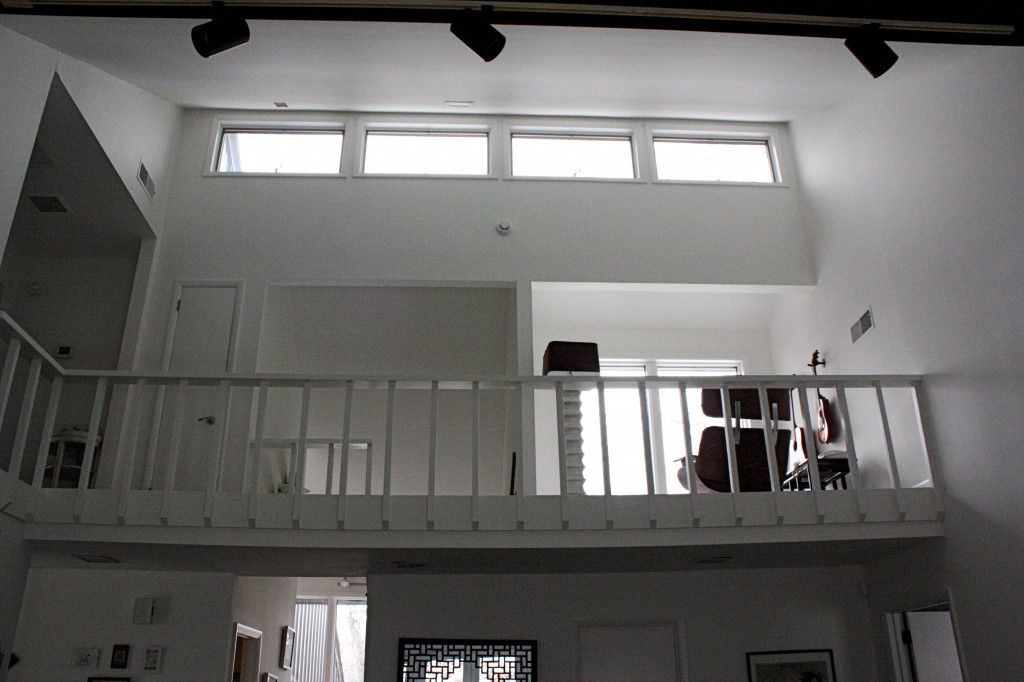
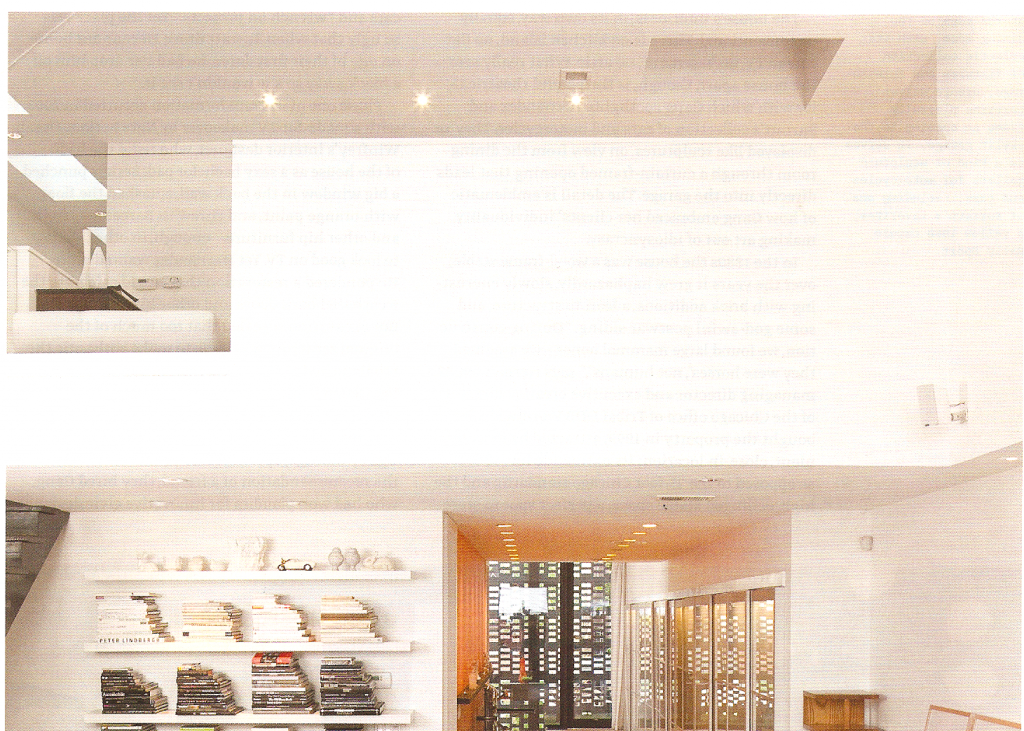
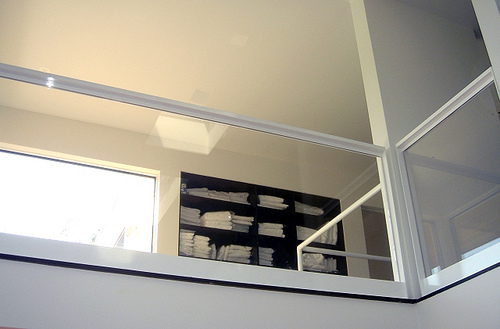
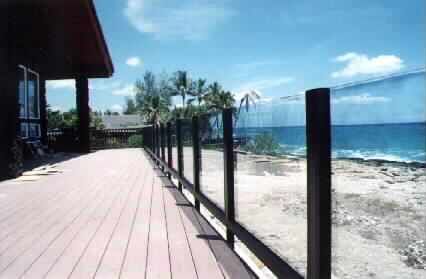
Luckily, I don’t have toddlers or this simply could not be.  We want an open airy, yet safe rail for both the stairs and the catwalk… we keep coming back to glass.  We considered cable systems, but I really want the sleekness.  I love the idea of minimally framed glass all around, but the practical/resale minded side of me is considering this glass/sheet rock hybrid.  Not having priced glass railing systems yet, I’m betting it’s a big ouch.  If we mix the wall/glass, we can DIY it for not too much money.

photo from Dwell Oct. 2009

The idea is that up in the nook, where the lounger is…glass, then about a six foot section of wall, then glass at the corner, nice clean seam where the corners meet, then wall finishes it out.  The stairs will require a ton of research.  We’ll see how this idea sounds after said research.  Here are some other looks I liked…now to find out how unaffordable they are.

via Amorphous Studios Inc  on Flickr

via California Glass and Rail

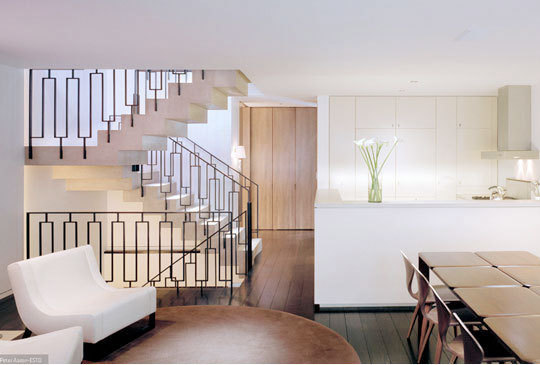
via Remodelista

via Natural Elements Custom Homes on Flickr

This is the only non-glass option I have in my files so far…custom ironwork…ouch.

I’m so sorry, I can’t remember where this is from and I forgot to rename it with creds.

For my eagle eyed readers (you always amaze me) who wondered what the little brass plate in the ceiling is….that’s on the List as well.  That is where I lost my mind, and the siding decision was pretty much made.  That’s the hole in the ceiling where the squirrel and I had a staredown as it tried to chew its way into the house.  Good times.

Snow Day

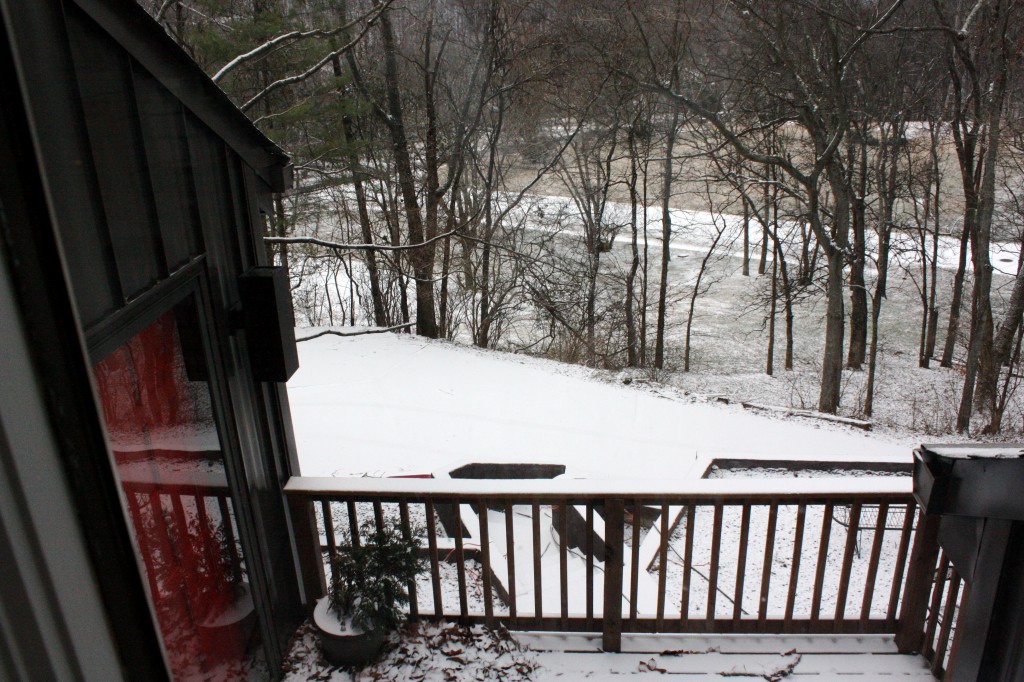
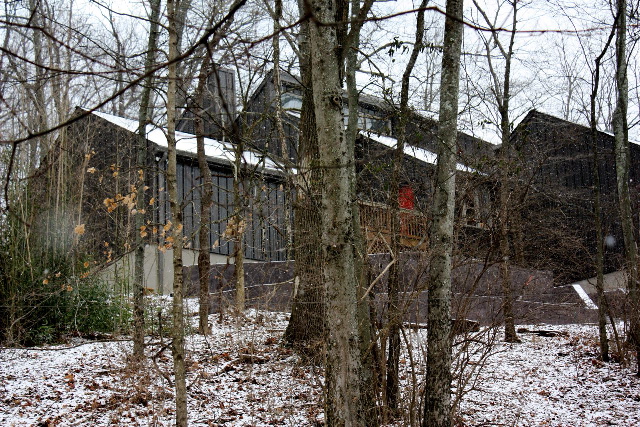
OK, so those even 50 miles north of here try not to laugh too hard.  We are home because the schools are closed for the second day in a row due to “inclement weather”.  Now look at the volume of snow, and wonder why this is considered inclement weather down here.

So it’s a complete joke…but I’m so grateful to be able to enjoy it for a change, instead of stressing out about missing work or dragging my kids into the office. Time to warm up and slurp down some hot Abuelita.

To Do: Lattice Replacement

One of the items I listed on the To Do List is getting rid of that horrible lattice underneath the deck of our front entry.  We considered ripping it off right away, but the black hole that was underneath it actually looked worse…there are some unattractive parts of the stucco under there and it’s best to keep it tucked away.  Since we plan to use that area as additional storage for garage type items, we want to keep it enclosed with a door.

The look we’ll be going for is similar to the treehouse walls built over at a PreFab Project.  Very simple and easy to DIY, we’ll screen and add the stained strips as well as install a clear corrugated roof under the deck floor to keep water out.  Ideally, you’ll never see the roof…it will be a stealth roof.

photo by A PreFab Project

Much nicer look than this…no?

So with the hog panels as railings up top, and the slats as screening underneath, I think we may finally have a respectable entry…one day…soon I hope.