Uh, NO, Mom.

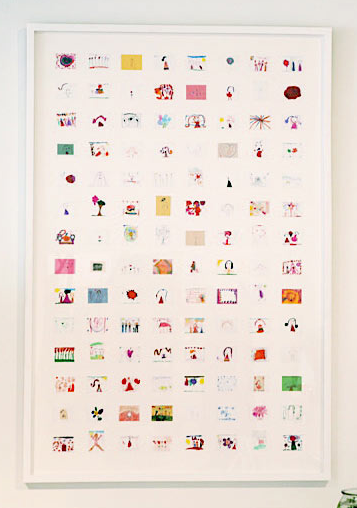
During yet another snow day, the winter organization frenzy rages on.  I summon the Things to bring me 20-30 pieces of their favorite artwork.  We are going to frame them!  My plan is to make my own Jan Eleni collage, like below, but with the pieces a bit bigger…say 3″ x 3″ each.

For those who haven’t seen this on any of the 20 blogs featuring it…the gist is this:  She photographs the artwork, then prints it out and mounts it to make the collage you see above.  A great way to showcase a lot of work in a smaller amount of space.  I LOVE this idea.

Thing One HATES this idea.  It never occurred to me that shrinking the art for display would cause such a stir, but I am told in no uncertain terms that these pieces are to be showcased “full size only.”

Noted…and she’s SHUTDOWN.  I only have one empty frame and a dining room table heaping with eager to be upgraded from the magnet board artwork, so Momma better scramble. That’ll teach me to try and be efficient….stupid, stupid woman.
Polishing Silver on Glass

Things have been very unblogworthy around here.  Being out of school for an entire week for snow (I KNOW…redonk) I tried to power through the cabin fever with lots of closet/drawer organizing type stuff. Booooring…but kinda thrilling for me.

Organizing goes hand in hand with cleaning, buffing, and polishing so I thought you Mad Men fans might like this bit of info.  After I posted my latest Dorothy Thorpe score,  (last year!) I had a reader ask about how to polish it.

I found out the hard way, many years ago, after trashing one of my vintage pieces.  I found this page awhile back and have been using this stuff ever since.  The key is how much pressure you put on the silver when polishing it.  Easy does it.

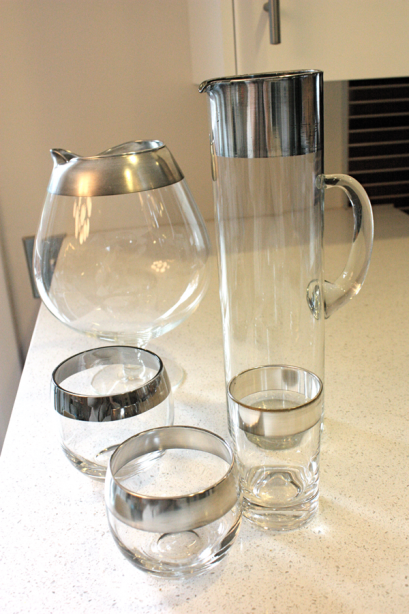
These photos are crummy, but I couldn’t retake the before! Sorry…Here is an array of tarnished Dorothy Thorpe and other similar pieces….

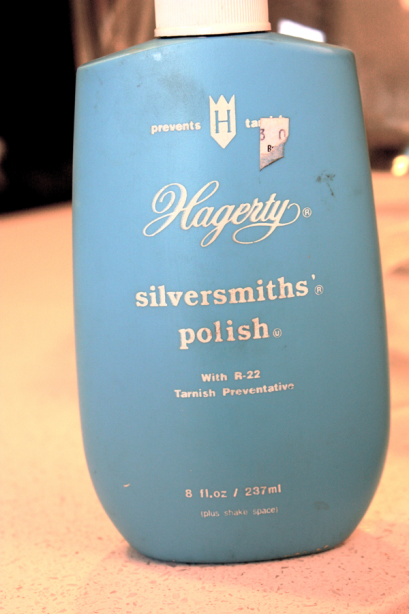
This is the magic bottle that is grubby with love….

Ready for use…or back on the shelf.

I still love this stuff, even if it is a complete pain in the ass to maintain.  Newer reproduction pieces usually have a protective coating over the silver, so this little bit of hassle isn’t necessary.

CC Strikes Again

It’s the CC’s turn to wow you!

Every year, my Crafty Counterpart makes an ornament for the Things….(He shared a couple of his most popular designs here.) ..but he was stumped this year.  What to make?!

I showed him this post by superfabcrafters Derek and Lauren from The Curiosity Shoppe and Smarts and Crafts and suggested that we use some of the leftover veneer we had.  His eyes lit up and I knew he was ON IT.

Next thing I know, he’s calling me to bring the camera and start my clicking.  He knocked these out in a couple of hours.

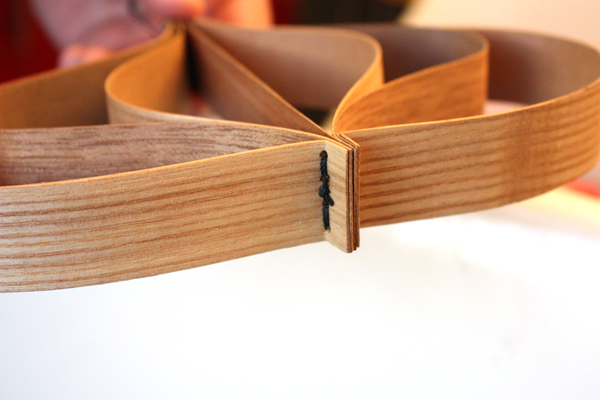
We don’t have a drill press, so he used a leather punch for the holes.  We had some white oak and zebrawood.  He double sided the center piece, but left all the others as is.

Lined them up and sewed them up.

As you can see, one of the ornaments’ veneer gave under the pressure…no problem.  Just makes a different shape, and now we can tell them apart.

Take a bow babe….

More details will be posted later in the week on his Instructables page, but in the meantime, he can answer questions here in the comments.

Time to Wrap

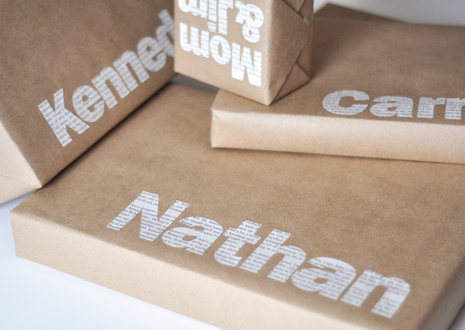
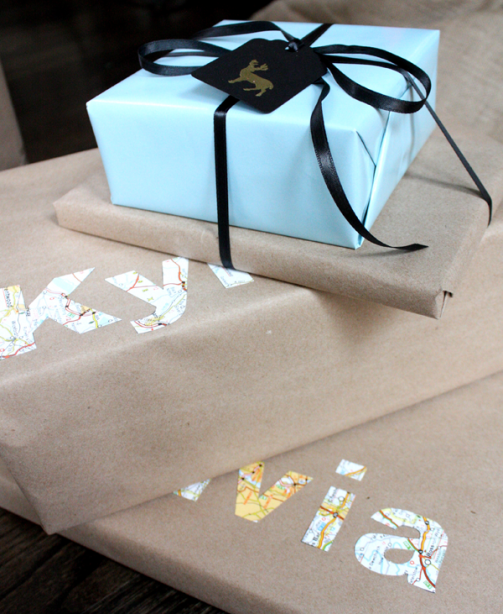
Those who have been reading for awhile know that I kinda geek out on wrapping during the Holidays.  After all the stress of gathering items on a deadline, sitting down and putting together a nice package is kinda relaxing for me..and I try to make it fun.  Last year, I decided to heat emboss my packages, and this year, I’m recycling an old road atlas for my name tags.

I take no credit for this idea…I saw this post,

via Bugs and Fishes

and then this one.

via Man Made DIY

Both had a DIY tutorial that seemed WAY too labor intensive.  I did it my way…I’m always looking for shortcuts!  Personally, I think my way saved a lot of time.

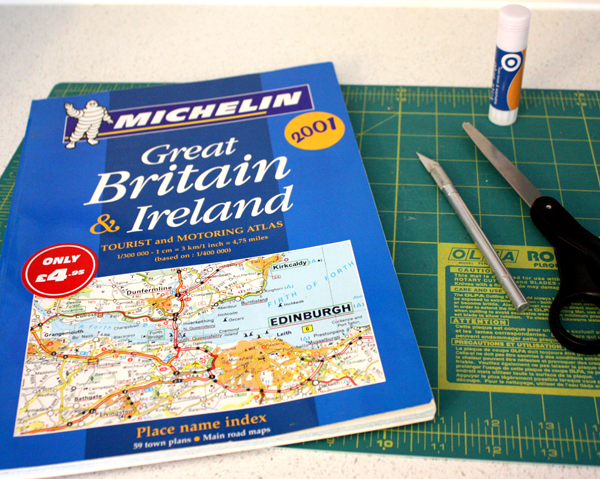
I had an outdated road atlas from the UK..perfect.  I set my Word document up to A4 size so I didn’t waste space on the pages. (A4 pages are longer than our US 8.5 x 11″ pages)

Instead of making stencils like the other guys, I simply printed my names directly onto the map page and cut them out.  No need to cut stencils, then cut your names AGAIN. How?  Just format your font to outline.  This is how it looks on the screen.

I was excited to use the Neutraface (below) for this….I switched to Arial bold (top) for a softer look for some girls, but experiment and play with it!

Then just print directly onto your map and cut out.

We don’t need no stinkin’ stencils.

UPDATE:  Just did some packages in the Bauhaus font…very groovy!

Switcheroo

The rearranging of artwork and the like has had us patching and touch-up painting the walls everywhere.  It’s worth it to have a clean slate to start again.  Ah, the freedom to be fickle, renewed.

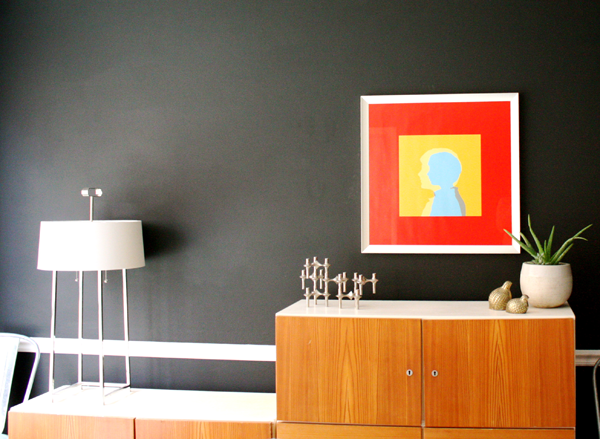
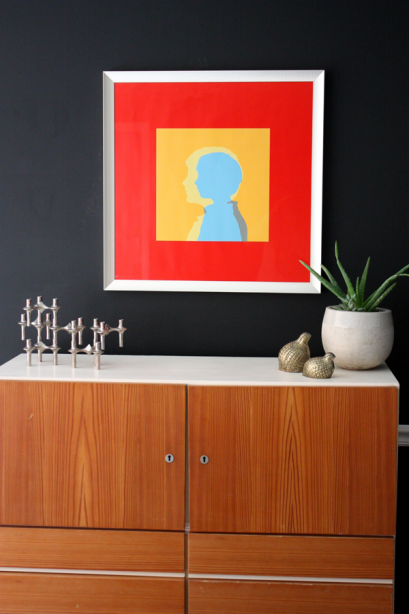
I made the latest addition to the dining room wall to brighten things up around here.  I did it ages ago, and finally got it set during Michael’s 40% off framing sale.  Even with the whopping discount, it is obvious I need to learn framing.  A necessary life skill required for my life, me thinks.

Tour Chapter 3

I’m finally back on the tour and have added the kitchen…you’ll get to see the new shelf all in place!  For new readers, we did the entire kitchen ourselves with the exception of tiling the back splashes.  At that point we were over it.

The kitchen is actually not finished, but it’s been good enough for the past year and a half while we tackled other, more interesting projects.  We really need to get on that.

To see the kitchen before and now, go here.

Now to update the living room…