Tree on a Wedding Cake

Since so many people have already started decorating for the holidays, I figured I’d better post this little DIY even though I haven’t joined the masses yet.  These photos are from last year.  Here’s the ModFruGal trick for stretching your Christmas tree budget.

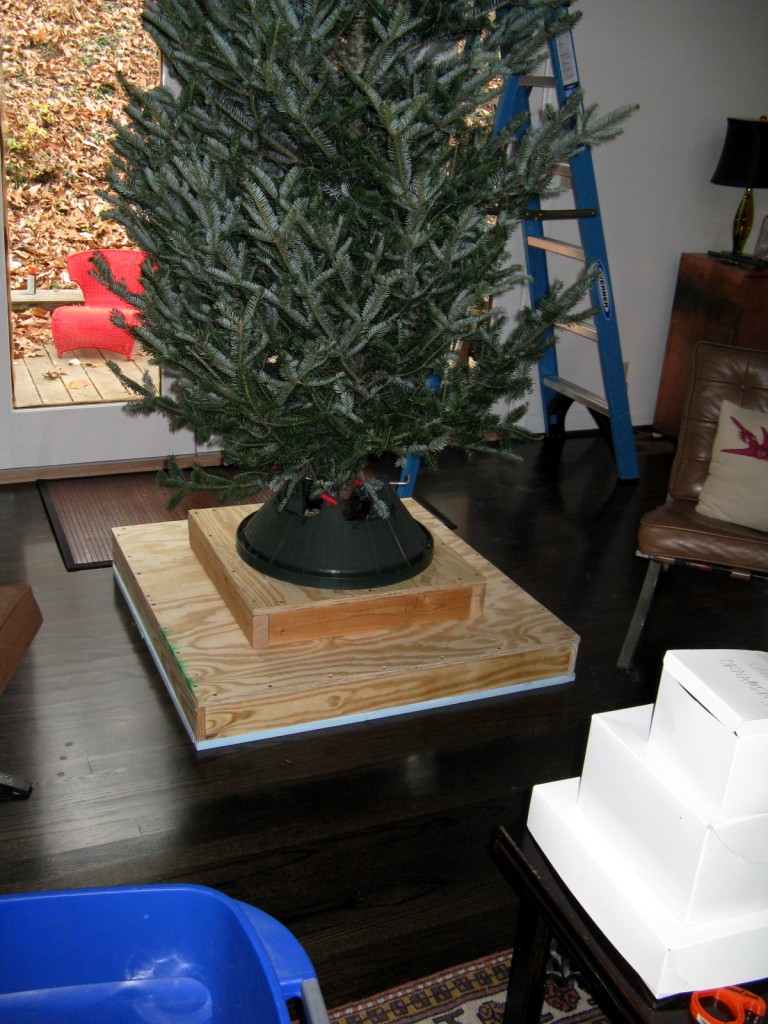
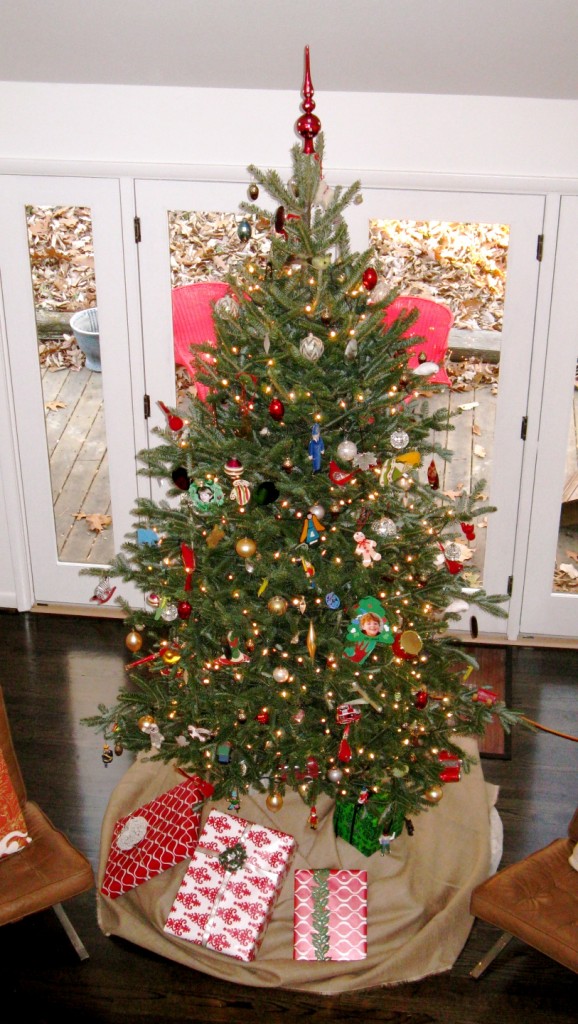
I’m a live tree person (don’t hate me eco-cops), and I have high ceilings.   I needed a way to give my tree better presence without having to throw $200 at the project.  Instead of buying a 12 ft tree, I bought an 8-9 ft tree and put it on our “wedding cake” platforms.  It creates a tiered surface area for presents, makes it nice and easy to get at them…and adds a few feet of height to a $65 Home Depot tree.  The platforms took the CC about an hour to screw together with some scrap plywood etc.. we had in the garage.  I wrapped it up in some burlap and called it a day.

Guess I’d better head to the attic and start dragging all the decorations down.  eh…maybe tomorrow.

platform

2008 tree done

The Color of Dirt

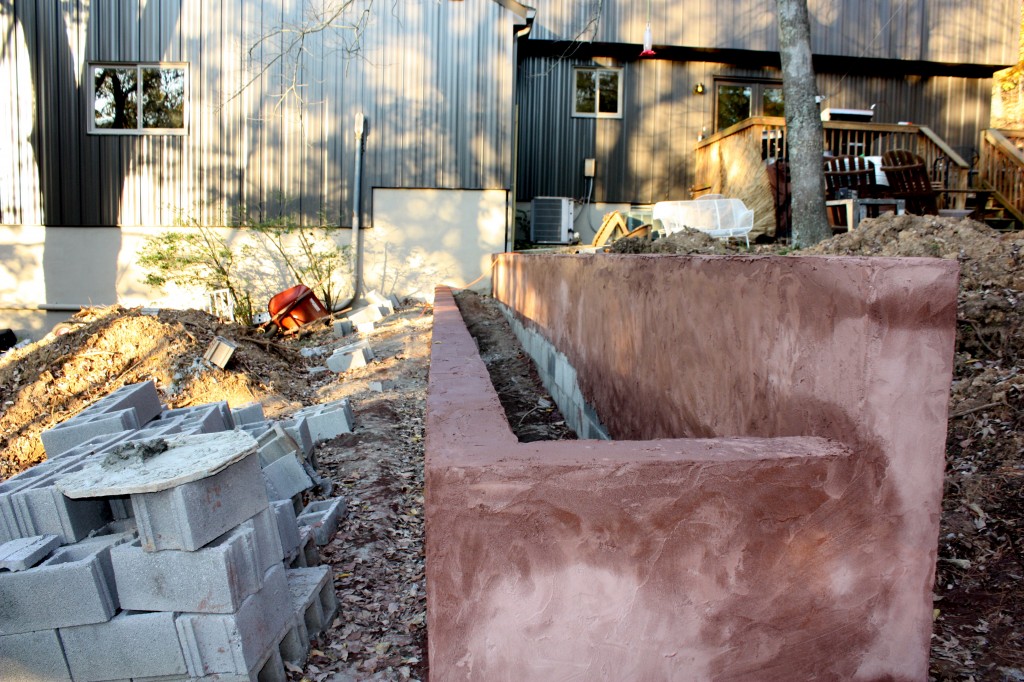
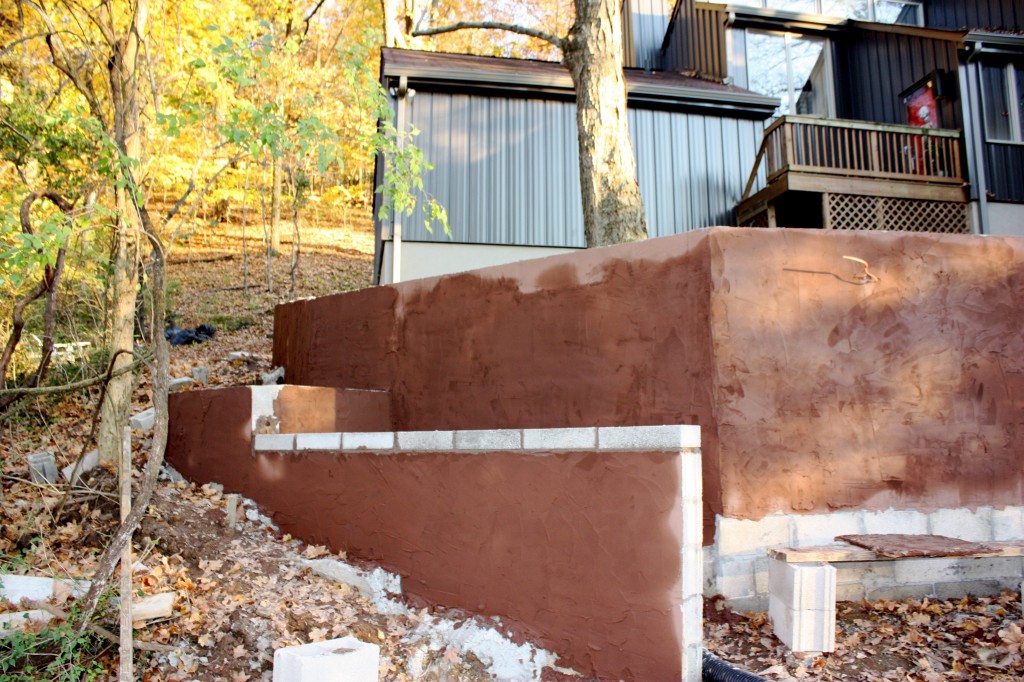
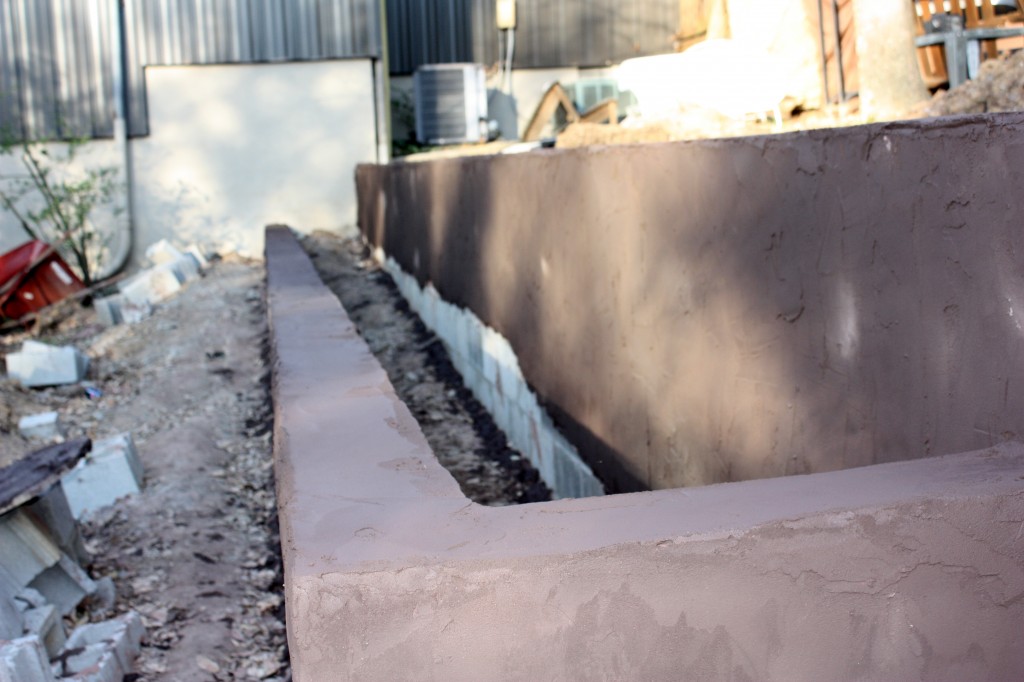
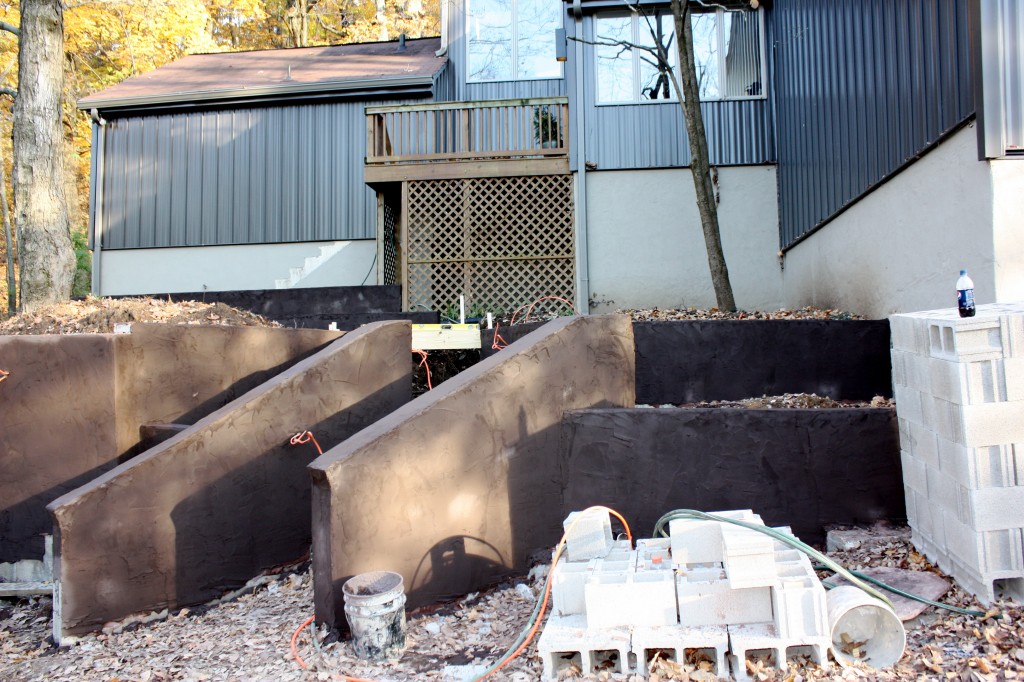
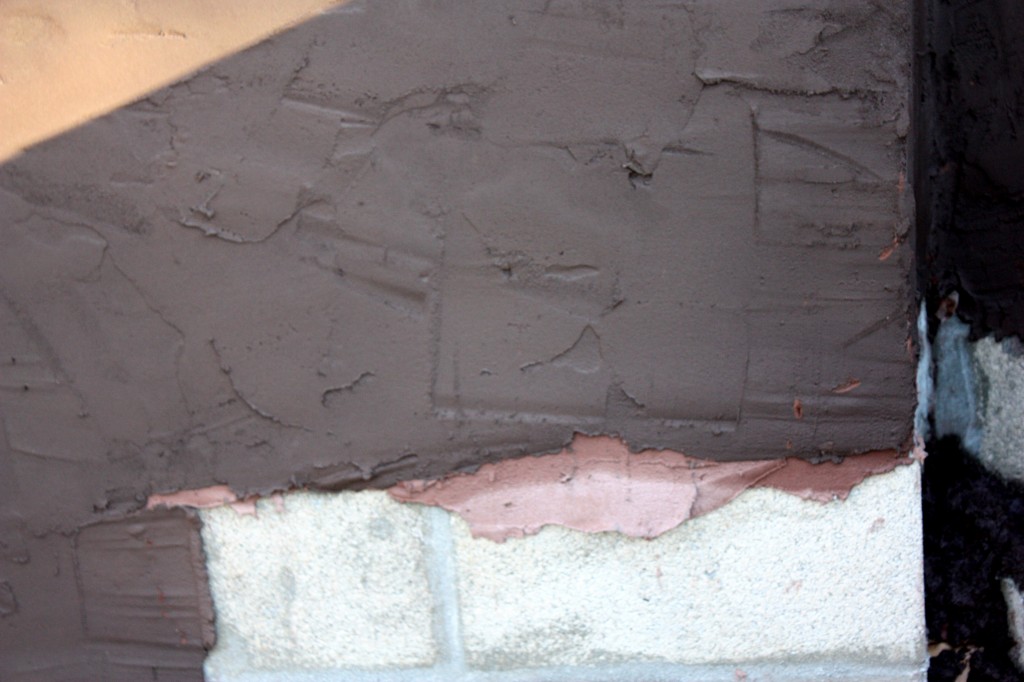
The first coat of stucco went on…and my heart sank.  It looked pinkish brown…way too much red pigment, so I talked to them about mixing in a bag of black for the second coat….MUCH better. My goal is to match the color of the soil as much as possible so that the wall recedes into the hillside.  When that first coat went on…all I could think about was how many hours I would have to spend staining it to tone down the color….very relieved I won’t have to do that now.

Santa Fe Red!

looking very Santa Fe scary to me here…..

WAY too red

First Coat Stucco

Then the second batch of mortar mix…..

second coat-new mix

new mix color

You can see the difference between the 2 colors below….

contrast 2 coats

When will it end?  Soon..we hope.  Weather has been cooperating so MAYBE by the beginning of next week we’ll be done with all this mess….6 weeks and counting….

Staycation Results

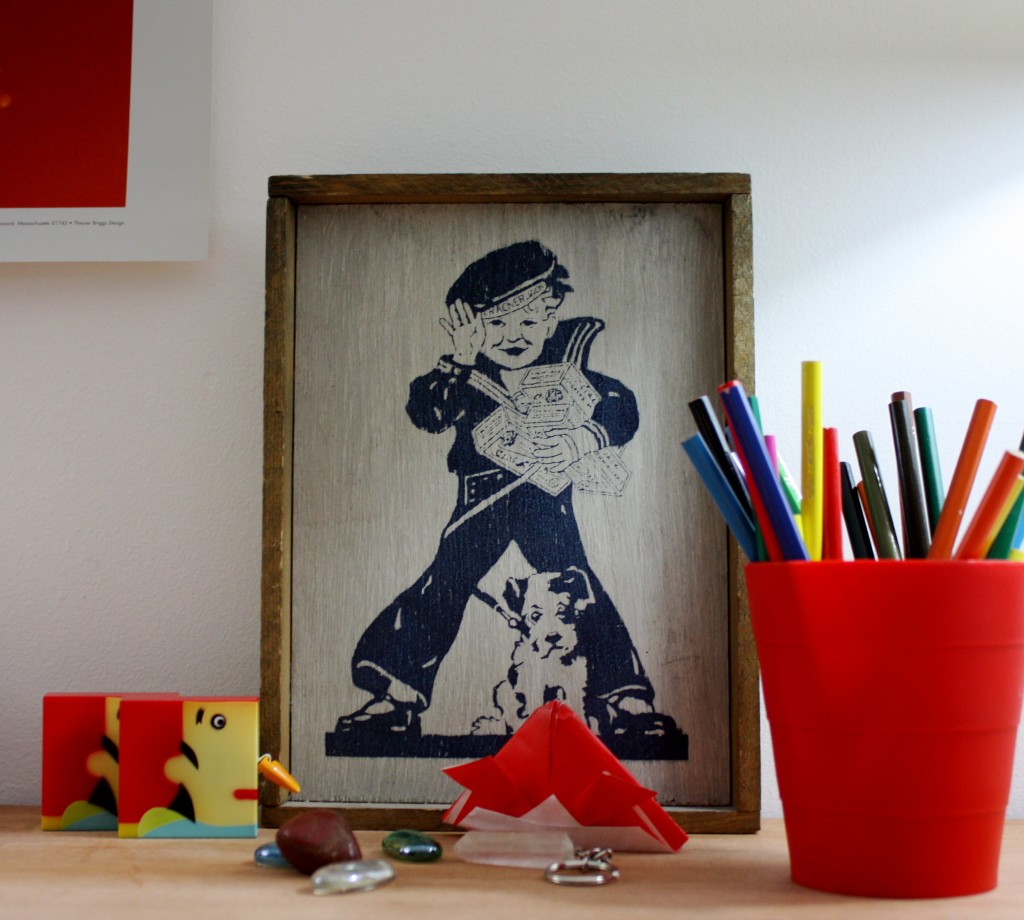
cracker jack

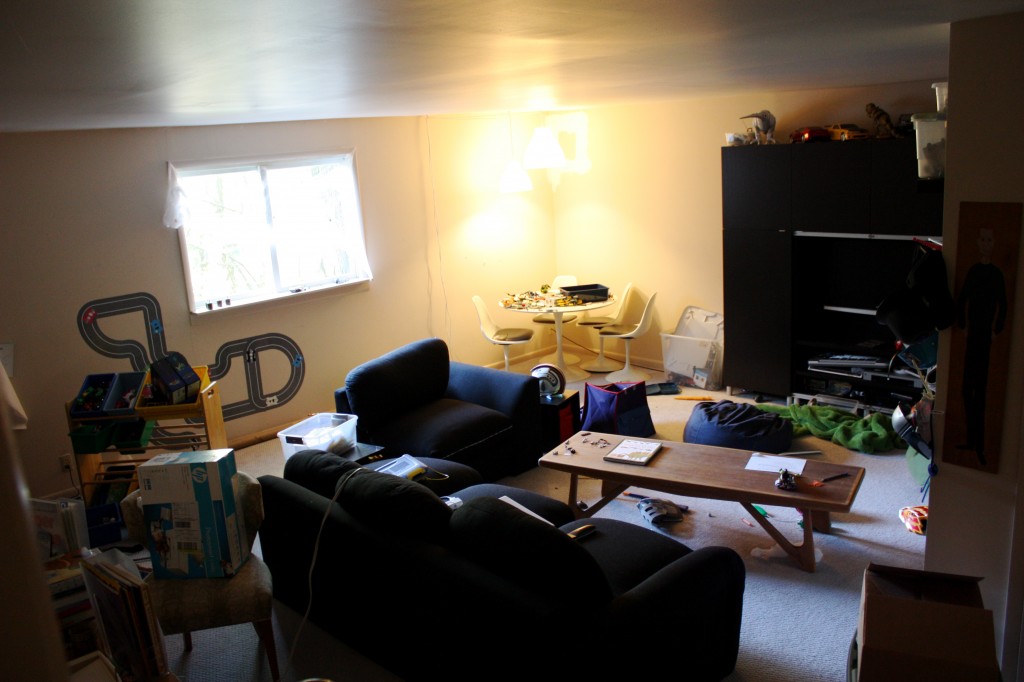
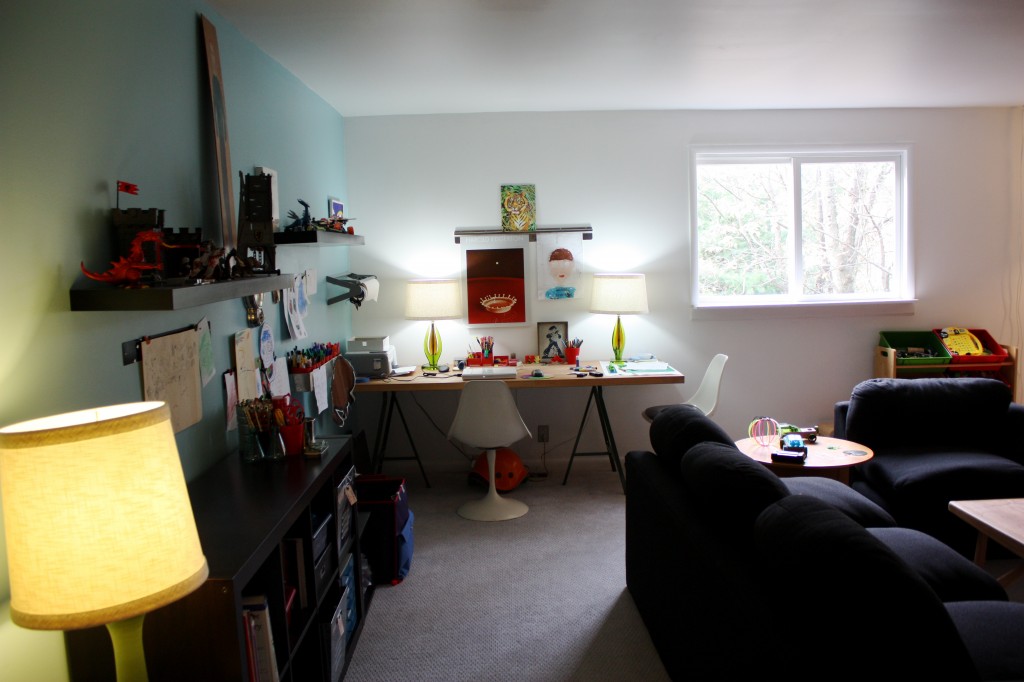
It’s only taken weeks for me to be able to post this…everything takes longer than it used to..and photographing it is a serious challenge since it only stays perfectly clean once a week for about 15 minutes after the completion of chore-time…just enough time for me to vacuum, then, it’s back to general chaos.  I finally gave up and picked a semi-neat day that wasn’t raining.  Still too cluttered for my taste, but I guess playrooms are meant to be played in, not photographed for Mommy’s annoying blog.

The “reveal” to The Minors was quite a thrill.  Thing One stood there mouth agape and Thing Two immediately ran over to start fondling the newly organized Lego and Playmobil.

For those concerned about the fate of CC’s staycation plans…have no fear…he ticked some things off his list as well AND we got all the materials for the attic support project…so there.

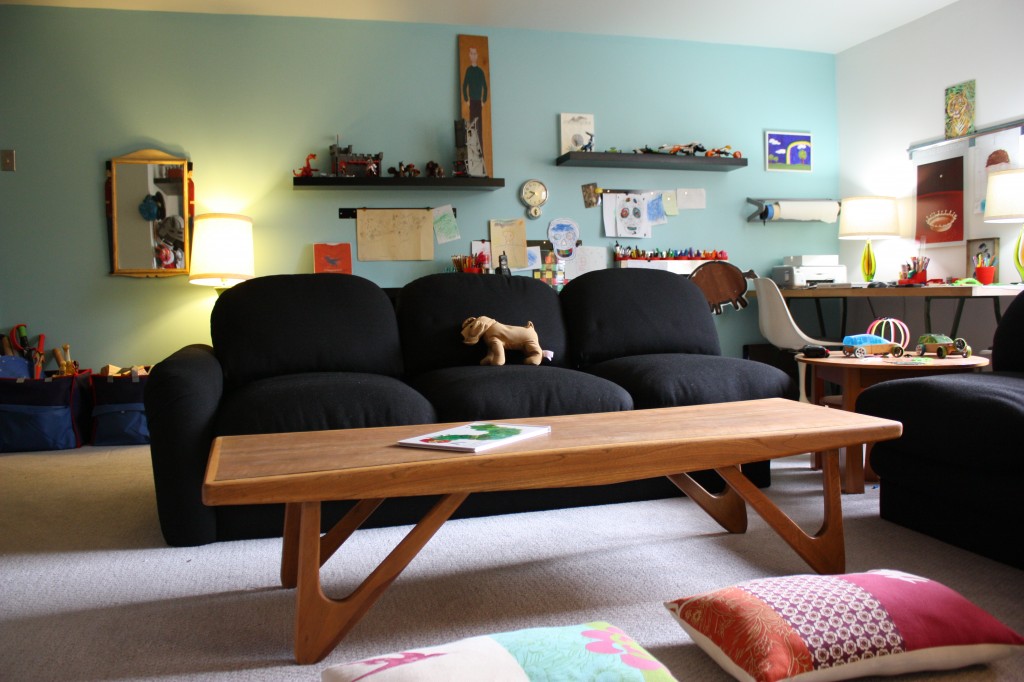
Since there’s only the one small window in this room…I had to be conservative with the color….I put a bright white on both the window wall and the opposing wall, and put Martha Stewart for Valspar’s “Blue Agave” on the other opposing walls.  Seems to make the room feel longer…and certainly brighter, which was the main goal after all.

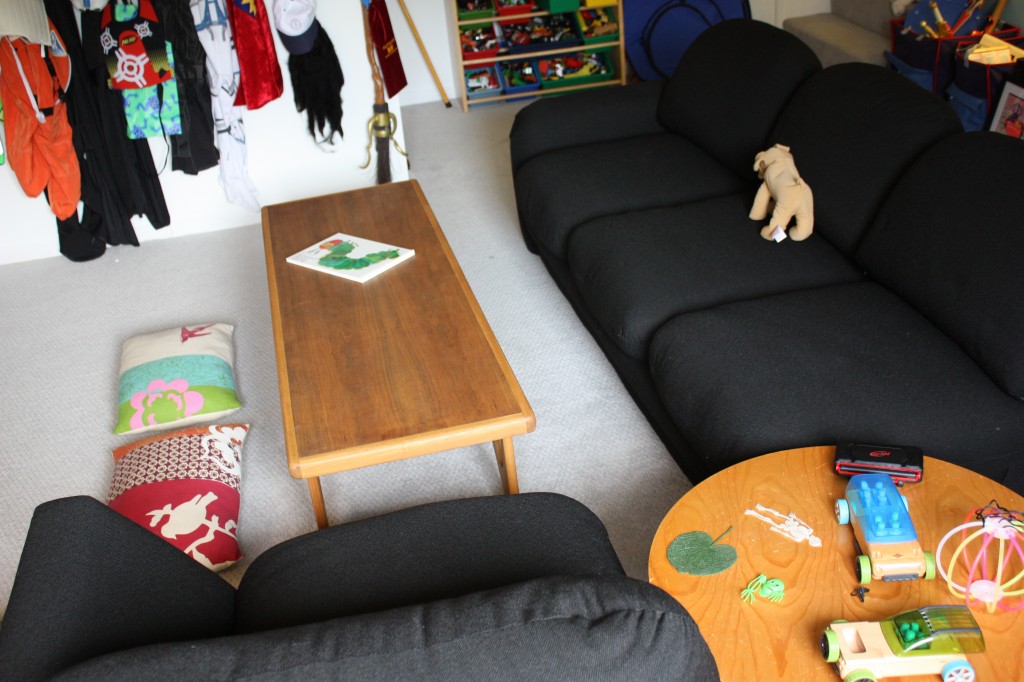
The couch/chair former sectional was a $200 Craigslist find…has this kinda 80’s thing going, but I’m pretending it’s 60’s cool Pierre Paulin….denial ain’t just a river in Egypt…

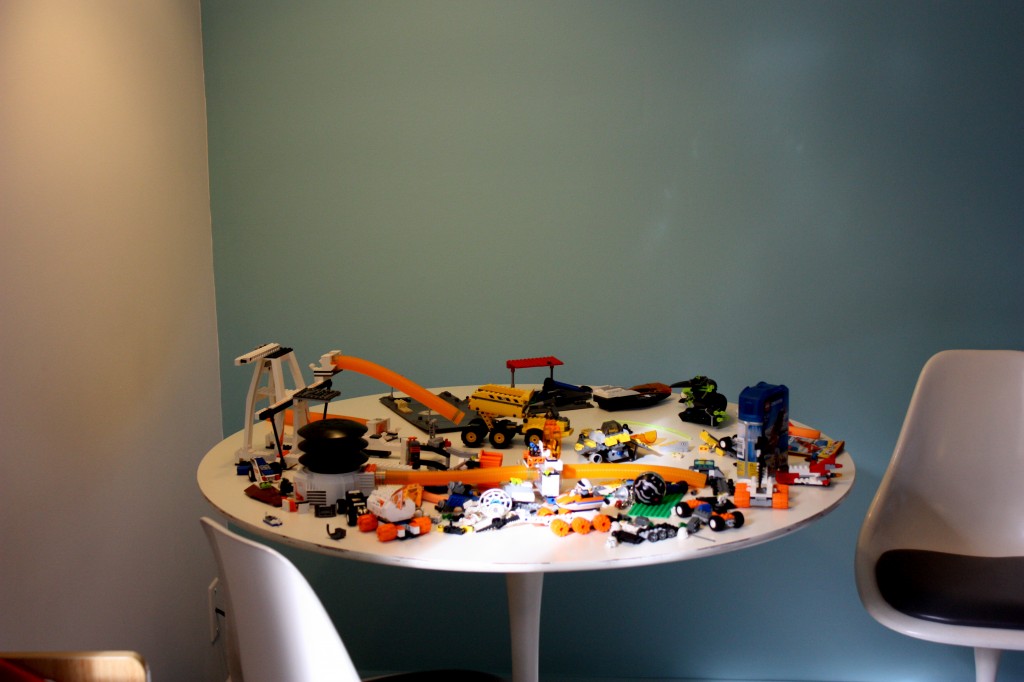
I needed a desk/work area that would accommodate both of them since the Burke set is ALWAYS covered in Lego projects.  My intention for that set was to be a family game table, well…you can see how that worked out.  I went the cheapo route and bought another set of sawhorses (my yellow ones were too wide for this project) for $38 at Urban Outfitters and a solid door for $54.  Rubbed some linseed oil on the door and called it a day.

Now that we have the coffee table, we don’t have to drag all the bean bags into the living room anymore for game time, so that’s been a big improvement.  I still have some more organizing etc.. to do in here…but that’s what winter is for…it’s been too nice out to be in much.

Here’s the previous homeowner’s “before”
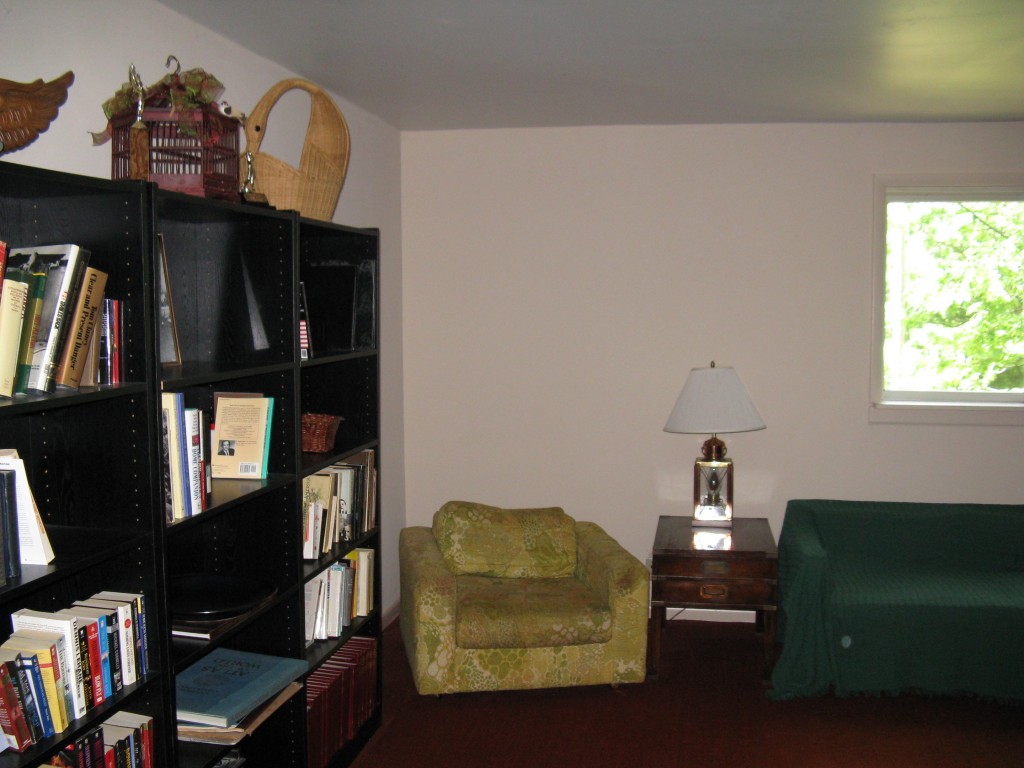
Previous Owners Playroom/Office 2

Then it became our defacto attic while we cleared the tree rats out of the real attic.
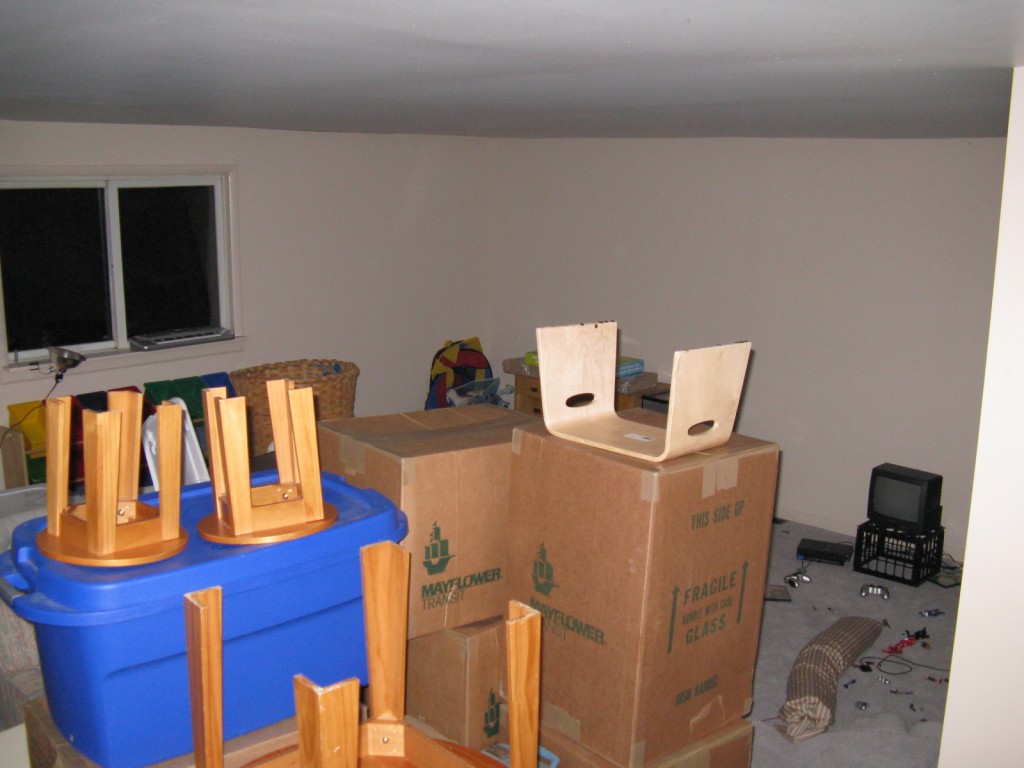
Last year, when it was also the attic.

As the Minors left it…..

As it looked the day the minors left

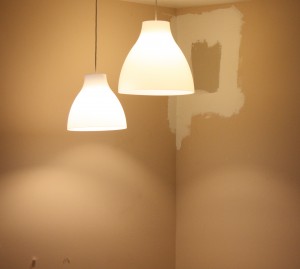
3 days of painting started….

patch job from NES debacle paint going on

Ahhh..fresh paint.
playroom after

playroom after

Lego Assembly Table

playroom after

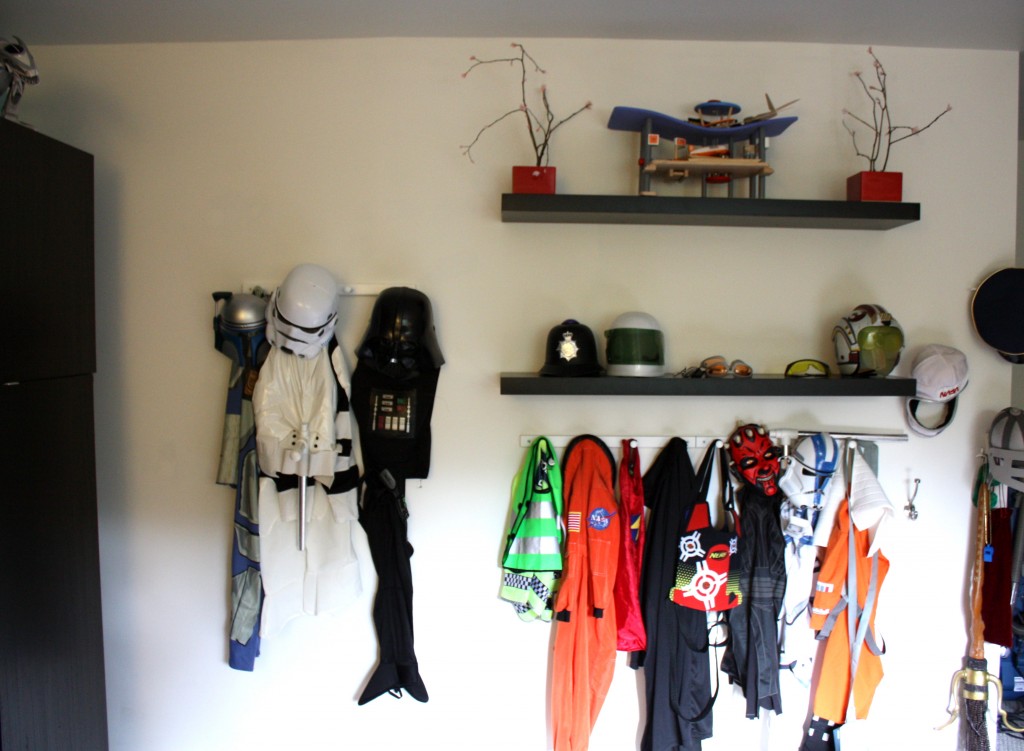
costume wall

Onward

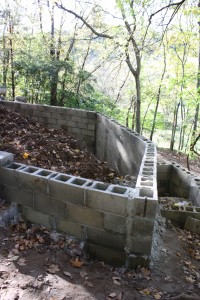
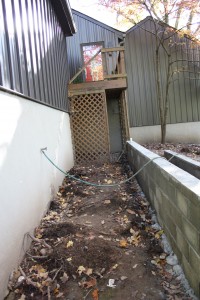
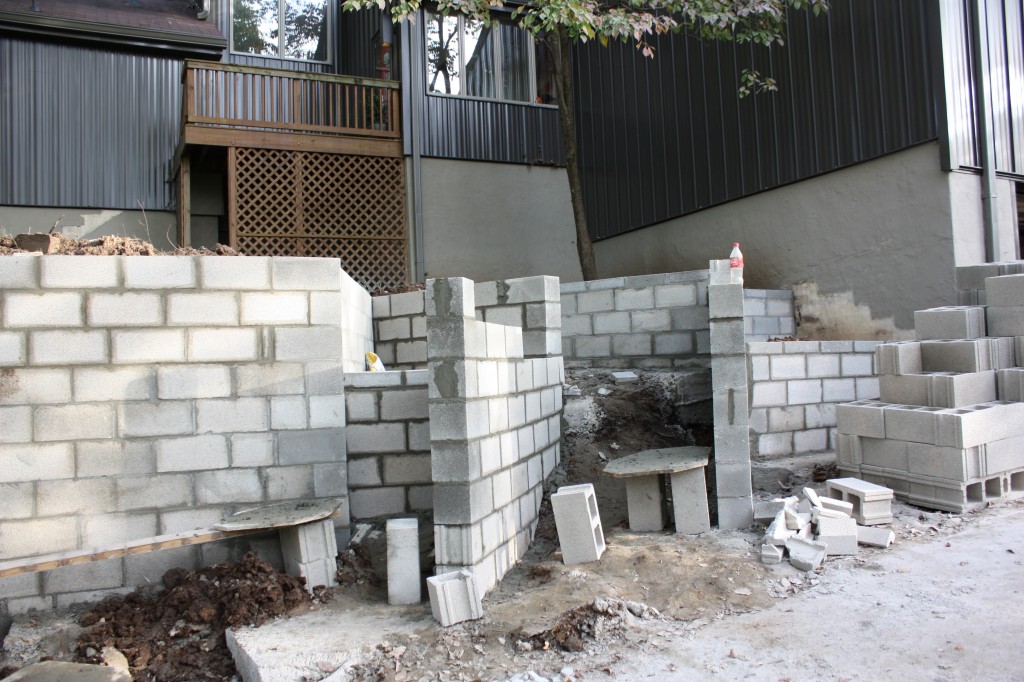
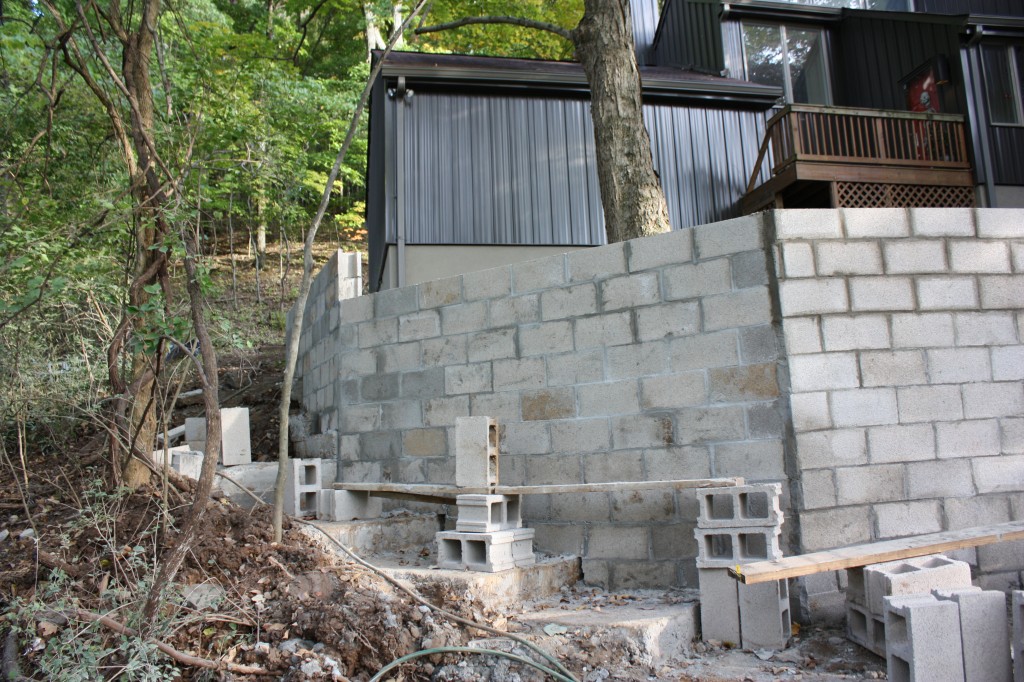
Things at ModFruGal Prison came to a standstill for 10 days…but we are back on track and moving forward with a reformed crew.  (Long story…I won’t bore you with the details.)  We’ve been calling it the prison since those cinder block walls are so cold and unwelcoming at the moment…seemed to fit.

down to driveway

at garage wall

front

former front entry

At the side

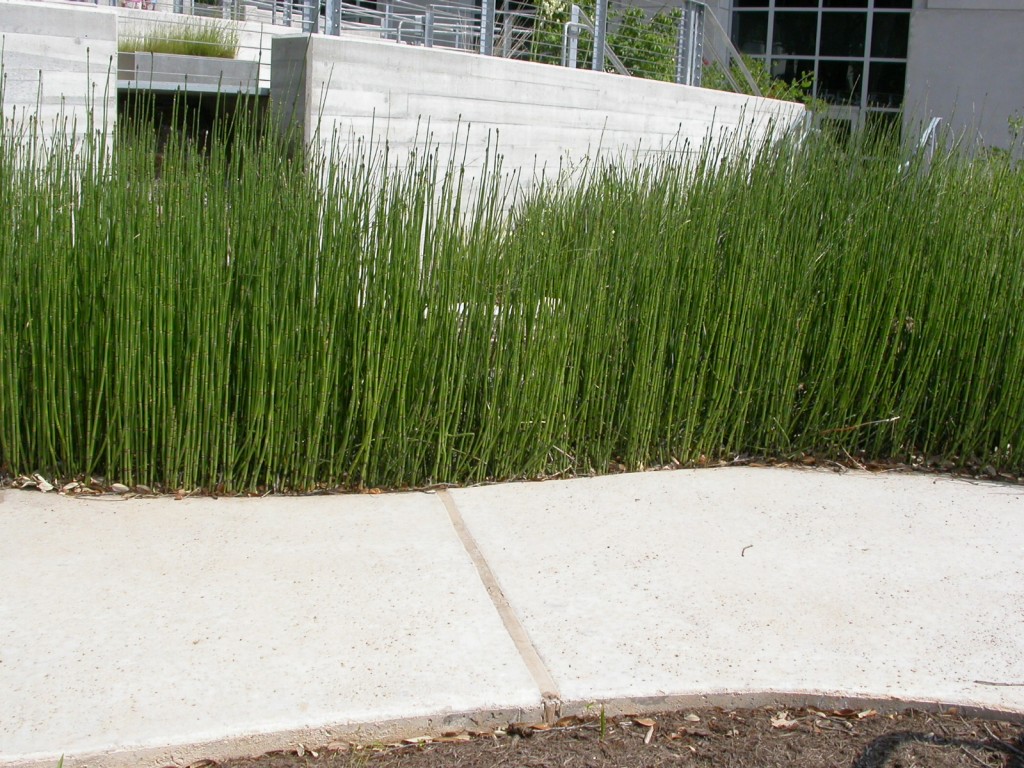
Ugly….but I remain committed to the vision.  The block will be capped and rendered with a dark brown mortar/stucco so that hopefully it will blend in with the soil. In the spring, I hope to soften the edges with modern plantings like Equisetum Hyemale or Field Horsetail.

Equisetum hyemale grow where you're planted

photo from Grow Where You’re Planted

(Not) Shi**ng my Pants

big wall

more big wall

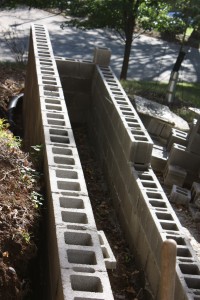
So…the wall/s….were looking WAY bigger than the Plan dictated.  I was a bit scared and freaked out, but I’ve been hangin’ with these guys for awhile now and I watch how they work..they seem to get it, know their stuff and best yet..are good communicators.  Inspection time for sourced out jobs is most revealing when the crew have knocked off for the day and there’s still good daylight to see what the day has brought.

The day this wall was built had me a little unnerved, but I knew Rodger was with me…I watched as they shot the laser levels to make sure the grade was within centimeters of the plan…but it just looks SO BIG.  It measured out accurately, but I envisioned the bottom step area more open, more welcoming,  than the previous “rotten wall of go away” Just as I began to worry…I am reassured the following morning…..”all these tall blocks…they’ll be cut down at a sloping angle to act as a handrail to follow code”…and to be less visually intrusive. “Phew..I was a wee bit concerned.” Heh.  Nah..I didn’t need an extra glass of wine last night..I was cool.  Rock on Rodger.

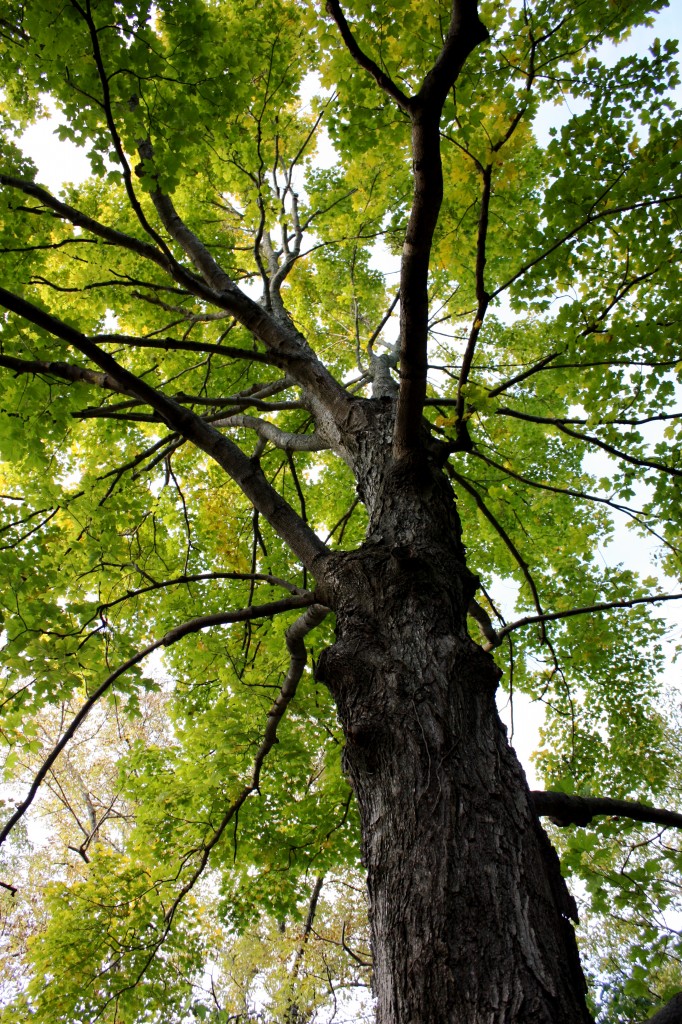
See, I knew these boys were on my team.  It may look bizarre and scary now, but I’m keeping the faith with my dudes.  I’m imagining the final, SMALLER product… rendered in tinted concrete and filled with zen modern plantings…..and in the end…I just want to finally sit under my Sugar Maple without being smack dab in the middle of a termite eaten snake pit.  It’s all good.

eyes on the prize - sugar maple

Hog Wild

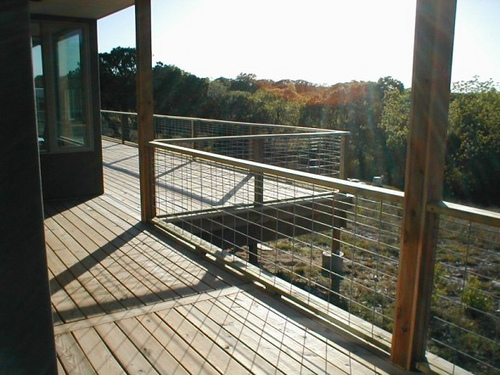
So, the upper deck at the front door will remain, but all around it will be different.  The access will be moved to the driveway side and the heavy railings will be replaced, hopefully, with something like you see below.  These are hog panels…yeah, I know…my own pig pen!

The panels run, on average, $20 each.   I love the idea of these budget railings since they can be DIYed easily.  The owners of this house took all the photos below….with more here.  A great solution that I hope to steal once the mudfest subsides.  I’m thinking we’ll probably stain the wood which will (hopefully) add to the look.

hog panel railingtexas plathouse rails